
Are you tired of struggling with your home garden, only to find that your plants just aren’t thriving? The culprit might not be a lack of love or attention, but rather poor soil quality. Testing and improving your home garden’s soil can make all the difference in growing healthy, vibrant plants. But where do you start?
In this comprehensive guide, we’ll take you through the benefits of testing your soil, as well as the different methods and techniques to get accurate results. We’ll cover how to collect a representative sample, what nutrients to look for, and how to interpret the results. By the end of this article, you’ll know exactly how to improve your home garden’s soil quality and give your plants the best chance at success. Let’s dive in and discover the secrets to a lush, thriving garden!
Understanding the Importance of Soil Testing
Soil testing is a crucial step in maintaining a healthy home garden, helping you identify nutrient deficiencies and pH levels that can either boost or hinder plant growth. Let’s dive into why it matters.
Benefits of Regular Soil Testing
Regular soil testing is an essential practice for home gardeners to ensure their plants receive optimal nutrients and conditions. By analyzing your soil’s pH levels and nutrient composition, you can make informed decisions about amendments, fertilizers, and irrigation schedules. This leads to improved plant growth, as your plants will be better equipped to absorb the necessary resources.
One significant benefit of regular testing is reduced pesticide use. When you understand what nutrients are lacking in your soil, you can focus on providing those instead of applying chemical pesticides that may harm beneficial microorganisms and contaminate water sources. This approach also helps minimize waste by reducing unnecessary fertilizer applications.
Proper soil testing enables better water management as well. By understanding how water interacts with your specific soil type, you can optimize irrigation schedules to prevent overwatering or underwatering, which can lead to root rot and other problems. For instance, if your soil is heavy clay, it will retain more moisture than sandy soils; knowing this helps you adjust watering accordingly.
Common Challenges Associated with Poor Soil Quality
Poor soil quality can wreak havoc on even the most well-intentioned home garden. One of the most common issues caused by poor soil is nutrient deficiencies. This occurs when essential nutrients like nitrogen, phosphorus, and potassium are lacking or imbalanced in the soil. As a result, plants may struggle to grow, leading to stunted growth, yellowing leaves, and reduced fruit production.
Another challenge associated with poor soil quality is compacted soil. When soil becomes compacted, its structure is altered, making it difficult for water and air to penetrate. This can lead to poor drainage, increased erosion, and a decrease in soil fertility. Compacted soil may also become hydrophobic, repelling water instead of absorbing it.
Erosion is yet another issue caused by poor soil quality. When topsoil erodes, nutrients are lost, and the soil’s structure is compromised. This can lead to a significant decrease in soil productivity and require costly restoration efforts. To combat these challenges, it’s essential to test your home garden soil regularly and take corrective actions based on the results.
Choosing a Testing Method
When it comes to testing your home garden soil, you’ll want to choose the right method for your specific needs and goals. This section will explore popular testing methods and help you pick the one that’s best for you.
DIY Kits vs. Professional Labs
When it comes to testing your home garden soil, you have two primary options: using DIY kits versus sending samples to professional labs. Both methods have their pros and cons, which are essential to consider before making a decision.
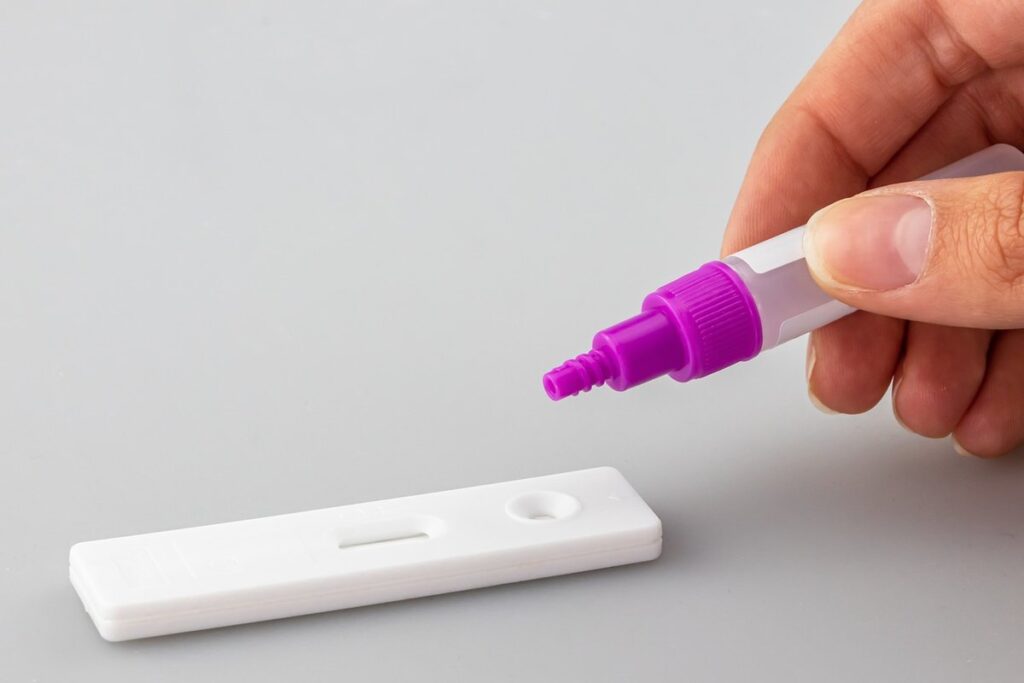
DIY kits are often the most convenient option, as they allow you to test your soil in the comfort of your own home. These kits usually come with pre-measured containers and color-coded charts that make it easy to interpret results. However, they may not always provide accurate readings, especially if you don’t follow the instructions carefully or have limited knowledge about soil testing. Additionally, DIY kits can be pricey, especially if you need to test multiple parameters.
On the other hand, sending samples to professional labs offers higher accuracy and more comprehensive testing options. Labs use advanced equipment and techniques to analyze your soil, providing detailed reports on pH levels, nutrient content, and other essential factors. While this option may seem more expensive upfront, it can save you money in the long run by identifying potential issues before they become severe.
When choosing between DIY kits and professional labs, consider the following factors: how important is accuracy to you? Are you comfortable with testing your soil at home, or would you prefer a more comprehensive analysis? What’s your budget for soil testing?
Factors Affecting Test Results
When collecting and storing soil samples for testing, it’s essential to be mindful of several factors that can impact test results. Sample collection is a critical step, as the quality of the sample directly affects the accuracy of the test results. Home gardeners should collect samples from a depth of 6-8 inches, as this is where most plant roots are found. It’s also crucial to collect multiple samples from different areas of the garden to get an accurate representation of the soil conditions.
Proper storage and handling of samples can also significantly affect test results. Samples should be stored in a cool, dry place, away from direct sunlight and moisture. If testing is not done immediately, samples can be refrigerated at 4°C (39°F) or frozen at -20°C (-4°F). However, it’s best to test the sample as soon as possible after collection.
To minimize errors, home gardeners should avoid contaminating the sample by touching it with dirty hands or using a contaminated shovel. It’s also essential to label each sample correctly, including the date, location, and any other relevant information. By following these guidelines, home gardeners can ensure accurate test results and make informed decisions about their soil management practices.
Collecting a Representative Sample
To get accurate results, you’ll need to collect soil samples from multiple locations within your garden. This is where collecting a representative sample comes in – it’s not as straightforward as digging up one spot!
Identifying the Right Sampling Locations
When it comes to identifying the right sampling locations within your home garden, it’s essential to consider areas that are representative of the entire garden. This might seem like a daunting task, but with a little guidance, you can ensure that your soil samples accurately reflect the conditions throughout your garden.
Start by examining the areas under plants, as these are often most critical in terms of nutrient uptake and root growth. Take note of any signs of nutrient deficiencies or excessive water usage, which can impact plant health. Next, consider sampling locations near paths, driveways, or other hard surfaces that may have been compacted over time. These areas can harbor high levels of contaminants like heavy metals or salts.
Don’t forget to sample areas with water features, such as ponds or fountains, as these can introduce new contaminants and alter soil chemistry. If you have a septic system nearby, it’s also essential to consider sampling locations near the drainfield, as the surrounding soil may be impacted by effluent. By taking a comprehensive approach to soil sampling, you’ll get a more accurate picture of your garden’s soil health and make informed decisions about testing and amendments.
Sampling Techniques and Equipment
When it comes to collecting a representative sample for soil testing, the choice of sampling technique and equipment is crucial. Two popular methods are coring and augering.
Coring involves using a hollow tube to extract a cylindrical sample from the ground. This method is ideal for small areas or shallow depths. Hand tools like manual corers or soil probes are suitable for small gardens, but can be time-consuming for larger areas. For more extensive sampling, consider power tools such as cordless drill-based samplers.
Augering uses a rotating cutting tool to extract a long, narrow sample from the ground. This method is better suited for deeper sampling and larger areas. Hand augers are available for smaller projects, while gas-powered or electric augers are suitable for bigger jobs.
When choosing equipment, consider the soil type, depth, and area size. It’s also essential to follow proper safety precautions when using power tools, such as wearing protective gear and ensuring proper ventilation.
Interpreting Test Results
Now that you have your test results, let’s dive into what they mean and how to use them to improve your garden’s soil quality. We’ll break down each key finding.
Understanding Soil Texture and pH Levels
Soil texture and pH levels are two crucial factors that significantly impact plant growth and health. To interpret soil test results effectively, it’s essential to understand what these terms mean and how they affect your garden.
Soil texture refers to the mixture of sand, silt, and clay particles in your soil. The ideal mix varies depending on the type of plants you’re growing. For example, tomatoes prefer a well-draining soil with a mix of 60-80% sand and 20-40% silt, while lettuce prefers a finer texture with more clay.
pH levels measure how acidic or alkaline your soil is. Most garden plants thrive in slightly acidic to neutral soils, with a pH range of 6.0-7.0. However, some plants like azaleas and rhododendrons require acidic soils (pH 5.5-6.5), while others like asparagus prefer alkaline conditions (pH 7.0-8.0). When interpreting your test results, keep in mind that pH levels can affect nutrient availability and plant growth.
For instance, if your soil test shows a pH level of 4.5, it’s likely too acidic for most garden plants. In this case, you may need to add lime to raise the pH level. On the other hand, a high pH reading may indicate a lack of nutrients like nitrogen, phosphorus, or potassium, which can be addressed through fertilization.
By understanding soil texture and pH levels, you’ll be better equipped to provide your plants with the right growing conditions for optimal growth and health.
Identifying Nutrient Deficiencies
When interpreting your home garden soil test results, one of the most critical steps is identifying nutrient deficiencies. These can manifest as NPK imbalances, which are common issues that affect many gardens worldwide.
Nitrogen (N) deficiencies often appear as yellowing leaves or stunted growth. This is because nitrogen plays a crucial role in photosynthesis and plant development. If your soil test indicates low nitrogen levels, consider adding compost or well-rotted manure to enrich the soil with organic matter rich in this nutrient.
Phosphorus (P) deficiency symptoms include reduced root growth, weak stems, and small leaves. Phosphorus is essential for plant cell division and metabolism. To address phosphorus deficiencies, use a balanced fertilizer that contains phosphorus or apply bone meal, which releases phosphorus slowly as it breaks down.
Potassium (K) imbalances can lead to overall plant decline, increased susceptibility to diseases, and reduced yields. Potassium helps maintain plant tissue integrity, regulates water balance, and activates enzymes necessary for metabolism. A potassium deficiency may require using a potassium-rich fertilizer or applying green sand, which is a slow-release source of this nutrient.
Keep in mind that it’s essential to apply the correct amount of fertilizers according to the specific needs of your garden. Excessive application can cause more harm than good, so always follow the recommended guidelines and start with small doses to avoid over-fertilizing your soil.
Implementing Changes Based on Test Results
Now that you have a clear understanding of your soil test results, it’s time to implement changes that will transform your garden into a thriving oasis. This is where strategy and action come together.
Adjusting Soil pH Levels
Adjusting soil pH levels is often necessary after testing reveals that your garden’s soil is too acidic or alkaline for optimal plant growth. The goal is to achieve a balanced pH between 6.0 and 7.0, which most plants prefer.
To adjust soil pH levels, you can use either lime or sulfur amendments. Lime raises the pH by adding calcium and magnesium, while sulfur lowers it by releasing hydrogen ions. Application rates vary depending on the type of amendment and your garden’s specific needs.
For example, if your test results indicate a low pH (acidic), applying elemental sulfur at 1-2 pounds per 100 square feet should help bring the levels back up. Alternatively, dolomitic lime can be applied at 5-10 pounds per 100 square feet to increase soil alkalinity.
Timing is crucial when adjusting soil pH. Apply amendments in early spring or fall to avoid shocking plant roots during active growth periods. Be sure to follow label instructions and consult with a gardening expert if you’re unsure about the best approach for your specific garden conditions.
Keep in mind that frequent small adjustments are better than making large changes all at once, allowing plants to gradually acclimate to the new pH levels. Regular testing will also help ensure that your efforts are paying off and your soil is reaching its optimal balance.
Correcting Nutrient Deficiencies
When correcting nutrient deficiencies based on your soil test results, it’s essential to choose amendments that are both effective and environmentally responsible. Organic and synthetic options are available, but it’s crucial to understand the differences between them.
Organic amendments are made from natural materials like compost, manure, or green sand, and they release nutrients slowly as they break down in the soil. These options promote healthy microbial activity, improve soil structure, and increase water-holding capacity. For example, adding a 2-inch layer of compost to your soil can provide essential nutrients like nitrogen, phosphorus, and potassium.
Synthetic amendments, on the other hand, are made from manufactured products containing specific nutrient combinations. They work quickly, often providing rapid results, but may not promote long-term soil health. It’s crucial to follow application rates carefully to avoid over-fertilization. Consider using a balanced fertilizer like 10-10-10 N-P-K, which provides equal amounts of nitrogen (N), phosphorus (P), and potassium (K).
Before making any amendments, it’s also essential to consider your soil type, pH level, and nutrient needs. Consult with local gardening experts or online resources for guidance on the best choices for your specific situation.
Maintenance and Monitoring
Now that you’ve taken the first step towards understanding your garden soil, it’s time to learn how to maintain and monitor its health throughout the growing season. This includes regular check-ins on pH levels and nutrient balances.
Regular Testing Schedule
Developing a regular testing schedule is crucial for maintaining healthy soil and ensuring optimal crop growth. The frequency of testing depends on various factors, including climate, soil type, and crop rotation.
In general, it’s recommended to test your soil at least once a year, but more frequently if you have clay or sandy soils that are prone to nutrient depletion or leaching. For example, if you live in an area with high rainfall, you may need to test your soil every 6-8 weeks during the growing season.
Consider testing your soil:
* Before planting new crops to ensure they’ll thrive in the existing soil conditions
* After fertilizing or liming to check for any adverse effects
* When changing from one crop type to another (e.g., from vegetables to fruit trees) to adjust nutrient levels accordingly
Additionally, pay attention to visual signs of nutrient deficiencies, such as yellowing leaves or stunted growth. These can be indicators that your soil needs testing and adjustment.
Regular testing will help you fine-tune your fertilization and soil management strategies, ensuring a healthy and productive home garden.
Ongoing Soil Management Strategies
Maintaining healthy soil is an ongoing process that requires regular attention. After testing and adjusting your home garden’s soil conditions, it’s essential to implement strategies that promote soil fertility, structure, and overall health. Cover cropping is a simple yet effective technique where you plant cover crops between crop cycles to add organic matter, suppress weeds, and improve soil structure. For example, planting winter rye or clover between seasons can help control erosion and reduce the need for fertilizers.
Composting is another crucial aspect of ongoing soil management. This involves breaking down kitchen scraps, leaves, and other organic materials into a nutrient-rich fertilizer that can be added to your garden beds. Mulching also plays a significant role in maintaining healthy soil by retaining moisture, suppressing weeds, and regulating soil temperature. When selecting mulch materials, opt for natural options like wood chips or bark rather than synthetic alternatives.
Regularly incorporating these strategies will lead to improved soil health over time, requiring less maintenance and supporting the overall well-being of your garden.
Frequently Asked Questions
What if I don’t have the budget for professional soil testing? Can DIY kits be just as effective?
DIY kits can provide a good starting point, but keep in mind that their accuracy might vary depending on the kit’s quality and your own sampling technique. If you’re serious about getting accurate results, investing in a professional lab test may be worth considering, especially for larger gardens or if you’re planning to implement significant changes.
How often should I conduct soil tests after initial analysis?
Regular testing is key to maintaining optimal soil conditions. Aim to re-test your soil every 6-12 months, depending on factors like seasonal nutrient fluctuations, plant growth stages, and any recent amendments or fertilizers applied. This will help you stay on top of potential issues before they impact your plants.
What if I have a small garden with limited space – can I still collect an accurate representative sample?
Yes, even small gardens require proper sampling to ensure accurate test results. Focus on collecting samples from areas where most plants are growing, rather than just one or two isolated spots. This will give you a more comprehensive understanding of your soil’s overall condition.
How do I adjust my fertilization schedule based on the nutrient deficiencies revealed by the test?
Begin by addressing the most critical deficiencies first. If the test reveals low levels of nitrogen (N), phosphorus (P), and potassium (K), prioritize these nutrients in your fertilizer application. Also, consider adjusting your soil pH if it’s significantly off from optimal ranges for your plants’ specific needs.
Can I still grow certain plants despite poor soil quality, or is it a lost cause?
While poor soil can be a significant challenge, many plants are more adaptable than others. Research the specific nutrient and environmental requirements of your target plants to see which ones might thrive in less-than-ideal conditions. Some plants are naturally more resilient or tolerant of marginal soils, so don’t give up hope – explore alternative options for your garden.