Are you wondering when to repot your beloved indoor plants? You’re not alone! Repotting is an essential part of plant care, but many of us struggle with knowing exactly when it’s necessary. The truth is, indoor plants need a larger pot every now and then to give their roots room to breathe and continue thriving. But how do you know if your plant needs repotting? Look out for signs like slow growth, yellowing leaves, or water pooling around the base of the pot. In this comprehensive guide, we’ll walk you through the signs that indicate it’s time to repot your indoor plants and provide a step-by-step guide on how to do it successfully. With our help, you’ll be able to give your plants the care they need to flourish.
Signs Your Indoor Plant Needs Repotting
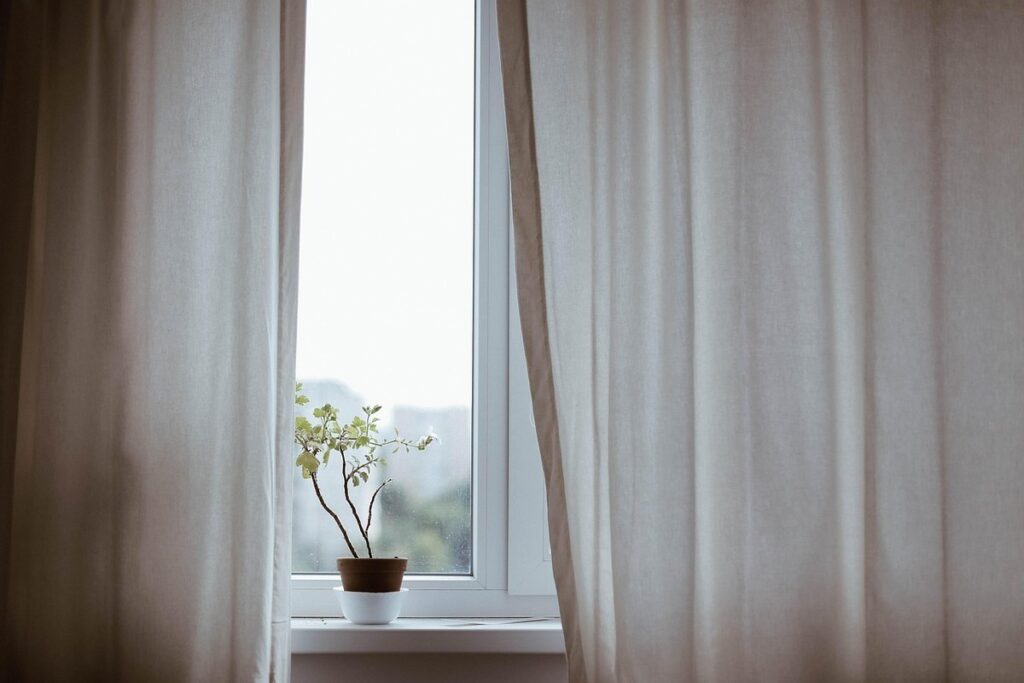
Is your indoor plant looking a bit cramped and struggling to thrive? It may be time to give it some extra space, but how can you tell for sure.
Checking for Root Boundry
When you gently remove an indoor plant from its pot, take a close look at the roots. If you notice that the roots have grown out of the drainage holes, it’s a clear indication that the plant has outgrown its container and needs more space to develop further. This is especially true for plants with vigorous root systems like African Violets or Begonias.
To determine if your plant has become root-bound, try gently pulling on some of the roots. If they resist coming out of the soil, it’s likely that the roots have filled the pot and are circling around each other in search of more room to expand. This can lead to waterlogging and poor root health.
A well-draining potting mix can help alleviate this issue, but if your plant has become severely root-bound, repotting is essential to prevent further damage. Aim for a pot that is 1-2 sizes larger than the original one, and provide enough space for the roots to spread out comfortably. This will ensure that your indoor plant gets the nutrients and water it needs to thrive.
Watering Issues as a Sign of Needing Repotting
If you notice that your indoor plant is having trouble retaining water or seems to be drying out too quickly between waterings, it could be a sign that the soil has broken down and needs to be replaced. Poor watering habits can lead to plant stress, causing the roots to become waterlogged or struggling to absorb moisture. When this happens, the plant may start to show signs of neglect, such as yellowing leaves or a decrease in growth.
One of the main benefits of repotting with fresh soil is that it allows for improved water retention and absorption. Fresh potting mix has better drainage and aeration properties than old, compacted soil, making it easier for roots to absorb moisture. This can be especially helpful if you’ve been using a low-quality or generic potting mix.
When repotting your indoor plant, make sure to gently remove any old, crumbly soil from the roots and replace it with fresh, well-draining potting mix. Water thoroughly after repotting and avoid overwatering for the next few weeks as the plant adjusts to its new surroundings.
Physical Signs of Plant Stress
When you notice that your indoor plant is displaying physical signs of stress, it’s likely a sign that it needs more room to grow. One common indication is yellowing leaves, which can be a result of the roots becoming too constricted within the pot. As the plant continues to outgrow its container, the roots will start to circling or even growing out of the drainage holes, causing the plant’s nutrient uptake to suffer.
Dropped leaves are another physical symptom that indicates your plant needs repotting. This can be due to the roots becoming too tightly packed and putting pressure on the stem, causing it to release its hold on the leaves. Discoloration around the edges or between veins of the leaves can also signal a need for more room.
If you notice any of these symptoms in your indoor plant, it’s likely time to repot into a slightly larger container with fresh potting mix. Gently remove the plant from its current pot and inspect the roots. If they’re circling or have grown out of the drainage holes, it’s definitely time for a bigger pot.
Choosing the Right Pot Size for Repotting
When repotting your indoor plant, selecting a pot that’s just the right size is crucial to its health and happiness. This section will guide you through choosing the perfect pot size for your plant’s needs.
Selecting the Correct Pot Diameter
When selecting a pot for your indoor plant, it’s essential to choose one with sufficient diameter and depth to accommodate its mature size. A pot that is too small can lead to root bound conditions, where the roots outgrow the soil volume, causing stunted growth and reduced water uptake.
Consider the following factors when choosing a pot material: ceramic pots are durable and retain moisture well, but may be heavy; plastic pots are lightweight and easy to move, but may dry out quickly; wooden planters add a natural touch, but can rot if not properly maintained. Ceramic pots, in particular, come in various diameters and depths to suit different plants.
A general rule of thumb is to choose a pot that is 1-2 sizes larger than the current one. For example, if your plant currently resides in a 10-inch pot, consider moving it to a 12-14 inch one. This will give the roots room to grow and expand without becoming waterlogged or root-bound. Remember to also consider the depth of the pot, as some plants require deeper soil to accommodate their taproots.
Considering Soil Quality and Depth
When repotting your indoor plants, it’s easy to get caught up in choosing the right pot size, but equally important is selecting a high-quality potting mix that will support your plant’s growth. A good potting mix should drain well, preventing waterlogged soil that can lead to root rot and other problems.
Look for mixes specifically designed for indoor plants or those with high organic matter content, such as peat moss or coconut coir. These ingredients help retain moisture while allowing excess water to escape. Avoid generic garden soils, which can be too dense and may not provide the right balance of nutrients for your plant.
Consider the depth of your potting mix as well. A minimum of 2-3 inches is recommended, but ideally you want a mix that goes up to the top of the root system. This will ensure your roots have enough room to grow and absorb necessary nutrients. If your current potting mix is too shallow or depleted, it’s a good idea to repot with fresh mix to give your plant the best chance for success.
Preparing Your Plant for Repotting
Before you start repotting your indoor plant, make sure it’s healthy and ready to thrive by checking its root bound condition and water intake. This crucial step will help prevent shock during transfer.
Watering Before Repotting
Before you repot your indoor plant, it’s essential to water it thoroughly. This might seem counterintuitive, but trust us, it makes a huge difference in the process. Watering before repotting helps to loosen the soil and make it easier to handle, reducing stress on the roots.
When you repot a dry plant, the new soil can be too dense, causing the roots to become compacted and restricting their growth. By watering first, you’ll create a more pliable soil mix that will allow for healthy root expansion.
To water your plant before repotting, soak it in a sink or a large container filled with lukewarm water until the excess water drains out of the pot’s bottom holes. This should take about 10-15 minutes, depending on the size of your plant and its watering needs. After soaking, let the plant sit for about an hour to allow the soil to absorb the water.
By following this simple step, you’ll ensure a smoother repotting experience for both you and your plant. It’s also a great opportunity to inspect the roots and gently tease them apart if necessary. Remember, proper hydration is key to successful repotting, so don’t skip this crucial step!
Handling the Roots During Repotting
When handling the roots during repotting, it’s essential to be gentle and take your time. This will help minimize damage and ensure a smooth transition for your plant. Start by gently separating the roots with a soft-bristled brush or a blunt instrument like a chopstick. Work from the bottom of the pot up, using a gentle prying motion to loosen any tangled roots.
Be careful not to pull on the roots or tear them apart, as this can cause significant stress to your plant. Instead, use your fingers to gently tease out the root mass and work it loose from the sides of the pot. You may need to repeat this process several times before you’re able to release all of the roots.
If you encounter any stubborn or circling roots, don’t be tempted to cut them back – instead, try to coax them out with a little extra care and patience. Remember that your goal is to create a balanced root system, not to sacrifice it for the sake of convenience.
Step-by-Step Guide to Repotting Your Indoor Plant
When it’s time to repot your indoor plant, follow these simple steps to ensure a smooth and successful transition for both you and your plant. We’ll walk through each step in detail below.
Preparing the New Pot and Soil
When repotting your indoor plant, preparing the new pot and soil is crucial for its continued health and well-being. Start by selecting a new pot that’s only one to two sizes larger than the current one. This will prevent the soil from becoming too wet or waterlogged.
Next, choose a high-quality potting mix specifically designed for indoor plants. Avoid using garden soil from your outdoor garden, as it can be too dense and may not drain properly in pots. If you’re repotting during spring or summer, consider adding a fresh layer of fertilizer to the new potting mix. This will provide an instant boost of nutrients to help your plant establish itself in its new environment.
Check the pH level of your potting mix if necessary. Most indoor plants prefer a slightly acidic to neutral soil pH between 6.0 and 7.0. If you’re unsure about the pH level, consult with a local nursery or gardening expert for guidance. Finally, gently add the potting mix to the new pot, leaving enough space at the top for watering and future growth.
Gently Transferring the Plant into its New Home
Now that you’ve selected the perfect new pot for your plant, it’s time to gently transfer it into its new home. To do this, start by carefully removing the old pot from the surface where your plant is sitting. Gently slide a blunt object like a spatula or chopstick between the pot and the plant to loosen any stubborn areas where they may be stuck together.
Next, rotate the old pot while holding it away from you and slowly lift it upwards, taking care not to disturb the roots of the plant too much. Inspect the roots for any signs of circling or becoming tangled around each other – if this is the case, gently tease them apart with your fingers or a blunt instrument.
Once you’ve removed the old pot, inspect the roots more closely and trim off any dead or damaged areas to prevent infection from spreading further into the plant. Then, place the plant in its new pot, adding fresh potting mix around the roots until it’s firmly secured in place, but be sure not to pack it down too tightly – this can cause water to have trouble draining through.
To complete the process, add a layer of fresh potting mix at the top of the pot and gently firm it down with your fingers. Now that you’ve successfully transferred your plant into its new home, make sure to give it plenty of space to establish itself before watering it again.
Tips for Aftercare and Maintenance Post-Repotting
Now that you’ve repotted your indoor plants, it’s essential to provide them with proper aftercare and maintenance to ensure they thrive in their new environment.
Properly caring for your recently repotted plants will prevent shock, promote healthy growth, and encourage them to establish strong roots.
Monitoring Watering Needs
When you repot your indoor plant, it’s essential to monitor its watering needs closely. This is because changes in soil quality and pot size can affect the amount of moisture the plant absorbs. For example, a well-draining potting mix may require more frequent watering than a standard mix, while a larger pot will retain more water than a smaller one.
As you’re adjusting to your plant’s new home, keep an eye on its behavior. If it starts to droop or wilt, it may be a sign that the soil is too dry and needs watering. On the other hand, if water pools around the base of the pot, it could indicate overwatering.
To stay on top of your plant’s watering schedule, consider these tips:
* Check the moisture levels in the soil by sticking your finger into the soil up to the first knuckle
* Water your plant when the top 1-2 inches of soil feels dry
* Adjust your watering frequency based on changes in temperature and humidity
* Monitor your plant’s specific needs, taking note of its responses to different watering schedules
Avoiding Over-Fertilization
When you repot an indoor plant, it’s essential to be mindful of fertilization to avoid causing more harm than good. Over-fertilizing can lead to a buildup of salt and nutrients in the soil, which can cause root burn, stunted growth, or even kill the plant.
As a general rule, it’s best to delay fertilizing your repotted plant for 2-4 weeks after transplanting. This allows the roots to establish themselves in their new potting mix without the added stress of fertilizer. When you do start fertilizing, reduce the recommended amount by half and apply it less frequently.
For example, if a product recommends applying fertilizer once a week, try using it every 2-3 weeks instead. Monitor your plant’s response to fertilization, and adjust your schedule accordingly. If you notice any signs of nutrient burn or excessive growth, scale back on the frequency or amount of fertilizer.
Keep in mind that over-fertilizing is more common than under-fertilizing, so err on the side of caution and start with a conservative approach.
Frequently Asked Questions
Can I repot my plant during the active growing season, or should I wait until it’s dormant?
While it’s true that plants tend to be more stressed when they’re actively growing, repotting your indoor plant during this time won’t necessarily harm it. However, it’s often easier to handle and care for a plant after its growth has slowed down. Consider repotting in the spring or fall, when your plant is still growing but not as vigorously.
What if I’ve already fertilized my plant recently – can I still repot it?
Yes, you can still repot your plant even if you’ve recently fertilized it. However, keep in mind that excessive fertilizer can cause more harm than good during the repotting process. To minimize potential damage, water your plant thoroughly before repotting to leach out any excess fertilizer.
How do I prevent root damage when handling my plant’s roots during repotting?
To minimize root damage, gently grasp the plant near its base and carefully lift it out of the pot. Once you’ve removed the plant from its container, inspect the roots for any tangles or circling growth. Use a fork to loosen any compacted areas, but avoid cutting into the roots.
Can I repot my indoor plant if it’s suffering from pests like spider mites or mealybugs?
Yes, it’s usually safe to repot your plant even if it has pest issues. However, be sure to inspect the plant thoroughly for any signs of infestation and take steps to control the problem before introducing the plant to its new environment.
How often should I repot my indoor plants – is it a one-time thing or an ongoing process?
The frequency at which you need to repot your indoor plants depends on factors like their growth rate, soil quality, and container size. Generally, you’ll want to repot every 1-3 years for most plants. However, some plants may require more frequent repotting due to rapid growth or poor soil conditions.