Soil testing is often overlooked in garden maintenance, but it’s a crucial step in ensuring your plants get the nutrients they need to thrive. If you’re not testing your soil regularly, you might be unknowingly depriving your garden of essential minerals and micronutrients. This lack of attention can lead to weak growth, poor yields, or even plant death.
In this article, we’ll guide you through the process of collecting samples, interpreting results, and improving soil quality. We’ll cover everything from selecting the right testing kit to understanding pH levels and nutrient deficiencies. By the end of this post, you’ll have a clear plan for taking your garden’s soil health to the next level, ensuring healthier plants and better harvests.
Understanding the Importance of Soil Testing
To get the most out of your garden, it’s crucial to understand why soil testing is an essential step before planting. In this next part, we’ll explore its importance in detail.
Benefits of Regular Soil Testing
Regular soil testing is an essential practice for gardeners to ensure optimal plant growth and overall health. By identifying nutrient deficiencies, pH imbalances, and other issues, regular testing can help you make informed decisions about fertilizer applications, irrigation management, and crop selection.
Nutrient deficiencies are a common problem in many gardens. Without adequate nutrients, plants may struggle to grow or may exhibit signs of stress such as stunted growth, yellowing leaves, or poor fruit production. Regular soil testing allows you to identify specific nutrient deficiencies, enabling targeted fertilization applications that provide exactly what your plants need.
pH imbalances can also have a significant impact on plant health. Soil pH levels outside the optimal range for most plants (around 6.0-7.0) can reduce fertility, increase toxicity, or inhibit microbial activity. Regular testing helps you monitor soil pH and make adjustments as needed to ensure optimal growing conditions.
By conducting regular soil tests, gardeners can avoid over-fertilization, waste money on unnecessary fertilizers, and prevent plant damage from nutrient excesses or deficiencies. It’s also a great opportunity to adjust your gardening practices, like choosing plants that thrive in your specific soil conditions. Consider testing your soil every 6-12 months for optimal results.
Common Mistakes to Avoid When Collecting Soil Samples
When collecting soil samples, it’s easy to make mistakes that can compromise the accuracy of test results. One common error is not following proper protocols for sampling depth and size. This can be especially problematic when dealing with garden plots that are multiple acres in size.
A single sample collected from a small area may not accurately represent the entire plot. To avoid this, it’s essential to collect samples from multiple areas within the garden, ideally at different depths. This will provide a more comprehensive understanding of soil conditions and help identify any potential issues.
For example, if you’re sampling for nutrient levels, collecting two or three samples from different areas can give you a better picture of overall nutrient availability. Similarly, when testing for pH levels, it’s crucial to collect samples at various depths to ensure accurate results.
When in doubt, consult with a local nursery or gardening expert who can provide guidance on specific sampling protocols for your region and garden type. By following proper sampling procedures, you’ll be able to make informed decisions about soil amendments and other gardening practices that promote healthy plant growth.
Choosing the Right Soil Testing Method
When it comes to testing your garden soil, selecting the right method can make all the difference. We’ll walk you through the key factors to consider when making this important decision.
Options for DIY Soil Testing Kits
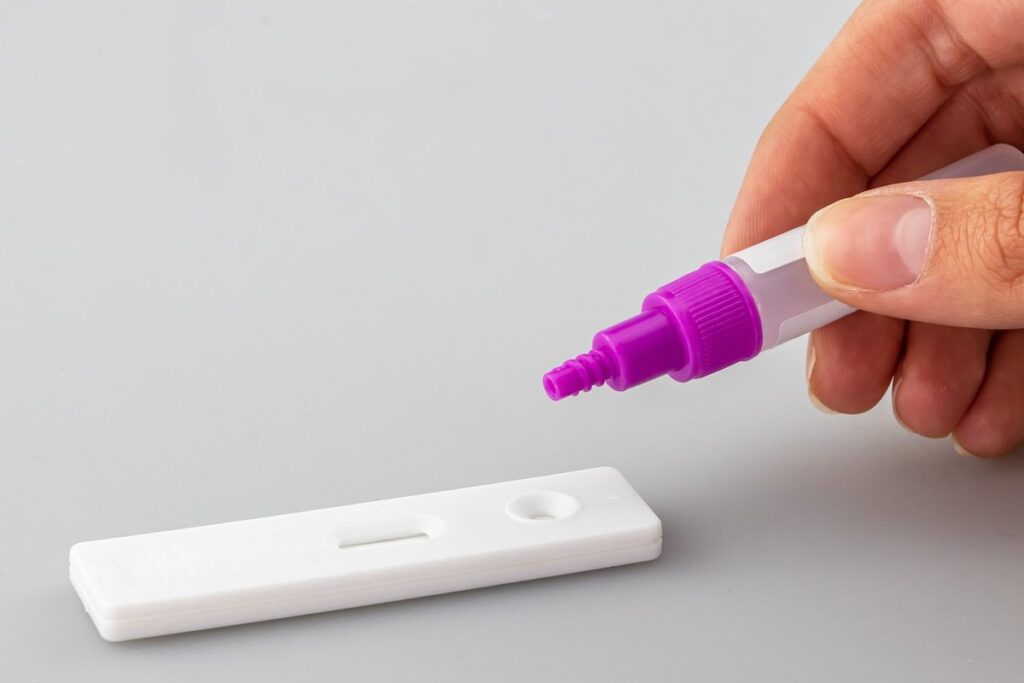
If you’re looking for an affordable and easy-to-use soil testing option, DIY soil testing kits might be just what you need. These kits usually come with a set of test strips or a pH meter that can give you a quick reading of your soil’s acidity levels.
The pros of using DIY soil testing kits include their low cost (often under $10) and ease of use. They’re perfect for small gardens or for beginners who want to get started with soil testing without breaking the bank. Additionally, they can be used on-site, saving you time and effort in collecting and sending off samples.
However, keep in mind that DIY kits may not provide accurate results, especially when it comes to nutrient levels. A study by the University of California found that pH test strips had a margin of error of up to 1.5 pH units, which can significantly impact your fertilization decisions. Nevertheless, if you’re just starting out or need a quick estimate, DIY kits can be a good starting point. Consider using them in conjunction with more comprehensive soil testing methods for accurate results.
Laboratory-Based Soil Testing Methods
If you’re looking for a more accurate way to determine your soil’s composition and pH levels, laboratory-based soil testing methods are worth considering. These methods involve sending a sample of your soil to a laboratory for analysis using specialized equipment.
The advantages of laboratory-based soil testing include higher accuracy and the ability to test for a wider range of parameters, such as nutrient levels and contamination presence. For example, if you suspect that heavy metals like lead or mercury are present in your soil, a lab test can provide a precise measurement. However, these tests come at a higher cost, typically ranging from $20 to $100 per sample.
One common laboratory-based method is inductively coupled plasma mass spectrometry (ICP-MS), which measures the concentration of various elements in the soil. Another is gas chromatography-mass spectrometry (GC-MS), used for detecting organic compounds like pesticides or industrial pollutants. While more expensive, lab tests offer a detailed understanding of your soil’s condition and can inform long-term management decisions.
Preparing Your Soil Samples for Testing
Before sending off your soil samples for testing, it’s essential to prepare them correctly to ensure accurate and reliable results. This includes labeling and handling your samples carefully to maintain their integrity.
Collection Techniques for Different Soil Types
When it comes to collecting soil samples for testing, different types of gardens require unique approaches. For example, if you’re working with container gardens, you’ll need to collect a sample from the top 6-8 inches of soil in each pot. This is because container soils can become depleted quickly due to the small volume and rapid water drainage.
Raised beds are another story altogether. Because raised bed soils tend to be more uniform than lawns or containers, it’s often okay to take a single composite sample from one area of the bed. However, if you have multiple raised beds with different soil mixes, it’s best to collect separate samples for each.
When working with lawns, things get a bit trickier. A good rule of thumb is to collect 10-15 small plugs of soil at random intervals across your lawn. This will give you an accurate representation of your lawn’s overall soil health. Remember to avoid areas with recent fertilizer applications or other potential contaminants when collecting your samples.
It’s also essential to label each sample clearly, including the type of garden it came from and any relevant location information.
Storage and Handling Considerations
Proper storage and handling of soil samples is crucial for ensuring accurate test results. This process may seem simple, but it can significantly impact the reliability of the data obtained from laboratory testing. Upon collection, store each sample in a separate container to prevent cross-contamination.
Label each container with relevant information, including the location where the sample was taken and any other identifying details. It is also essential to minimize exposure to heat, moisture, or direct sunlight, as these factors can affect the soil’s chemical composition.
Store containers in a cool, dry place away from potential contaminants. Keep them upright to prevent leakage or spillage. Labeling the containers with their contents and storage conditions will help maintain accurate records throughout the testing process.
Inadequate handling can lead to compromised test results, which may necessitate additional sampling costs. To ensure accuracy, keep soil samples refrigerated at 4°C (39°F) if possible, but never freeze them.
Interpreting Your Soil Test Results
Now that you have your soil test results, let’s dive into what they mean and how to use them to create a healthy and thriving garden. We’ll break down each key finding and provide guidance on the next steps to take.
Understanding pH Levels and Nutrient Deficiencies
When interpreting your soil test results, it’s essential to understand what pH levels and nutrient deficiencies mean for your garden. A high or low pH level can significantly impact the availability of nutrients for plants to absorb.
A pH level above 7 indicates alkaline conditions, while a pH below 7 suggests acidic conditions. Most vegetables prefer a slightly acidic to neutral soil pH between 6.0 and 7.0. If your test reveals a pH outside this range, it may lead to nutrient deficiencies or toxicity. For instance, if the pH is too high, essential micronutrients like iron, zinc, and manganese become unavailable to plants.
On the other hand, nutrient deficiencies can also be indicated by a soil test. These deficiencies might manifest as yellowing leaves, stunted growth, or reduced yields. Common nutrient deficiencies include nitrogen (N), phosphorus (P), potassium (K), calcium (Ca), magnesium (Mg), and sulfur (S). To address these issues, consider getting a targeted fertilizer recommendation from your nursery or gardening expert. This will help you provide the necessary nutrients for optimal plant growth.
Recommendations for Improving Soil Quality
Now that you have your soil test results, it’s time to put them into action and improve the health and fertility of your soil. Here are some recommendations for improving soil quality:
Take a holistic approach by considering the entire ecosystem. If your pH levels are off, consider adding lime or sulfur to adjust the balance. However, be cautious not to overdo it, as this can lead to an imbalance that may take months to correct.
Consider your nutrient levels and amend accordingly. If you’re low in nitrogen, phosphorus, or potassium (NPK), add a balanced fertilizer or individual supplements. Organic options like compost, manure tea, or worm casting are excellent choices for long-term soil health.
For poor drainage issues, implement mulching techniques to reduce water loss and prevent erosion. Add organic matter like wood chips, bark, or straw to improve structure and increase beneficial microbe populations.
Lastly, remember that every small change can make a significant impact. Start with one area of improvement and gradually work your way through the rest. With patience and persistence, you’ll be on your way to healthier, more fertile soil in no time!
Strategies for Implementing Soil Testing into Your Gardening Routine
Now that you know why soil testing is a must, let’s dive into some practical strategies to incorporate it seamlessly into your gardening routine. We’ll explore various methods to make testing a regular habit.
Scheduling Regular Soil Tests
Regular soil testing is essential for maintaining healthy and thriving gardens. By scheduling tests at key intervals, you can ensure that your garden’s nutrient levels remain optimal and adjust your fertilization strategy accordingly. Consider the following guidelines to incorporate regular soil testing into your gardening routine.
Start by testing your soil annually, ideally before planting season begins. This will give you a baseline understanding of your soil’s pH level, nutrient content, and structure. Repeat this process every few years to track any changes or shifts in your garden’s conditions. If you notice significant variations, consider adjusting your testing schedule accordingly.
For example, if you’re growing vegetables that require a specific pH range, test the soil before planting to ensure it’s within the optimal levels. Similarly, if you’re introducing new plants with varying nutrient requirements, test the soil beforehand to make necessary adjustments.
Additionally, consider coinciding your soil tests with other key gardening milestones, such as after harvests or during periods of intense growth. This will help you refine your fertilization strategy and ensure that your garden continues to thrive.
Integrating Soil Test Results into Your Garden Planning
Now that you have your soil test results in hand, it’s time to use them to inform your planting decisions. This is where things get really interesting – and potentially game-changing for your garden’s health and productivity.
When selecting plants for your garden, consider their specific needs when it comes to pH levels, nutrient availability, and overall soil conditions. For example, if your test reveals high levels of acidity, you’ll want to choose plants that thrive in acidic environments, such as blueberries or rhododendrons. On the other hand, if your soil is alkaline, opt for plants like succulents or grasses that prefer a more neutral pH.
Take a closer look at your nutrient analysis – are there any glaring deficiencies? If so, choose plants that are adapted to those specific conditions. For instance, if you’re low in potassium, select plants like carrots or beets, which are naturally high in this essential mineral.
By matching your plants with the unique characteristics of your soil, you’ll be taking a huge step towards creating a balanced and thriving ecosystem – and avoiding costly mistakes that can lead to plant failure.
Advanced Topics in Soil Testing: Emerging Trends and Technologies
As you continue to refine your gardening skills, it’s essential to stay up-to-date on emerging technologies that can take your soil testing game to the next level. Here, we’ll explore some cutting-edge trends and innovations changing the face of soil analysis.
The Role of Digital Tools in Soil Testing
As gardeners continue to adopt data-driven approaches to their gardening practices, digital tools are playing an increasingly important role in soil testing. Gone are the days of relying solely on intuition and experience; with the help of apps, online platforms, and other digital resources, gardeners can now interpret soil test results with greater ease and accuracy.
Take, for example, the popular app SoilWeb, which allows users to upload their soil test data and receive personalized recommendations for improving their soil’s fertility. This can include specific advice on pH levels, nutrient deficiencies, and even microbe populations – all based on the unique characteristics of your specific soil type.
Another valuable resource is the online platform Gardener’s Supply Company, which offers a comprehensive guide to understanding soil test results. Their expert advice covers everything from interpreting nitrogen and phosphorus levels to identifying potential contaminants and pollutants in your soil. With these digital tools at your fingertips, you’ll be able to make informed decisions about your garden’s health and well-being with greater confidence than ever before.
To get the most out of these digital resources, be sure to consider the following:
New Developments in Soil Analysis Technology
Recent advances in soil analysis technology have transformed the way we approach soil testing for our gardens. Advanced spectroscopy methods are revolutionizing soil analysis by allowing us to quickly and accurately measure a wide range of parameters, including pH levels, nutrient content, and microbial activity.
For instance, near-infrared (NIR) spectroscopy is being used to analyze soil samples with unprecedented speed and accuracy. This method uses specialized sensors to measure the absorption of light in the NIR spectrum by different compounds in the soil, providing a wealth of information about its composition and condition.
Machine learning algorithms are also playing a key role in soil analysis technology. By analyzing large datasets of soil sample analyses, these algorithms can identify patterns and relationships that would be difficult or impossible for humans to detect. This enables them to make predictions about future soil behavior and optimize fertilizer applications, irrigation schedules, and other management practices.
As gardeners, it’s essential to stay up-to-date with the latest advances in soil analysis technology. By leveraging these innovative tools and techniques, you can gain a deeper understanding of your soil’s needs and develop more effective strategies for maintaining healthy, productive soils.
Frequently Asked Questions
How often should I schedule regular soil tests for my garden?
Regular soil testing is recommended every 6-12 months, depending on your garden’s specific needs and growth patterns. Consider factors like crop rotation, fertilization schedules, and changes in weather conditions to determine the optimal frequency for your garden.
What if I don’t have access to a laboratory for soil testing? Can I still use DIY kits?
Yes, you can still use DIY soil testing kits as a convenient alternative or supplement to laboratory testing. Look for reputable brands that offer accurate and reliable results, following their instructions carefully to ensure valid readings.
How do I store my collected soil samples before sending them off for testing?
Store your soil samples in airtight containers, such as plastic bags or glass jars with tight-fitting lids. Keep the samples away from direct sunlight, moisture, and extreme temperatures (between 40°F and 80°F) to prevent degradation of nutrients and pH levels.
Can I interpret my own soil test results, or should I hire a professional?
While you can learn to interpret your own soil test results with practice, it’s often beneficial to consult a professional for complex or unclear readings. A certified horticulturist or soil scientist can provide personalized advice on improving soil quality and addressing specific issues.
What are some common mistakes to avoid when implementing regular soil testing into my gardening routine?
Common pitfalls include inadequate sampling techniques, incorrect handling of samples, and misinterpreting test results. Be sure to follow established protocols for collecting, storing, and analyzing your soil samples to get accurate readings and informed decisions about your garden’s health.