Rooting sage can be a game-changer for gardeners who want to multiply their favorite herbs. Whether you’re looking to grow more sage for cooking or want to share some with friends, propagating this versatile herb is easier than you think. But first, let’s talk about the different types of sage – common garden sage, pineapple sage, and purple sage are just a few varieties that can be rooted successfully. In this article, we’ll cover the best methods for rooting sage, including cuttings, division, and layering. We’ll also dive into the post-rooting care tips you need to know to ensure your new plants thrive. By the end of this comprehensive guide, you’ll be well on your way to becoming a sage-growing pro. So let’s get started!
Understanding Sage Plants
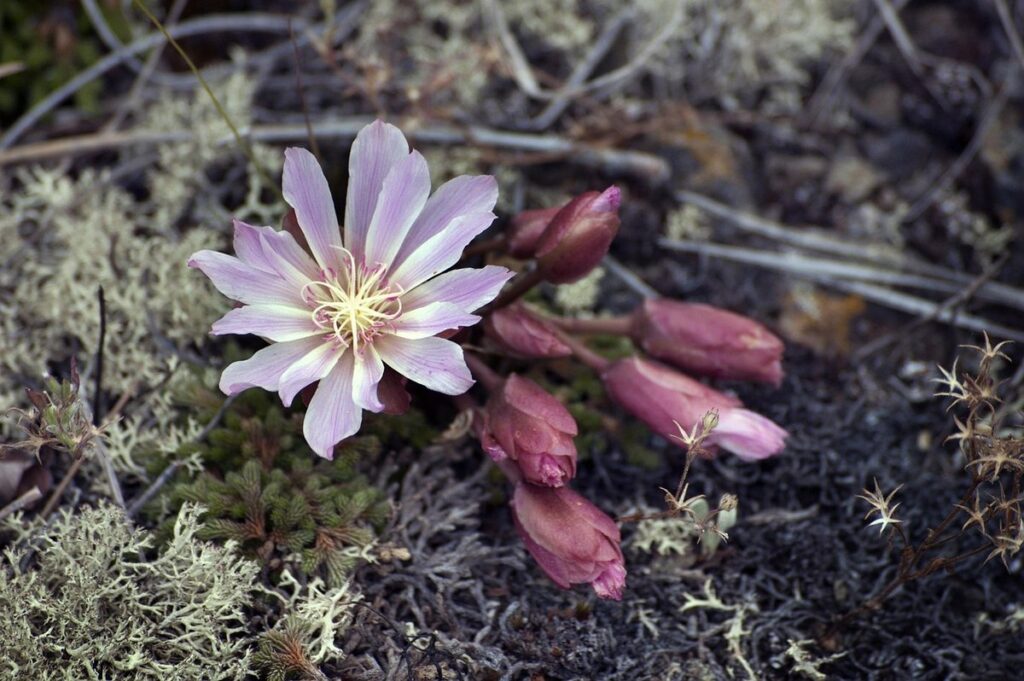
Let’s dive into the fascinating world of sage plants and explore what makes them so unique, from their growth habits to their uses in cooking and herbalism. We’ll cover everything you need to know about these incredible plants.
Types of Sage
When it comes to rooting sage, understanding the different species of these plants is crucial. There are two main categories: culinary and ornamental varieties. Culinary sages, such as Common Sage (Salvia officinalis) and Garden Sage, are popular for their flavor and aroma used in cooking. These plants tend to have a more compact growth habit, typically growing 1-2 feet tall, with gray-green leaves and purple flowers.
Ornamental sages, like Pineapple Sage (Salvia elegans) and Blue Sage, are prized for their vibrant colors and unique foliage. They often grow taller, up to 3-4 feet high, and have larger leaves or showy blooms in shades of pink, blue, or white. Ornamental varieties usually require less pruning and can thrive in containers or as border plants.
Some species, like Tricolor Sage (Salvia x ‘Tricolor’) and Berggarten Sage (Salvia officinalis ‘Berggarten’), have striking foliage patterns, which can add visual interest to your garden. Regardless of the type, all sage varieties require well-draining soil and full sun to produce strong roots for successful propagation.
Choosing the Right Sage Variety for Rooting
When it comes to rooting sage, choosing the right variety is crucial for success. Different sage varieties have unique characteristics that make them more suitable for specific climates, soil types, and uses. For example, if you live in a hot and dry climate, you’ll want to choose a drought-tolerant sage variety like ‘Purpurea’ or ‘Tricolor’. These varieties are perfect for areas with limited water supply.
On the other hand, if you’re looking for a medicinal use, ‘Salvia officinalis’, also known as common sage, is a popular choice. This variety has been used for centuries to aid in memory and cognitive function. When selecting a culinary variety, consider factors like flavor profile and aroma. Some popular varieties for cooking include ‘Berggarten’ and ‘Tri-Color’. These have a more delicate flavor and are perfect for adding a subtle sage taste to dishes.
Consider your local climate, soil type, and desired use when choosing a sage variety for rooting. This will ensure you select a plant that thrives in its environment and meets your needs. By choosing the right variety from the start, you’ll be well on your way to successfully rooting your own sage plants.
Preparing the Sage Plant for Rooting
Before you start rooting your sage, it’s essential to prepare the plant by selecting healthy stems and removing any weak or damaged leaves. This ensures a strong foundation for successful propagation.
Propagation Methods Overview
When it comes to propagating sage plants, you have several methods to choose from, each with its own set of advantages and disadvantages. One popular method is taking stem cuttings, which involves cutting a section of the stem from a mature sage plant, removing lower leaves, and planting it in a rooting medium. This method allows for rapid propagation and can produce roots within 1-2 weeks.
Division is another effective method, where you separate established sage plants to create new ones. This method preserves the plant’s root system and can be done at any time of year. However, division may not produce as many new plants as stem cuttings, and it requires more effort to split the roots.
Layering involves bending a long stem from a mature sage plant over a pot or tray, allowing roots to develop before cutting below the node. This method is often used for woody plants like rosemary but can also be applied to sage. Layering offers a high success rate and can produce multiple new plants from a single stem.
Ultimately, the choice of propagation method depends on your specific needs and goals. If you’re looking for rapid growth and high yields, stem cuttings might be the best option.
Tools and Materials Needed
To successfully root sage, you’ll need to gather some essential tools and materials. Start by getting a good pair of pruning shears specifically designed for cutting plants. These will help you make clean cuts on the sage stems, reducing the risk of damage or crushing the plant’s cells.
You’ll also require several pots that are at least 6-8 inches deep. This is to accommodate the roots as they grow and establish themselves in their new environment. A well-draining potting mix specifically designed for cuttings will help prevent waterlogged soil, which can be detrimental to your sage plants’ health.
Additionally, you’ll need a rooting hormone to stimulate root growth and increase the chances of successful rooting. This is usually applied directly to the cut end of the stem using a small brush or cloth. Some gardeners swear by commercial rooting hormones, while others prefer homemade alternatives like willow water or Aloe Vera gel.
Finally, have some gardening gloves on hand to protect your hands from sap and thorns as you work with the sage plants.
Rooting Sage through Stem Cuttings
To root sage through stem cuttings, you’ll need a clean and sharp tool to take cuttings from mature stems, making sure each cutting has at least two nodes.
Taking Healthy Stem Cuttings
To take healthy stem cuttings from mature sage plants, you’ll want to focus on selecting fresh, disease-free material. Start by inspecting your sage plant for stems that are at least 4-6 inches long and have a few sets of leaves. Cut these stems using clean pruning shears or scissors, making sure to leave about an inch of stem with leaves intact.
Next, identify the nodes on the stem – these are the small swellings where the leaves meet the stem. It’s essential to include at least one node in each cutting, as this is where roots will develop. Make a clean cut just above a node, and then trim any weak or spindly growth from the bottom of the cutting.
When handling your stem cuttings, make sure to handle them gently but firmly – you don’t want to bruise the leaves or damage the stem. This will help prevent infection and promote healthy rooting.
Preparing the Cuttings for Rooting
Preparing stem cuttings for rooting is an essential step in the process of propagating sage plants. To start, gather a few healthy stems from a mature sage plant, making sure they have at least two sets of leaves. Remove all lower leaves from the cutting, leaving only the top pair or set of leaves intact. This helps prevent the stem from drying out and reduces the risk of bacterial or fungal infections.
Next, dip the cut end of each stem into a rooting hormone powder or liquid. This increases the chances of successful root development by providing essential nutrients for growth. Gently shake off any excess hormone to avoid overpowering the cutting.
It’s also crucial to clean your tools and workspace before handling the cuttings to prevent contamination. A simple way to prepare multiple cuttings at once is to use a propagation tray or pot filled with sterile soil. Once prepared, you’re ready to move on to planting the stem cuttings in their rooting medium.
Alternative Methods: Division and Layering
When it comes to propagating sage, you have two primary alternative methods to consider: division and layering. Both techniques can be effective for creating new plants.
Dividing Established Sage Plants
When an established sage plant becomes pot-bound or overcrowded, it’s essential to divide it to promote new growth and prevent stagnation. Dividing the roots of a mature sage plant encourages healthy development by providing each section with its own set of roots and allowing for more extensive watering and fertilization.
To divide an established sage plant, begin by gently removing it from its pot. Inspect the roots, looking for any circling or entwined sections that can be separated. Using a sterile knife or pruning tool, carefully slice through these areas to release the tangled roots. Make sure each new section has at least two sets of leaves and a decent root system.
Keep in mind that dividing sage plants typically results in more vigorous growth than propagating from cuttings. By doing this, you’ll also be reducing the risk of disease transmission among the sections. As an added benefit, divided sage plants tend to have stronger roots, making them less prone to transplant shock when introduced into new environments.
Layering Sage Stems on the Ground
Layering sage stems on the ground is a simple and effective method to propagate new plants. This technique involves creating a trench and placing the stem, allowing it to root over time. To begin, choose healthy sage stems with at least two sets of leaves. Dig a shallow trench about 6-8 inches deep in well-draining soil, making sure the area receives indirect sunlight.
Place the sage stem along the center of the trench, gently bending it into place. Cover the stem with a layer of soil or mulch to secure it in position. You can also use wire ties to hold the stem upright if needed. Make sure the soil is not too compacted, as this can prevent water and air from reaching the roots.
As you backfill the trench, firm the soil around the stem to prevent settling. Keep the area consistently moist during the rooting process, which can take anywhere from 2-4 weeks. Once new growth appears, carefully dig up the rooted sage plant, taking care not to damage the delicate roots.
Post-Rooting Care for Sage Plants
After successfully rooting your sage, it’s essential to provide proper care to ensure it thrives and continues to grow. Here, we’ll cover crucial steps to maintain healthy, robust sage plants.
Providing Optimal Growing Conditions
After successfully rooting your sage plant, it’s essential to provide optimal growing conditions for it to thrive. Newly rooted sage plants require specific care to adjust to their new environment and promote healthy growth.
First and foremost, light is a crucial factor. Sage plants prefer bright, indirect light but can tolerate some direct sunlight. Placing them near an east- or west-facing window is ideal. If you don’t have access to natural light, use grow lights with a balanced spectrum (around 18-24 inches away from the leaves) for at least 12 hours a day.
Temperature-wise, sage plants prefer daytime temperatures between 65-75°F (18-24°C) and nighttime temperatures around 55-65°F (13-18°C). Keep your plant away from drafts and extreme temperature fluctuations. Watering is also critical; water your sage plant when the top inch of soil feels dry to the touch, but avoid overwatering.
When it comes to fertilization, use a balanced, water-soluble fertilizer (10-10-10 NPK) at half the recommended strength every 1-2 weeks. This will promote healthy growth and prevent burning your plant’s roots or leaves. Be cautious not to overfertilize, as this can lead to nutrient burn.
Pruning and Training New Growth
As your rooted sage plant begins to grow, it’s essential to prune and train its new growth to promote bushy development and encourage future harvests. Pruning isn’t just about removing unwanted branches; it’s also a way to direct the plant’s energy towards producing more desirable foliage.
To start, inspect your rooted sage plant regularly, identifying any weak or leggy stems that are detracting from the overall shape. Remove these by cutting them back to about one-quarter of their original length, making clean cuts just above a node (where a leaf meets the stem). This will stimulate new growth and encourage branching.
When training new growth, consider using a trellis or stake to support taller stems, guiding them upwards while keeping the base of the plant bushy. You can also gently twine longer stems around nearby plants or structures, creating a natural, informal hedge. By pruning and training your rooted sage regularly, you’ll enjoy a more robust, productive plant that’s less prone to disease and pests.
Troubleshooting Common Issues
If you’re running into problems while rooting your sage, don’t worry – we’ve got some helpful solutions to common issues right here. Let’s tackle them together and get back on track.
Identifying and Addressing Rooting Problems
One of the most frustrating experiences when rooting sage is encountering problems that hinder successful growth. Common issues may arise during this process, including a lack of roots or failure to thrive.
A lack of roots can be caused by various factors such as inadequate water, insufficient light, or too much fertilizer. To address this issue, ensure that your cutting is placed in an area with bright, indirect light and consistently moist soil. A well-draining potting mix and moderate watering schedule can also help promote healthy root development.
On the other hand, failure to thrive may be due to over-fertilization or insufficient nutrients. To overcome this challenge, use a balanced fertilizer at half the recommended strength and consider supplementing with micronutrients like magnesium or iron.
Monitor your rooted sage closely for signs of stress, such as yellowing leaves or stunted growth, and adjust your care routine accordingly.
Dealing with Pests and Diseases
As you successfully root your sage plant, it’s essential to be aware of common pests and diseases that can affect its health. Check for signs of infestation or infection regularly to prevent the spread of these issues.
One of the most common pests affecting rooted sage plants is spider mites. These tiny insects feed on the sap of the leaves, causing yellowing and bronzing. To prevent an infestation, ensure good air circulation around your plant by keeping it away from other plants and maintaining a distance of at least 6-8 inches. Regularly inspect your plant for fine webbing or tiny moving dots.
Root rot is another common issue caused by overwatering, which can lead to the growth of fungi such as Phytophthora or Pythium. Prevent this by allowing the top inch of soil to dry out between waterings and avoiding getting water on the leaves. If you notice soft spots or a foul odor coming from the soil, treat with a fungicide specifically labeled for root rot.
Regularly inspect your plant for signs of pests or diseases, and take action promptly if you notice any issues.
Conclusion: Successful Sage Rooting
Now that you’ve successfully rooted your sage, let’s review the key takeaways to ensure a thriving plant and maximize its growth potential.
Recap of Key Takeaways
In reviewing the comprehensive process for rooting sage, several key takeaways stand out as essential for achieving success. Firstly, it’s crucial to select a healthy and vigorous parent plant with plenty of stems and leaves, ensuring that it can withstand the stress of propagation.
When preparing the cutting, make sure to remove lower leaves to prevent moisture loss and promote root growth. Next, dip the cut end in rooting hormone powder or liquid to increase the chances of successful take-off.
During the rooting phase, maintain a humid environment by covering the container with a clear plastic bag or cloche. Check on the plant regularly to ensure that it’s receiving sufficient light and maintaining optimal temperatures between 65-75°F (18-24°C).
By following these critical steps and tips, you’ll be well-equipped to successfully root your own sage plants.
Tips for Future Growers
As you’ve successfully rooted your sage plant, it’s time to think about the future of your garden. If you’re new to propagating plants, don’t worry – rooting sage is a great way to gain experience and confidence.
Start by monitoring your young plants closely, ensuring they receive sufficient light, water, and nutrients. Keep an eye out for signs of stress or disease, which can be detrimental to the plant’s development. Remember that every variety of sage has its unique requirements, so research specific needs for your specific type.
To maintain a healthy, thriving stock of rooted sage plants, consider dedicating a separate area in your garden for propagation. This will allow you to keep track of multiple seedlings and ensure they receive consistent care.
For new growers, it’s essential to be patient and flexible. Don’t be discouraged by setbacks or failures – use them as opportunities to learn and improve your technique. With time and practice, you’ll develop the skills needed to successfully propagate a variety of plants.
Frequently Asked Questions
Can I root any type of sage plant, or are there specific varieties that work best?
Yes, while many types of sage can be rooted successfully, some varieties are easier to propagate than others. Culinary sages like Common Sage and Garden Sage tend to have a higher success rate when it comes to rooting through cuttings. Ornamental sages, on the other hand, may require more patience and experimentation.
What’s the ideal time of year for rooting sage plants?
In general, spring and early summer are considered the best times for rooting sage plants. This is because the weather is usually mild, and the plants are actively growing, making them more responsive to propagation methods like cuttings and division.
Can I root sage plants from seed, or should I use stem cuttings instead?
While it’s technically possible to root sage plants from seed, this method can be slower and less reliable than using stem cuttings. Rooting from seed requires a lot of time and patience, as the seeds need to germinate and then grow into mature plants before you can harvest them for propagation.
What if I’m having trouble getting my rooted sage cuttings to take? Are there any troubleshooting tips?
Yes! If your rooted sage cuttings aren’t taking, it’s often due to a lack of humidity or inconsistent moisture levels. Make sure you’re providing the right conditions for rooting, including keeping the soil consistently moist but not waterlogged. Also, be patient – some varieties may take longer than others to establish themselves.
Can I propagate sage plants by layering, even if they’re already quite large?
Yes! While layering is often used for smaller stems or branches, you can still use this method with larger sections of stem from mature sage plants. Simply bury the lower section of the stem in soil and secure it gently with a wire – just make sure to keep the node (where the leaf meets the stem) above the soil line to promote root growth.