Are you tired of watching your beautiful houseplant suffocate in its tiny pot, struggling to grow? It’s time to give them some breathing room! Repotting is an essential part of caring for your indoor plants, and it’s not as daunting as you might think. In fact, repotting can be a great opportunity to refresh the soil, prune any overgrown roots, and give your plant a chance to thrive in a larger, more spacious pot. But where do you start? Choosing the right pot is crucial, and so is preparing your plant for its new home. Don’t worry, we’ve got you covered with our comprehensive guide on how to repot houseplants like a pro. In this article, we’ll walk you through everything from selecting the perfect pot to aftercare tips for healthy growth, ensuring your plants stay happy and thriving for years to come.
Choosing the Right Pot
When it comes time to repot your houseplant, choosing the right pot is crucial for its health and happiness. Here’s what you need to consider when making that selection.
Understanding Your Plant’s Needs
When it comes to choosing the right pot for your houseplant, understanding its needs is crucial. But how do you know if your plant needs repotting in the first place? One way to determine this is by observing its behavior and physical condition.
Firstly, take a closer look at your plant’s watering habits. If you notice water pooling around the base of the pot or taking an unusually long time to drain, it may be a sign that the soil has become too compacted. This can cause roots to rot and lead to overwatering issues. On the other hand, if your plant is consistently under-watered, its leaves might droop or turn yellow.
Another indication of repotting needs is slow growth. If you’ve noticed your plant’s progress slowing down significantly, it may be a sign that it has outgrown its pot and needs more room to expand its roots. You can also take a closer look at the roots themselves by gently removing them from the soil. If they’re visible above the surface or growing out of the drainage holes, it’s time for a new pot.
Keep an eye out for these signs and adjust your repotting schedule accordingly. By listening to your plant’s needs, you’ll be able to provide it with the right environment to thrive.
Selecting the Perfect Pot Size
When it comes to repotting your houseplants, choosing the right pot size is crucial. It’s essential to select a container that provides enough space for the plant’s root system to grow without becoming too waterlogged. If the pot is too small, the roots will quickly outgrow their space, causing the soil to dry out faster. On the other hand, if the pot is too large, excess moisture can collect in the soil, leading to root rot and other problems.
A good rule of thumb is to choose a pot that is only 1-2 sizes larger than the original one. This will give the roots room to expand while still maintaining a balance between water retention and drainage. For example, if your plant is currently growing in a 6-inch pot, consider moving it to an 8 or 10-inch container. Be mindful of the soil mix’s capacity for moisture as well – a lightweight blend can handle more excess water than a dense one.
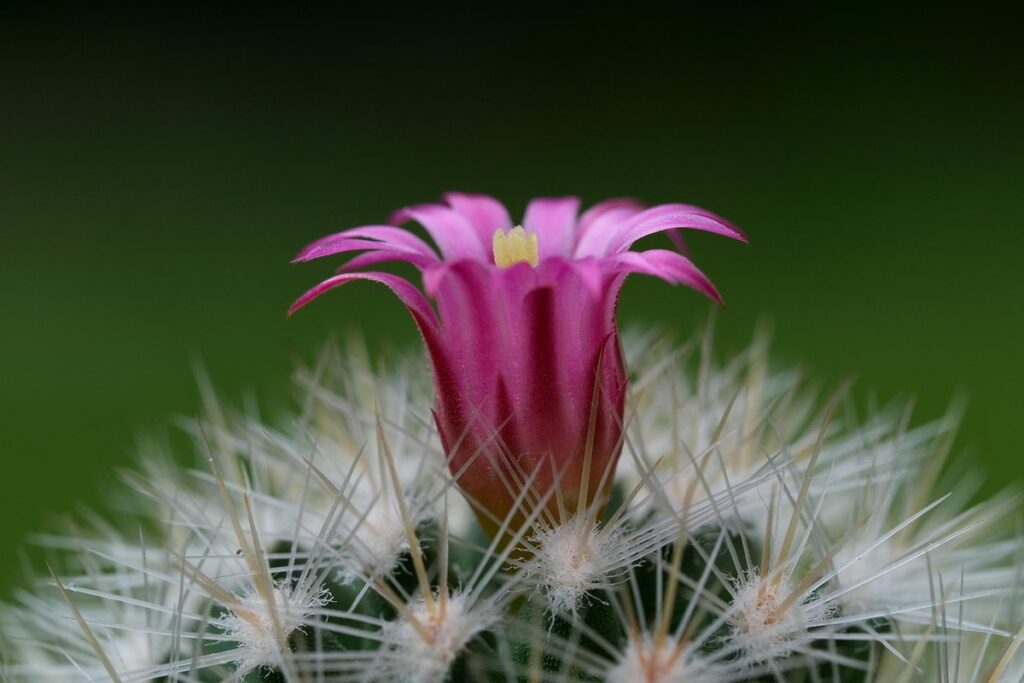
Pay attention to your plant’s specific needs and adjust accordingly. Some plants, like ferns and peace lilies, prefer moist environments and may benefit from larger pots. Others, such as cacti and succulents, require drier soil and may thrive in smaller containers.
Preparing Your Plant for Repotting
Before you start repotting, make sure your plant is ready by checking its roots and soil conditions to determine if it’s time for a new pot. This section will walk you through those crucial steps.
Watering Before Repotting
Watering before repotting is a crucial step that often gets overlooked, but it’s essential to give your houseplant the best chance at thriving. When you water your plant before repotting, it helps the roots to expand and become more receptive to being handled. This makes the repotting process much smoother and less stressful for both you and the plant.
Think of it like getting a new pair of shoes. If you put on a pair that’s too tight, it can cause discomfort and even injury. Similarly, if the soil is too dry or compacted during repotting, it can cause root damage, which can lead to slow growth, disease, or even death. By watering your plant beforehand, you’re loosening up the soil, making it easier for the roots to move around and settle into their new home.
As a general rule of thumb, water your houseplant about 24 hours before repotting. This allows the soil to retain just the right amount of moisture, making it easier to handle during the repotting process. Just be sure not to overwater, as this can lead to other problems down the line.
Cleaning and Disinfecting the New Pot
When repotting your houseplant, it’s essential to clean and disinfect the new pot to prevent the spread of diseases. A dirty or contaminated pot can harbor pathogens that can infect your plant, leading to root rot, leaf drop, and even death.
Think about it: a used pot has likely been exposed to various fungi, bacteria, and other microorganisms from previous plants. If you don’t clean and disinfect it properly, you’re essentially introducing these contaminants to your new soil and roots. This can lead to a weakened plant defense system, making it more susceptible to pests and diseases.
To prevent this, wash the new pot thoroughly with soap and warm water before use. Then, soak it in a solution of one part bleach to 10 parts water for about an hour. After rinsing the pot thoroughly, fill it with fresh, sterilized soil and proceed with repotting your plant. By taking these simple steps, you’ll be protecting your houseplant from potential harm and giving it the best chance to thrive in its new home.
Remember, a clean pot is just one part of successful repotting – but it’s an important one!
The Repotting Process
When it’s time to repot your houseplants, understanding the process is crucial for their health and growth. This section will walk you through each step of the repotting journey.
Removing the Plant from the Old Pot
When you’re ready to repot your houseplant, gently removing it from its old pot is often the most delicate part of the process. To avoid damaging the roots, start by carefully examining the plant’s container and identifying the type of soil it has been growing in. This will give you an idea of how easily the plant will release from the pot.
Next, place a sheet of newspaper or a soft cloth around the base of the plant to protect your work surface from any debris that might fall off during removal. Then, carefully turn the pot on its side and gently slide it away from the plant. If the plant is stuck due to the soil being too dry or the pot being too tight, try running a thin layer of water around the inside of the pot to help loosen it.
As you work to release the plant from the pot, be mindful not to touch or disturb the roots as much as possible. Use your fingers or a blunt tool like a chopstick to gently pry the plant away from any stubborn areas where it may be stuck.
Inspecting and Pruning the Roots (If Necessary)
Inspecting and pruning the roots (if necessary) is an essential step in the repotting process. Not all houseplants require root inspection and pruning, but it’s crucial to determine if your plant needs this treatment.
When repotting a mature or overgrown houseplant, inspecting the roots is often necessary. Over time, roots can become circling, tangled, or even grow out of the pot, making it challenging for the plant to absorb water and nutrients. To check the roots, gently remove the plant from its container, taking care not to damage any new growth.
If you find that your plant’s roots are circling or have grown beyond the pot, it’s time to prune them. Use a sharp, sterile tool like a garden knife or pruning shears to carefully trim away any damaged or dead root material. Be cautious not to cut too much of the healthy root system, as this can cause stress to the plant.
Prune about 1/3 of the roots in mature plants, and only trim what’s necessary in younger plants. Once you’ve pruned the roots, gently wash them with water to remove any debris or old potting mix. This will help prevent any potential diseases from spreading to the new potting mix.
Repotting Techniques
When repotting your houseplants, technique matters as much as timing. This section will walk you through essential techniques for successfully transplanting your plants into fresh soil and containers.
The Watering-in Method
The Watering-in Method is a clever way to repot your houseplant with minimal stress and mess. This technique involves gently placing the plant into its new pot while keeping it submerged in water. Here’s how it works:
First, prepare a large container or sink filled with water. Next, carefully remove your plant from its old pot, taking care not to disturb the roots. Place the plant into the water-filled container or sink, making sure the entire root system is submerged. Now, slowly begin to add fresh potting mix around the roots, gently firming it in place as you go. Continue adding more mix until the pot is about three-quarters full.
Once the plant is securely seated in its new pot, carefully lift it out of the water and let any excess liquid drip off. Water your plant thoroughly after repotting, but be cautious not to overwater. The best approach is to gently pour a small amount of water around the base of the plant, allowing it to soak up what it needs. This will help prevent waterlogged soil and root rot. With this method, you’ll have successfully transplanted your houseplant with minimal disruption to its roots.
The Root Rinse Method
When it’s time to repot your houseplant, you have several methods to choose from. One of these is the root rinse method, which involves gently removing old potting mix and debris from the roots before placing them into fresh soil. This technique has gained popularity among houseplant enthusiasts due to its effectiveness in promoting healthy growth.
The root rinse method starts by carefully excavating your plant from its current container. Once freed, gently rinse the roots with lukewarm water to remove any trapped dirt or debris. Be cautious not to disturb the delicate root hairs during this process.
This approach offers several advantages over other repotting methods. For instance, it reduces the risk of root shock, a common issue when transitioning plants from one container to another. By removing old potting mix and debris, you’re also minimizing the chance of nutrient deficiencies that can arise when using the same soil repeatedly.
Aftercare and Maintenance
Now that you’ve successfully repotted your houseplant, it’s time to focus on its aftercare needs, from watering habits to fertilization. This crucial step will determine your plant’s long-term health and success.
Checking on Your Plant Regularly
Regular check-ins with your plant are crucial to ensure its continued health and thriving. As it adjusts to its new potting mix and environment, keep a close eye on its condition, making adjustments as needed. Monitor the soil moisture by sticking your finger into the soil up to the first knuckle; if the soil feels dry, it’s time for a drink.
Keep an eye out for signs of stress or disease, such as yellowing leaves, droopy stems, or black spots on the foliage. These issues can be addressed with targeted care, like pruning affected areas or adjusting watering schedules.
Adjust your plant’s care routine based on its responses to its new environment. For example, if you notice it’s drying out too quickly, increase the frequency of waterings or consider using a moisture-retentive potting mix.
Make a habit of visually inspecting your plant each week, looking for any changes in appearance or behavior that might indicate it needs attention. With regular check-ins and adjustments as necessary, your repotted houseplant should continue to flourish in its new home.
Adjusting to New Pot Size
When you repot your houseplant into a larger container, it’s essential to adjust your watering habits accordingly. A bigger pot size means more soil, which can hold onto water for longer periods. This change may require you to revisit your existing watering schedule.
Typically, plants in smaller pots dry out faster due to the limited soil volume and increased exposure to air. In contrast, larger pots provide a buffer zone that helps regulate moisture levels. As a result, you might find yourself watering less frequently after repotting into a bigger container.
To determine the ideal watering frequency for your newly repotted plant, observe its behavior closely. Check the soil moisture by sticking your finger into the soil up to the first knuckle. If it feels dry, it’s time to water. On average, you may need to reduce your watering schedule by half or even a quarter depending on the pot size and plant type.
Monitor your plant’s responses to these changes and adjust as necessary. Keep in mind that some plants are more sensitive to overwatering than others.
Troubleshooting Common Issues
Don’t let a repotted houseplant go from thriving to struggling! This section will walk you through common issues that may arise and how to fix them quickly.
Dealing with Root Rot
Identifying and treating root rot is crucial to save your beloved houseplants. One of the most common signs of root rot is a soft, mushy stem that’s often accompanied by yellowing leaves. However, these symptoms can be deceiving, as they may not necessarily mean your plant has root rot. To confirm, gently remove it from its pot and inspect the roots.
If you notice black or brown roots with an unpleasant odor, it’s likely a case of root rot. In some cases, the roots might look normal but still be affected by fungal growth. If you suspect root rot, stop watering your plant immediately to prevent further damage.
To treat root rot, start by removing any dead or affected roots using sterile scissors or pruning shears. Then, repot your houseplant in a well-draining mix and provide it with bright, indirect light. Keep the soil consistently moist but not waterlogged. Monitor your plant closely, as it may take several weeks to recover from root rot.
In severe cases, you might need to trim back severely affected leaves or stems. To prevent future occurrences, ensure good air circulation around your plants, and repot them regularly using fresh, well-draining potting mix. By taking prompt action and following these steps, you can help save your houseplant from the brink of death.
Handling Repotting Shock
Repotting shock is a common issue that many houseplant enthusiasts face after repotting their plants. If you’ve recently transplanted your plant into a new pot and noticed it’s not doing well, don’t worry – it’s likely experiencing repotting shock. This condition occurs when the roots of the plant are disturbed during the repotting process, causing stress to the plant.
Common symptoms of repotting shock include yellowing or dropping leaves, slowed growth rate, and a decrease in overall plant health. Your plant may also appear wilted or limp, even if the soil is consistently moist. If you notice any of these signs, it’s essential to take action to help your plant recover.
To alleviate repotting shock, start by providing your plant with plenty of water and nutrients. You can also prune back any damaged leaves or stems to promote new growth. Additionally, reduce the amount of fertilization for a few weeks, as this can further stress the plant. Give your plant some time and patience – it should begin to recover within 1-2 weeks after repotting.
Tips and Tricks for Successful Repotting
When it comes to repotting your houseplants, making a few simple adjustments can make all the difference in their health and happiness. We’ll share our top tips to ensure a smooth transition for you and your plants.
Timing Repotting for Optimal Growth
When it comes to repotting houseplants, timing is everything. Not only can repotting at the right time promote healthy growth and development, but it can also prevent common problems like root rot and nutrient deficiencies. Spring and summer are typically the best seasons for repotting, as plants are actively growing during this time. However, if you live in a region with mild winters, autumn or even winter may be an ideal time to repot.
Repotting during periods of active growth allows your plant to establish itself quickly in its new pot and absorb essential nutrients. Conversely, repotting during dormancy can cause stress and potentially lead to root rot. For example, if you repot a succulent in the fall, it may not have enough time to recover before winter sets in, making it more susceptible to disease.
It’s also worth considering your plant’s specific growth period. For instance, if you’re repotting a fast-growing plant like an African Violet or Begonia, it may be best to repot every 6-12 months to provide ample room for its extensive root system.
Repotting in the Right Season
When it comes to repotting houseplants, timing is everything. While it may be tempting to give your plants a fresh new pot at any time of year, it’s often better to wait for the right season. One key consideration is the plant’s blooming cycle. If you notice that your plant has finished blooming, it’s usually a good idea to repot it soon after.
This might seem counterintuitive, but hear us out. When plants are in bloom, they’re expending energy on producing flowers rather than root growth. By repotting immediately after the blooms have faded, you’ll give your plant a chance to refocus its energy on developing new roots and growing stronger. Think of it like giving your plant a mini-vacation from flowering – it gets to recharge and come back even more vibrant.
Another benefit of repotting during this time is that the weather is often milder, making it easier for plants to adjust to their new pot and soil. Plus, you’ll have fewer pests and diseases to contend with, as they tend to be more active when temperatures are warmer or cooler. By timing your repotting session just right, you’ll set your plant up for long-term success and a healthy, happy existence in its new home.
Frequently Asked Questions
Can I repot my houseplant during the winter months?
Yes, you can repot your houseplant during the winter months, but it’s essential to consider the plant’s dormancy period. Choose a time when your plant is actively growing, and make sure not to transplant too close to the holiday season when you may be away from home.
How often should I check on my plant after repotting?
After repotting, it’s crucial to keep an eye on your plant’s watering needs, as it will take some time for the soil to settle. Check on your plant at least once a week, and adjust its watering schedule accordingly to prevent over- or underwatering.
Can I use any type of potting mix when repotting my houseplant?
Not all potting mixes are created equal. Choose a well-draining, high-quality potting mix specifically designed for indoor plants. Avoid using garden soil, as it can compact and prevent proper drainage, leading to root rot.
How long does it take for a newly repotted plant to adjust to its new environment?
The adjustment period varies depending on the plant species and size of the pot. On average, it takes 1-2 weeks for your plant to fully adapt. Keep an eye out for signs of stress, such as yellowing leaves or droopy stems, and make adjustments as needed.
Can I propagate my houseplant from cuttings taken during repotting?
Yes, many houseplants can be propagated from healthy stem or leaf cuttings taken during repotting. Research the specific propagation techniques for your plant species to increase your chances of successful propagation.