Plant parenthood can be a thrilling journey, but it often comes with its fair share of trial and error. One crucial aspect to master is plant propagation, which involves growing new plants from cuttings or seedlings using propagation vases. Choosing the right vase for this process is more than just picking any old container – it’s about selecting an environment that allows roots to develop and grow healthily.
If you’re struggling with successful rooting, know that you’re not alone! Many plant enthusiasts face common issues like inadequate moisture, poor air circulation, or even choosing the wrong type of plants for their vase. In this article, we’ll cover the essentials of propagation vases, from selecting the perfect vessel to preparing and maintaining your cuttings for optimal growth. By following our tips on plant selection, cutting preparation, and common pitfalls, you’ll be well on your way to becoming a successful propagator.
Understanding Propagation Vases
Let’s dive into the world of propagation vases, and explore what you need to know to get started with using them successfully. We’ll cover the basics inside this vase.
What Are Propagation Vases?
Propagation vases are specialized containers designed specifically for rooting plant cuttings. They’re an essential tool for anyone who wants to multiply their favorite plants or start new ones from scratch. These vessels are designed with the needs of plant cuttings in mind, providing a perfect environment for roots to develop.
One of the key features of propagation vases is their ability to maintain high humidity levels around the cutting. This helps to prevent moisture loss and promotes healthy root growth. They often come equipped with built-in water reservoirs or trays that allow excess water to be collected, making it easy to monitor the moisture levels.
When choosing a propagation vase, consider the type of plant you’re working with and its specific needs. Some plants prefer bright light, while others thrive in low-light conditions. By selecting a vase that meets these requirements, you’ll increase your chances of successful rooting. For example, if you’re propagating a succulent or cactus, choose a vase with good air circulation to prevent overwatering.
Choosing the Right Propagation Vase
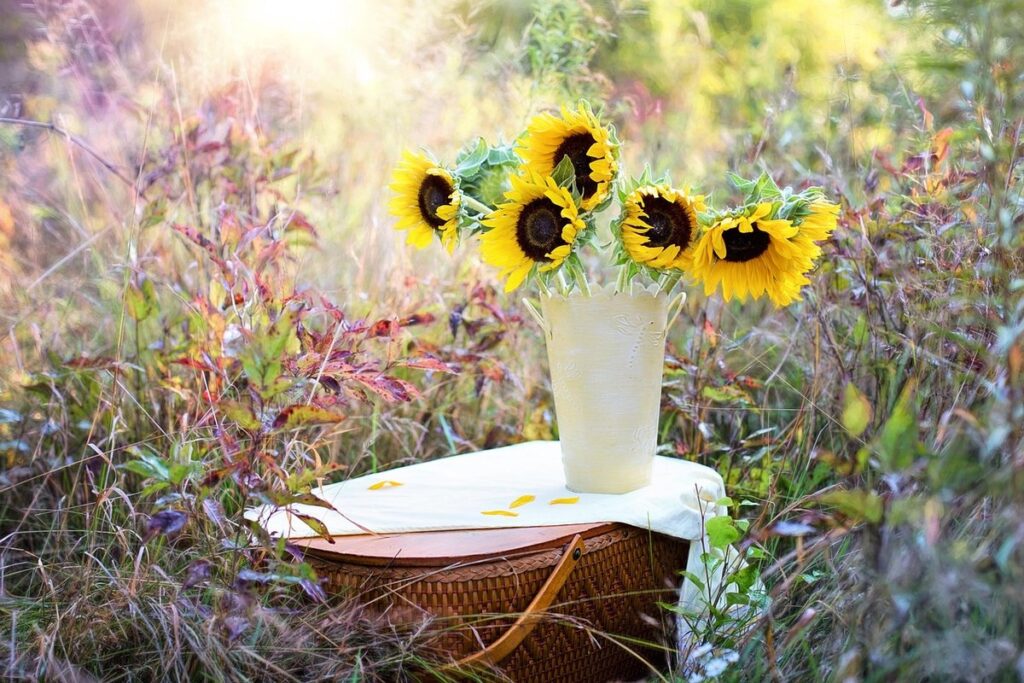
When it comes to choosing the right propagation vase, there are several factors to consider. The material of the vase is an important one – glass vases allow for easy visibility into the rooting process, while ceramic or terracotta vases provide a more rustic, earthy feel. Consider the size of the vase as well – larger vases can accommodate multiple cuttings at once, but may take up more space on your shelf.
Another key consideration is design features. Some propagation vases come equipped with built-in water reservoirs, which can help keep the soil consistently moist and reduce the need for frequent watering. Others feature aerating systems that promote healthy root growth by circulating air within the vase. Look for a vase with a wide mouth or opening to make it easy to add or remove cuttings.
Think about your specific needs and preferences when selecting a propagation vase. If you’re new to plant propagation, a simpler design may be a good starting point. As you gain more experience and confidence in your abilities, you can consider investing in a more advanced model with specialized features.
Plant Selection and Preparation
When selecting plants for your propagation vase, choose species that are well-suited to being grown indoors and can thrive in a vase. This includes cuttings from shrubs, trees, and perennials like succulents and herbs.
Choosing the Right Plants for Propagation
When it comes to propagation via vase, not all plants are created equal. Some species are notoriously difficult to root from cuttings, while others will thrive with the right conditions. To increase your chances of success, it’s essential to choose healthy mother plants with desirable traits.
Look for plants with a high number of leaves or stems, as these will provide more material for rooting. Also, select plants that have been bred for their vigor and hardiness, such as succulents or herbs like mint and basil. These plants tend to produce more vigorous cuttings and are less prone to disease.
Avoid using weak or stressed plants, as they may not respond well to the propagation process. Instead, opt for healthy specimens with no signs of pests or diseases. When selecting a mother plant, consider the color, shape, and texture of its leaves – these traits will be passed on to the new cutting.
Some popular plants that propagate well in vases include African violets, begonias, and geraniums. By choosing the right plants for propagation, you’ll set yourself up for success and enjoy a higher rate of successful rootings.
Preparing Cuttings for Rooting
Preparing cuttings for rooting is a crucial step before placing them in a propagation vase. To increase the chances of successful rooting, it’s essential to trim and treat the cuttings correctly.
Start by cutting just above a node – the joint where a leaf meets the stem – using sharp, clean scissors or pruning shears. This will help stimulate root growth and prevent damage to the plant tissue. Remove any weak or damaged leaves, as these can be a source of infection and hinder rooting.
Once trimmed, dip the cut end into a rooting hormone powder or liquid to promote cell division and root development. You can also use a mixture of honey and water or willow water as an alternative rooting agent. Make sure to follow the manufacturer’s instructions for correct application rates.
Next, arrange the cuttings in the propagation vase in a way that allows them to receive even light and air circulation. Space them out slightly to prevent overcrowding, which can lead to fungal diseases and reduced root growth.
Propagation Vase Care and Maintenance
To keep your propagation vase looking its best, it’s essential to follow some simple care and maintenance tips to ensure healthy roots and thriving plants. Proper care will also prolong the life of your vase.
Setting Up Your Propagation Station
When setting up your propagation station, it’s essential to create an environment that fosters healthy root growth and successful propagation. Temperature is a crucial factor to consider – most plants thrive between 65-75°F (18-24°C), but some species require warmer or cooler temperatures. Research the specific needs of the plant you’re propagating to ensure optimal temperature control.
Humidity also plays a vital role in maintaining a healthy propagation station. Aim for a humid environment, ideally between 40-60% relative humidity, by placing the vase on a tray filled with water and pebbles or using a humidifier nearby. This will help prevent moisture loss from the leaves and promote root growth.
Lighting requirements vary depending on the plant species. Some plants prefer bright, indirect light, while others require low light conditions. Place your propagation station near an east- or west-facing window for optimal results.
Watering is also critical in a propagation station. Water thoroughly, allowing excess water to drain from the vase. Avoid overwatering, which can lead to root rot and decreased chances of successful propagation. Check the soil moisture daily by gently inserting your finger into the soil up to the first knuckle – if it feels dry, it’s time for watering.
Troubleshooting Common Issues
One of the most frustrating things that can happen during propagation is dealing with common issues that arise. Let’s tackle some of these problems head-on so you can get back to growing those beautiful plants.
Fungal infections are a common issue when propagating in water, as they thrive in moist environments. If you notice white, cottony growth on the leaves or stems, it’s likely fungal. To combat this, change the propagation water completely and treat with a fungicide specifically designed for aquatic use. It’s also essential to monitor your plants’ watering schedule and ensure they’re not getting too wet.
Root rot is another issue that can arise from overwatering. If roots are brown or mushy, it’s time to repot in fresh medium. Cut away any rotten tissue, and treat the remaining roots with a root stimulant to promote healthy growth.
Failed rooting attempts can be disheartening, but don’t worry – they’re often avoidable. Check your plants’ environment for extreme temperature fluctuations, as this can cause stress that prevents successful propagation. Also, make sure you’re using clean and sterile equipment when handling cuttings, as bacterial contamination can lead to failure.
Monitoring and Maintaining Root Growth
Now that you’ve got your roots growing, it’s time to focus on monitoring their progress and maintaining healthy growth. This includes checking for signs of overwatering and adjusting care accordingly.
Checking for Signs of Root Development
As you monitor your cuttings’ progress in the propagation vase, it’s essential to keep an eye out for signs of root development. This is where things get exciting – you’ll start to notice changes that indicate your plant is adapting and thriving.
One of the first indicators of root growth is the emergence of white roots from the node. You might not see them right away, but with regular inspection, you should be able to spot some tiny white hairs poking out of the cut end. This means the cutting has begun to produce new roots, which will eventually anchor themselves in the water.
Another subtle sign of root development is a slight increase in water consumption. Keep track of how much water your cutting absorbs each day – if it seems like more is being drawn up than before, it could be a sign that roots are starting to form.
By monitoring these signs closely, you’ll get an early warning system for when your cuttings need more food or the environment needs tweaking.
Transplanting Your New Plants
When it’s time to transplant your newly rooted plants from their propagation vase into individual pots, make sure you do it correctly to avoid shocking them. Start by gently removing the plant from its original potting medium, taking care not to disturb the delicate roots.
Next, choose a well-draining potting mix that is specifically designed for indoor plants. Avoid using garden soil, as it can compact and prevent proper drainage. Instead, select a mix that contains ingredients like perlite or vermiculite, which will help to keep your plant’s roots healthy and thriving.
Once you’ve prepared the new pot, carefully place the rooted plant into its new home, making sure not to bury the crown (where the stem meets the roots) too deeply. Leave about 1-2 inches of space between the soil surface and the top of the pot to prevent water from accumulating. Finally, give your newly transplanted plant a good soaking to settle the soil and provide enough moisture to support its growth.
As you introduce your plant to its permanent environment, make sure it’s getting enough light, water, and nutrients to thrive.
Advanced Techniques and Variations
Now that you’ve mastered the basics, let’s take your propagation skills to the next level by exploring advanced techniques and unique variations for stunning results. From intricate designs to experimenting with different materials.
Experimenting with Different Rooting Mediums
When it comes to propagation vases, most growers reach for water as their go-to rooting medium. However, you may be surprised at the variety of alternatives available, each with its own set of benefits and drawbacks. Soil, rockwool, and even coconut coir are popular choices among experienced growers.
Soil, for instance, provides a more natural environment for roots to grow, but it can be prone to overwatering and may require more maintenance than water or other mediums. Rockwool, on the other hand, offers excellent aeration and moisture retention, making it ideal for cuttings that require high humidity. Coconut coir is another option, providing a sustainable alternative to peat moss while also improving soil structure.
When experimenting with different rooting mediums, consider the specific needs of your plants. For example, succulents and cacti prefer dry conditions and can thrive in soil or rockwool, while tropical plants may require a more humid environment that coconut coir can provide. Start by testing small batches to determine which medium works best for you and your plants. This will help you refine your technique and achieve the most successful results with your propagation vases.
Propagating Delicate or Exotic Plants
When it comes to propagating delicate or exotic plants, traditional methods can often fall short. Some species are simply too sensitive to thrive under standard conditions, making specialized care and equipment a must for successful propagation.
One technique used for such plants is the “strike” method. This involves placing stem cuttings directly into a highly concentrated rooting hormone solution, which stimulates root growth even in challenging species. For instance, orchids and African Violets often respond well to this approach, increasing their chances of successful propagation.
Another tool that can aid in propagating sensitive plants is the propagation chamber or mini-greenhouse. This enclosed environment provides optimal humidity and temperature control, creating a perfect space for delicate cuttings to take root. By placing your plant material within this controlled ecosystem, you can minimize risks associated with conventional propagation methods. Experimenting with these advanced techniques can help even the most finicky plants thrive under your care.
Safety Precautions and Best Practices
When using propagation vases, it’s essential to follow some basic safety precautions to avoid accidents and ensure a healthy growing environment for your plants. Let’s take a closer look at how to stay safe while propagating.
Handling Plant Cuttings Safely
When handling plant cuttings, it’s easy to get carried away with the excitement of creating new plants. However, it’s crucial to take a step back and prioritize your safety. One of the primary risks associated with working with cuttings is the potential for cuts and lacerations from sharp objects.
To minimize this risk, make sure you’re using clean and well-maintained tools. Regularly sharpening your pruning shears or secateurs will help prevent accidents caused by dull blades. When handling individual cuttings, be gentle to avoid any accidental pinches or scratches. If you do happen to get cut, clean the wound immediately with soap and water to prevent infection.
Maintaining a clean workspace is also vital for safety. Before starting your propagation project, wash your hands thoroughly, and ensure all surfaces are free from debris and sap. This will not only protect you from potential irritations but also promote healthy growth in your new plants.
Cleaning and Sanitizing Your Propagation Vase
Cleaning and sanitizing your propagation vase is an essential step to prevent the spread of diseases and maintain optimal rooting conditions. To do this effectively, it’s crucial to regularly sterilize equipment and take preventive measures against contamination.
Start by washing your propagation vase with mild soap and warm water after each use. This will remove any debris or residue that may have accumulated. Next, rinse the vase thoroughly with clean water to ensure all soap is removed.
To sanitize your equipment, mix a solution of 1 part bleach to 10 parts water in the vase. Allow it to soak for at least 15 minutes before rinsing with clean water and letting it air dry. Alternatively, you can use a sanitizer specifically designed for plant care, following the manufacturer’s instructions.
Regularly cleaning and sanitizing your propagation vase is key to preventing contamination and promoting healthy root growth. Aim to do this at least once a week or after every three uses. Remember, prevention is better than cure – take these simple steps to ensure your plants thrive.
Conclusion and Future Directions
As you’ve learned about propagation vases and how they can help you multiply your favorite plants, it’s time to put this knowledge into practice. Don’t be afraid to experiment with different types of plants and vase styles – after all, that’s where the fun begins! You’ll soon discover what works best for you and your space.
In terms of future directions, consider exploring new techniques like air-layering or grafting to take your plant propagation skills to the next level. Additionally, think about repurposing old vases or containers as unique mini-greenhouses for small plants, adding a touch of whimsy to your decor. With practice and patience, you’ll be propagating like a pro in no time!
Frequently Asked Questions
What type of plants are suitable for propagation vases?
Propagation vases work best with softwood cuttings from plants like succulents, herbs, and certain types of houseplants. However, some plants like African Violets and Begonias can be propagated using leaf or stem cuttings. When choosing a plant for propagation, select ones that are known to root easily in a vase.
How long does it take to see roots develop?
Root development can vary depending on the plant type, cutting preparation, and environmental conditions. Generally, you can start seeing signs of root growth within 1-2 weeks after placing the cutting in the propagation vase. Be patient, as some plants may take longer than others.
Can I reuse my propagation vase for multiple batches?
Yes, if properly cleaned and sanitized between uses, a propagation vase can be reused multiple times. Make sure to remove any remaining roots or debris from previous cuttings before reusing it with new material. This will help prevent the spread of disease and ensure optimal conditions for rooting.
How do I handle propagation vases during transportation?
When transporting your propagation vase, make sure it’s securely sealed and protected from damage. Avoid sudden movements or extreme temperatures, which can shock the roots and affect growth. Consider using a protective cover or wrapping the vase in bubble wrap to prevent accidents.
What if my propagation vase is not producing any roots?
If you’re experiencing difficulties with rooting in your propagation vase, check for common issues like inadequate moisture, poor air circulation, or root rot. Adjust your environment accordingly, and consider consulting online resources or expert advice for specific guidance on troubleshooting common problems.