Thyme is one of those herbs that’s hard to resist: its fragrance, flavor, and versatility make it a staple in many kitchens. But have you ever found yourself wondering how to get more thyme plants without buying new ones every time? Propagating thyme by division is an effective way to multiply your favorite herb, but it requires some know-how.
In this article, we’ll cover the ins and outs of propagating thyme through division – a simple yet rewarding technique that yields healthy new plants. We’ll explore ideal growing conditions for success, discuss preparation and aftercare techniques, and provide tips on how to ensure your new thyme plants thrive. Whether you’re an experienced gardener or just starting out, this guide will walk you through the process step by step, so you can enjoy a bounty of fresh thyme all season long.
Understanding Thyme Plant Growth and Requirements
To successfully propagate thyme by division, it’s essential to understand its growth habits and requirements, including temperature, light, and watering needs. This will help you create an ideal environment for new plants to thrive.
Thyme Plant Structure and Types
Thyme plants have a distinctive growth habit that’s essential to understand when propagating them by division. The stem system of thyme is typically woody at the base and herbaceous towards the top, with a square-shaped cross-section. This unique structure allows for efficient water and nutrient uptake.
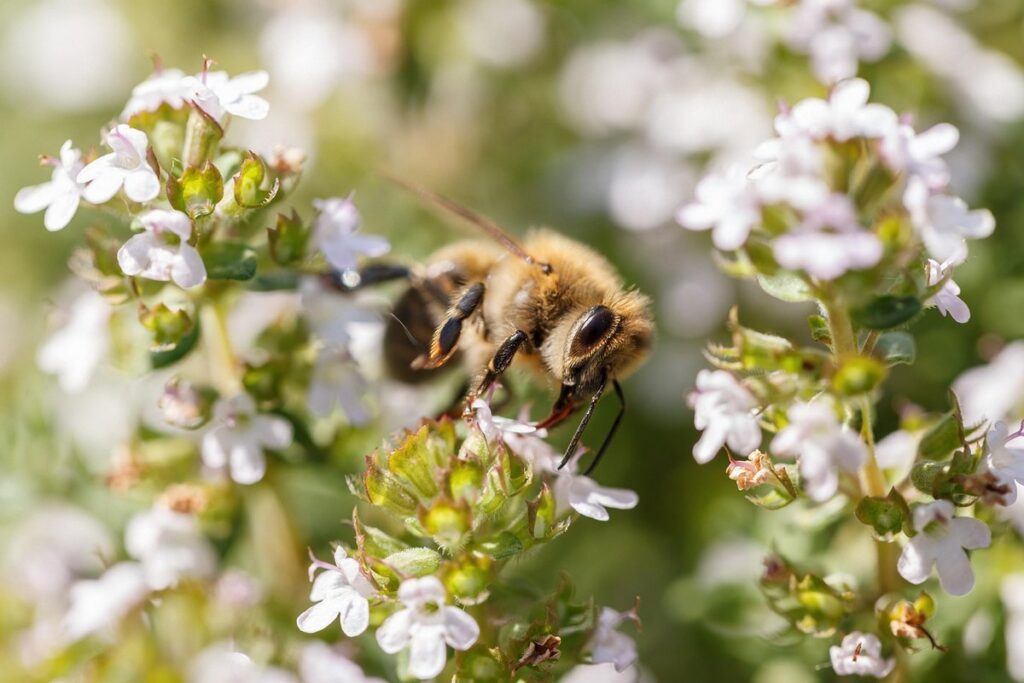
There are several types of thyme plants, each with its own growth characteristics and propagation requirements. English thyme (Thymus vulgaris) is one of the most common varieties, prized for its culinary and medicinal uses. Lemon thyme (Thymus x citriodorus), on the other hand, has a more compact growth habit and intense citrus fragrance. Creeping thyme (Thymus serpyllum) spreads quickly via underground stolons and is ideal for groundcover or erosion control.
Understanding the specific growth habits of your thyme variety will help you make informed decisions about division timing, soil preparation, and after-care. For example, English thyme typically thrives in well-draining soil with a slightly acidic pH, while lemon thyme prefers more alkaline conditions.
Ideal Growing Conditions for Thyme Plants
When it comes to propagating thyme by division, understanding the ideal growing conditions is crucial for promoting healthy growth and preventing disease. Thyme plants thrive in environments with specific temperature, light, watering, and fertilization requirements.
To promote healthy growth, provide your thyme plant with a spot that receives full sun to partial shade, depending on the climate you’re in. Most thyme varieties require at least 4-6 hours of direct sunlight per day. If you’re growing indoors, ensure it’s near an east or west-facing window for optimal light conditions.
Thyme plants are sensitive to temperature fluctuations, so maintain a consistent temperature between 60°F to 70°F (15°C to 21°C). Avoid exposing your thyme plant to temperatures below 50°F (10°C) as this can cause damage. In terms of watering, allow the top inch of soil to dry out between waterings. Overwatering is common when propagating by division, so be cautious not to saturate the soil.
Fertilize your thyme plant sparingly, using a balanced fertilizer during the growing season (spring and summer). This will promote healthy growth without promoting disease. By providing these ideal conditions, you’ll set your thyme plant up for success and increase its chances of thriving after propagation by division.
Preparing the Plant for Division
Before dividing your thyme plant, it’s essential to inspect and prepare it for division by checking its root system and removing any dead or damaged roots. This step ensures healthy growth after propagation.
Choosing the Right Time for Division
When to divide thyme plants is crucial for successful propagation. As a general rule, it’s best to divide mature thyme plants (around 2-3 years old) rather than younger ones. This may seem counterintuitive, but dividing mature plants offers several advantages.
Mature thyme plants have developed a robust root system and a complex network of stems, making them more resilient to division. By dividing these established plants, you can create multiple new plants that will quickly settle in and start producing leaves. Younger thyme plants, on the other hand, may require additional care and attention after division, which can be challenging for inexperienced gardeners.
In terms of size, look for plants with a diameter of around 6-8 inches (15-20 cm). This is usually when they need to be pruned back anyway, making it an ideal time for division. Avoid dividing thyme plants that are under stress or showing signs of disease, as this can lead to further complications during the propagation process.
Tools and Materials Needed for Division
To successfully divide thyme and achieve healthy root development, you’ll need to gather a few essential tools and materials. First and foremost, wear a pair of sturdy gardening gloves to protect your hands from the plant’s sharp leaves and stems.
For division itself, you’ll require a good pair of pruning shears or loppers to cut through the thyme’s woody base without causing damage. Make sure they’re clean and disinfected before use to prevent any potential diseases from spreading. A long-handled cultivator or fork can also be helpful in gently separating the roots.
For rooting the cuttings, you’ll need a pot or tray with good drainage – clay pots or cell packs are ideal for this purpose. Fill them with a well-draining potting mix specifically designed for propagation. Water the medium thoroughly before planting to prevent any settling during the division process. Have some clean water on hand as well for watering after completion, and a label or marker to keep track of your thyme divisions.
The Division Process: Step-by-Step Instructions
To successfully propagate thyme by division, you’ll need to follow a series of steps that ensure your new plants thrive. This step-by-step guide will walk you through each stage.
Sectioning and Separating Thyme Roots
When dividing thyme, it’s essential to handle the roots with care. Start by gently digging around the plant, using a fork or spade to loosen the soil without damaging the delicate roots. As you expose the roots, look for individual root sections that have developed over time. These are usually identifiable as small clusters of stems connected by a network of fine roots.
To separate these sections carefully, use your fingers or a blunt instrument like a chopstick to gently tease them apart. Be cautious not to pull too hard, which can cause damage to the plant’s vascular system. You may need to trim some of the smaller rootlets to encourage the separated sections to establish new growth.
It’s also crucial to consider the age and health of the roots when separating them. Younger plants with less developed root systems may benefit from being left intact, while older plants can be divided more liberally to promote fresh growth.
Preparing Thyme Cuttings for Rooting
Now that you’ve successfully separated the root sections from the thyme plant, it’s time to prepare them for rooting. This involves trimming or cutting the sections to encourage healthy growth and prevent decay.
First, take a look at each section and remove any dead or damaged material. Dead or dying roots can be a magnet for disease and pests, so it’s essential to cut them off completely. Use a pair of clean, sharp pruning scissors or clippers to make clean cuts just above the node (where the leaf meets the stem). This will help prevent the spread of infection.
For each section, trim the top growth back by about one-third to one-half. This will help reduce transpiration and encourage new roots to develop. Make your cuts at a 45-degree angle, just above a node, and make sure they’re not too deep. You want to leave enough stem to support new growth but not so much that it becomes waterlogged.
By taking the time to properly trim and prepare these sections, you’ll be well on your way to successfully propagating thyme by division.
Aftercare and Propagation Techniques
Now that you’ve successfully propagated your thyme plants, it’s time to focus on their aftercare and learn how to multiply them further using division techniques. Here are some key tips for nurturing young seedlings into thriving plants.
Transplanting Divided Thyme Plants
Transplanting divided thyme plants is an exciting step in the propagation process. Once you’ve carefully separated the thyme roots and stems into individual sections, it’s time to give them a new home.
Choose a container that is at least 6-8 inches deep to accommodate the plant’s root system. A well-draining potting mix is essential for thyme, as it can be susceptible to root rot in waterlogged soil. You may also transplant directly into the garden, making sure to space them about 12-18 inches apart to allow for proper air circulation and growth.
When planting in containers or the garden, gently place the divided sections of thyme into the soil, burying them up to their leaf nodes. Firm the soil around the roots to secure the plant in place. Water thoroughly after transplanting and keep the soil consistently moist during the first few weeks as the new plants establish themselves.
Rooting Cuttings and Establishing a New Plant
When you’ve successfully divided and separated your thyme plants, it’s time to focus on rooting the cuttings. You can do this in water, soil, or a propagation tray. Water is often the fastest method for root development, but be cautious not to let the cut end sit too long, as this can cause rot.
To promote healthy root growth in water, trim the stem just above a node and submerge it in a glass of water. Make sure the node is fully covered with about an inch of water. Keep the water clean by changing it every few days, and roots should appear within 7-10 days.
Alternatively, you can plant the cuttings directly into a propagation tray or pot filled with moistened potting mix. Plant them at the same depth as they were in the parent plant, firming the soil gently around the stem. Water thoroughly and keep the soil consistently moist but not waterlogged.
Regardless of the method, it’s essential to maintain high humidity levels around the new cuttings to encourage new growth. Covering the pot or tray with a clear plastic bag can help achieve this. Keep the area warm, ideally between 65-75°F (18-24°C), and avoid direct sunlight until roots have developed and new growth appears.
Troubleshooting Common Issues During Division and Aftercare
If you’re experiencing problems during division or aftercare, don’t worry – we’ve got you covered. This section addresses common issues and provides solutions to get your thyme propagation back on track.
Recognizing Signs of Stress or Disease
As you care for your newly divided thyme plants, it’s essential to monitor their health closely. Common signs of stress or disease can sneak up on even the most attentive gardeners. One of the first indicators is yellowing leaves. This could be due to overwatering, underwatering, or a sudden change in temperature. Inspect your plants regularly and prune any affected leaves to prevent the spread.
Another sign of trouble is pests like spider mites, mealybugs, or thrips. These tiny creatures can cause damage by sucking sap from the plant’s stems and leaves. If you notice a sticky substance on the leaves or a fine webbing, it may be time to intervene. Use neem oil or insecticidal soap to control infestations.
Fungal infections like powdery mildew or root rot are also common in thyme plants. These often develop in damp environments and can cause white patches or soft, mushy stems. To prevent fungal diseases, ensure good air circulation and maintain a dry environment after watering. Regularly inspect your plants for signs of stress or disease, and take prompt action to address any issues that arise.
Addressing Plant Losses and Minimizing Failure Rates
When performing division on thyme plants, it’s not uncommon for losses to occur due to factors such as shock, disease, or root damage. To minimize the risk of plant loss and encourage successful propagation, it’s essential to take certain precautions during the division process.
Before dividing the plant, make sure it’s in a healthy state with no signs of stress or pests. Prune the thyme to about one-third before division to reduce shock and promote new growth. Use sharp tools to minimize damage to roots and stems, and gently separate the shoots while leaving as much root system intact as possible.
Aftercare is also crucial in preventing plant loss. Plant the divided sections in a well-draining mix with adequate sunlight and water them thoroughly after planting. Monitor for signs of disease or pests and adjust your care routine accordingly. By taking these simple precautions, you can significantly reduce failure rates and enjoy a successful propagation experience.
Conclusion: Tips for Successful Thyme Propagation by Division
Now that you’ve mastered the art of dividing and replanting your thyme, here are some valuable tips to help you achieve successful propagation every time. With these expert insights, you’ll be on your way to a thriving thyme garden in no time!
Recap of Key Takeaways and Best Practices
To recap, let’s review the key takeaways from this comprehensive guide on propagating thyme by division. By now, you should have a solid understanding of the process and be equipped with the necessary skills to successfully propagate your own thyme plants.
One of the most crucial aspects to remember is the optimal time for division, which typically occurs in late spring or early summer when the plant is actively growing. This allows the new divisions to establish themselves quickly before the onset of winter. It’s also essential to choose a healthy parent plant with plenty of stems and roots to ensure the best possible results.
When dividing your thyme plant, make sure to handle the roots gently to prevent damage, which can lead to poor establishment and increased susceptibility to pests and diseases. Also, don’t be afraid to prune back any leggy stems to encourage bushy growth and promote a more balanced root system.
In terms of best practices, it’s essential to provide new divisions with sufficient light and water to support healthy establishment. Thyme requires well-draining soil and full sun to partial shade, so choose a location that meets these requirements.
Some other important tips to keep in mind include:
* Using a sharp, sterile knife or pruning tool to minimize the risk of infection
* Making clean cuts just above a node (where a leaf meets the stem)
* Planting divisions about 6-8 inches apart to allow for proper growth and air circulation
* Monitoring soil moisture levels regularly to prevent overwatering
By following these key takeaways and best practices, you should be well on your way to successfully propagating thyme plants through division.
Frequently Asked Questions
Can I propagate thyme by division indoors or does it require outdoor conditions?
Yes, you can propagate thyme by division indoors, provided you meet the ideal growing conditions for success, including sufficient light and a consistent temperature between 65-75°F (18-24°C). Make sure to choose a bright and airy spot with temperatures above 55°F (13°C) to encourage healthy growth.
How do I prevent root rot when sectioning thyme roots?
To minimize the risk of root rot, handle the roots gently and avoid over-watering after division. Use a well-draining potting mix and ensure good air circulation around the newly divided plants. Regularly inspect your plants for signs of stress or disease and address any issues promptly.
Can I propagate thyme from cuttings if I don’t have mature plants to divide?
While division is an effective method, you can also propagate thyme using stem cuttings. Choose healthy stems with at least two sets of leaves, strip lower leaves, and place them in a rooting medium. Keep the soil consistently moist but not waterlogged until roots develop.
What’s the ideal time frame for transplanting divided thyme plants?
Transplant your newly divided thyme plants 1-2 weeks after division when they have established a robust root system. This allows them to recover from the division process and minimizes shock during the transplanting stage. Harden off the plants before moving them outside or into their final containers.
Can I divide thyme in the fall or should I wait for spring?
While it’s possible to divide thyme in the fall, the ideal time for division is early spring when new growth begins. Fall division may lead to a slower establishment period due to cooler temperatures and reduced daylight hours. If you must divide in the fall, ensure the plants have sufficient time to establish themselves before winter.