Are you an avid gardener looking to expand your succulent collection or simply want to share some with friends? Propagating agaves is a great way to do just that, but it can be a bit tricky if you don’t know where to start. With so many species of agave out there, selecting the right one for your garden can be overwhelming.
In this article, we’ll guide you through the process of successfully propagating agaves in your garden. We’ll cover key aspects such as choosing the right species for your climate and needs, different propagation techniques including leaf cuttings and offsets, and how to properly care for your newly propagated agave plants after they’ve been replanted. Whether you’re a seasoned gardener or just starting out, our comprehensive guide will have you propagating agaves like a pro in no time.
Choosing the Right Agave Species
When it comes to propagating agaves, selecting the right species is crucial for a thriving garden. This section will guide you through the key factors to consider in choosing an agave that suits your climate and gardening goals.
Understanding Agave Diversity
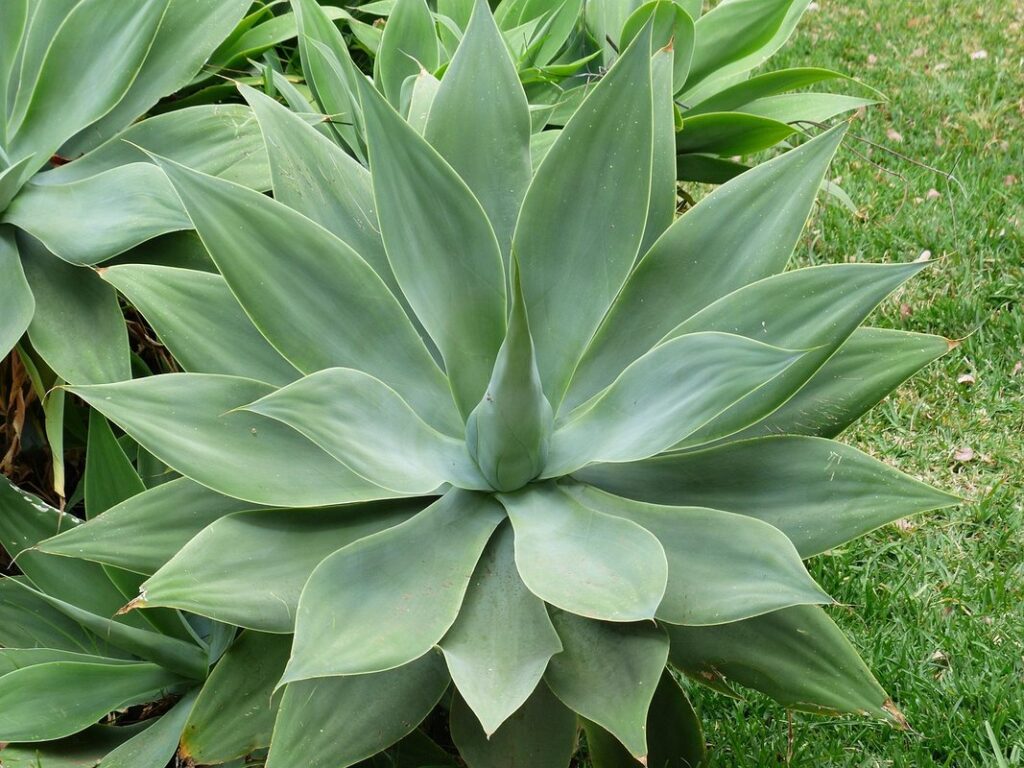
Agaves come in an astonishing array of shapes, sizes, and growth habits, making it essential to choose the right species for your garden. With over 200 known species, each with its unique characteristics, selecting the perfect agave can be overwhelming.
When it comes to propagation, some agaves are more suitable than others due to their growth habits and leaf structure. For instance, compact or dwarf agaves like Agave desmetiana ‘Albopicta’ and Agave parryi ‘Compacta’ are ideal for small gardens or containers, as they require less space and maintenance.
On the other hand, larger agaves such as Agave americana and Agave victoria-regina can thrive in open spaces and provide a striking architectural presence. Some species like Agave salmiana and Agave x ferox have striking foliage patterns and can add visual interest to your garden.
When selecting an agave for propagation, consider factors such as climate, soil type, and mature plant size to ensure the best chances of success. Researching the specific needs of each species will help you choose the perfect agave for your garden’s unique conditions. By understanding the diversity of agaves, you can make informed decisions about which species to propagate and create a thriving, low-maintenance garden ecosystem.
Identifying Propagation-Friendly Agave Varieties
When it comes to propagating agave, not all species are created equal. Some varieties are notoriously difficult to propagate, while others can be coaxed into producing viable offsets with minimal effort. If you’re new to agave propagation, it’s essential to start with species that are relatively easy to work with.
Consider Agave victoria-regina, for example. This stunning species produces robust offsets with well-developed roots and leaves, making it a great choice for beginners. Similarly, Agave parryi is another popular variety that tends to produce offsets regularly. Both of these species can be propagated using the standard offset method: simply remove the offsets from the parent plant when they reach 2-3 inches in diameter, let them dry out for a few days to form callus tissue, and then pot them up in well-draining soil.
When selecting agave varieties for propagation, look for species that produce robust offsets with developed roots. Some popular options include Agave victoria-regina, Agave parryi, and Agave americana. These plants will give you the best chance of success when it comes to propagating new plants.
Preparing the Agave Plant for Propagation
To successfully propagate your agave plant, you’ll need to prepare it by gently removing any weak or damaged leaves and allowing it to dry out slightly. This step is crucial for a healthy propagation process.
Watering and Fertilizing Before Propagation
Before attempting to propagate your agave plant, it’s essential to focus on its overall health through proper watering and fertilizing techniques. Healthy growth is key to successful propagation, as a weakened or stressed plant is more likely to fail.
Watering should be done carefully, making sure not to overwater, which can lead to root rot and other issues. Check the soil moisture by sticking your finger into it, and water only when it feels dry to the touch. A general rule of thumb is to water once a week during hot summer months, but adjust this according to your specific climate.
As for fertilizing, use a balanced, water-soluble fertilizer (20-20-20) at half strength. Feed your agave plant every 2-3 weeks from spring to fall, allowing it to rest during the winter months. You can also use compost or well-rotted manure to provide essential nutrients.
Keep in mind that overfertilizing can damage your plant’s roots, so it’s better to err on the side of caution. A healthy agave plant will have vibrant green leaves and a robust growth habit, making it more resilient to propagation stress.
Pruning and Shaping the Mother Plant
When it comes to propagating agave plants, one crucial step is preparing the mother plant for propagation. This involves pruning and shaping the plant to encourage multiple stems or offsets, which are essential for successful propagation. To achieve this, you’ll want to prune your agave plant during its dormant season, typically in late winter or early spring.
Prune off any dead or damaged leaves, as these can be a source of infection and weaken the plant. Next, remove any weak or spindly growth, focusing on promoting healthy, robust stems. To encourage multiple stems, carefully cut back the central stem to about one-third its height. This will cause the plant to produce offsets around the base.
It’s essential to make clean cuts using a sharp tool, as this will help prevent the spread of disease and promote healthy growth. After pruning, your agave plant should start producing new growth, including offsets that can be used for propagation. Keep in mind that some agave species are naturally more offset-producing than others, so be patient and observe how your specific plant responds to pruning.
Techniques for Agave Propagation
To successfully propagate agave, you’ll need to learn various techniques that cater to different plant varieties and growth stages. This section will guide you through the most effective methods.
Stem Cuttings and Leaf Pups
When it comes to propagating agave using stem cuttings and leaf pups, you’ll want to follow these steps carefully to ensure success. Taking stem cuttings from mature plants is a great way to reproduce new plants with desirable traits, such as unique coloration or robust growth.
To take a stem cutting, choose a section of the mother plant that has at least two sets of leaves. Cut the stem about 2-3 inches below the node using a sharp knife or pruning tool, making sure each cut is clean and smooth to prevent infection. Remove lower leaves, leaving only the top set intact. Place the cut end in a pot filled with well-draining soil, firming it gently into place.
Separating leaf pups from mother plants involves gently digging up the pup when it’s large enough, taking care not to damage any roots. Once separated, pot each pup up and keep them consistently moist until they’re established. With proper care, you should start to see roots develop within a few weeks, and new growth emerge shortly after.
Division of Mature Plants
When it comes to propagating agave plants, dividing mature plants is an effective technique that allows you to multiply the plant’s roots and growth points. This method involves carefully sectioning off a mature agave plant into multiple smaller sections, each with its own set of roots and leaves.
To divide a mature agave plant, start by gently loosening the soil around the base of the plant using a fork. Next, use a sharp knife or garden saw to carefully cut through the leaves and stems, taking care not to damage any of the delicate tissue. You can usually separate the sections at the natural joints where the leaves meet the stem.
It’s essential to ensure each section has its own set of roots, as this will give them the best chance of establishing themselves in their new environment. If necessary, use a rooting hormone to stimulate root growth on the newly cut sections. Once divided, plant the individual sections into well-draining soil and water thoroughly. With proper care, these sections should quickly establish themselves and begin producing new growth. This technique can be a great way to multiply your favorite agave varieties and share them with friends or propagate for garden expansion.
Propagation Methods: Seeds vs. Offsets
When it comes to propagating agave, you have two main options: starting from seeds or using offsets, each with its own unique advantages and challenges for your garden.
Germinating Agave Seeds
Propagating agaves from seeds can be a rewarding experience for gardeners who want to explore new varieties and challenge themselves with a more complex process. However, it’s essential to understand the challenges involved.
Firstly, seed preparation is crucial. Agave seeds are small and require precise handling. Sow them on the surface of well-draining seed starting mix, about 1-2 mm deep. Water gently but thoroughly, making sure not to wash away the delicate seeds. Provide a humid microclimate by covering the container with a clear plastic bag or cloche.
Germination can take anywhere from a few weeks to several months. Keep the soil consistently moist but not waterlogged. A temperature range of 65-75°F (18-24°C) is ideal for germination. Be patient, as some agave species may require up to six months to germinate.
When successful, propagating from seeds allows you to explore new characteristics and traits that might be lost when using offsets. It’s also an opportunity to share seeds with fellow gardeners, promoting diversity in your agave collection.
Cultivating Agave Seedlings to Maturity
Cultivating Agave Seedlings to Maturity can be a challenging yet rewarding experience. To increase the chances of success, it’s essential to provide young seedlings with the right conditions and care.
When agave seeds germinate, they require a period of high humidity to establish their roots. After this initial stage, they need more light as they grow into mature plants. Start by placing seedlings in a bright, indirectly lit area with temperatures between 65-75°F (18-24°C). As they develop their first set of leaves, you can gradually move them to full sun.
Water your agave seedlings carefully, as overwatering is common when propagating from seeds. Allow the soil to dry completely between waterings. Fertilize sparingly during the first growing season to avoid burning young roots. Agaves are relatively low-maintenance plants and will thrive in well-draining potting mix with minimal care.
It’s crucial to monitor seedlings for pests and diseases regularly, taking action promptly if you notice any signs of infestation or infection. With patience and proper care, agave seedlings can grow into robust, long-lived plants that bring beauty and structure to your garden. By following these guidelines and providing your young agaves with the right conditions, you’ll be well on your way to cultivating healthy, thriving mature plants.
Post-Propagation Care: Tips and Tricks
Now that you’ve successfully propagated your agave, it’s time to give those new little plants some TLC. Let’s dive into some essential post-propagation care tips to keep them happy and thriving.
Watering and Soil Requirements After Propagation
After successfully propagating agaves in your garden, it’s essential to provide them with the right conditions for establishment and growth. When it comes to watering newly propagated agaves, it’s a delicate balance between providing enough moisture to support their development and preventing overwatering that can lead to root rot.
Start by checking the soil daily, inserting your finger into the soil up to the first knuckle. If the soil feels dry at this depth, it’s time for watering. Water thoroughly until you see water coming out of the drainage holes in the pot. However, reduce watering frequency as the agave becomes established. As a general rule, newly propagated agaves need more frequent watering than mature plants.
In terms of soil composition, choose a well-draining mix that includes organic matter such as compost or perlite to prevent waterlogged soil conditions. Avoid using regular potting soil, as it tends to retain too much moisture and can lead to root rot. A mix specifically designed for cacti and succulents is ideal. Monitor the agave’s response to its new environment and adjust your watering schedule accordingly.
Pest Control and Disease Prevention
Agave plants are prone to various pests and diseases that can cause damage and even kill them if left untreated. One of the most common pests affecting agaves is spider mites. These tiny insects feed on the sap of the plant, causing yellowing or bronzing of the leaves. To control infestations, isolate infected plants, and spray them with a mild soap solution. Repeat this process every 7-10 days until the pests are gone.
Root rot caused by overwatering is another common issue. Symptoms include soft, mushy stems and a foul odor emanating from the plant. To prevent root rot, ensure good drainage in your potting mix and avoid getting water on the leaves or crown of the agave. If you notice signs of root rot, remove the affected plant material and repot the agave in fresh soil.
Fungal diseases like leaf spot can also affect agaves. These fungi thrive in humid environments and can cause unsightly lesions on the leaves. To prevent fungal infections, maintain good air circulation around your plants and water them from below to avoid splashing water onto the leaves.
Advanced Techniques: Agave Hybridization and Grafting
Now that you’ve mastered basic agave propagation, let’s dive into advanced techniques: hybridizing and grafting these striking plants to create new, unique species. With practice and patience, you can develop your own signature agaves.
Creating New Agave Hybrids
Creating new agave hybrids through cross-pollination is an exciting and challenging process. To start, you’ll need to select two distinct agave species that exhibit desirable traits such as unique foliage patterns, vigor, or cold hardiness. This can be done by observing the characteristics of different plants in your collection or consulting with experienced growers.
Cross-pollination involves transferring pollen from one plant’s anthers to the stigma of another, ensuring fertilization occurs and seeds are produced. To facilitate this process, it’s essential to monitor the flowering cycles of both species and time the transfer of pollen for optimal results. Using a small, clean brush or a cotton swab can help collect and transport pollen between plants.
Keep in mind that not all agave species will produce viable offspring when crossed. In fact, research suggests that only about 10-20% of agave hybrids will exhibit desirable traits from both parent plants. However, this process offers unique opportunities for breeders to create new cultivars with improved characteristics, expanding the diversity of agaves available for gardening.
Grafting Agaves onto Other Plants
Grafting an agave stem onto another plant’s root system is a technique used to combine the hardiness and adaptability of one species with the desirable traits of another. This process allows you to create unique hybrids that can thrive in conditions where one or both parent plants might struggle.
When grafting agaves onto other plants, such as yucca or succulents, it’s essential to choose a root system that complements the agave’s needs. For instance, yucca roots are well-suited for agave species that prefer dry soil conditions, while succulent roots can support agaves that thrive in more moist environments.
To graft an agave stem onto another plant’s root system, you’ll need to make a clean incision on the receiving plant and attach the agave stem using a specialized grafting tape or wire. The key is to ensure a snug fit between the two plants, allowing for maximum water and nutrient exchange.
It’s crucial to monitor the grafted plant closely during its initial growth phase, adjusting the amount of water and nutrients as needed. With proper care, a successfully grafted agave can become a stunning addition to your garden, offering an unparalleled combination of hardiness and beauty.
Conclusion: Successful Agave Propagation in Gardens
Now that you’ve learned how to propagate agaves in your garden, it’s time to put these techniques into action. Remember, success depends on choosing healthy mother plants and taking proper care of the pups after removal. Make sure to water them sparingly until roots develop, as overwatering can be detrimental to their growth. With patience and attention to detail, you should be able to cultivate multiple agave plants from a single parent plant. As your new additions grow and mature, don’t forget to repot them periodically to accommodate their increasing size. By following these steps and providing the right environment, you’ll be well on your way to creating a thriving collection of agaves in your garden.
Frequently Asked Questions
What’s the ideal time of year to propagate agaves, considering climate and temperature?
Propagate agaves during their dormant season or when temperatures are moderate, typically between spring and fall. Avoid propagating during extreme heat or cold, as this can cause stress to the plant.
How long does it take for a propagated agave to mature and produce offsets or pups?
The time frame varies depending on factors like climate, soil quality, and species. Generally, it takes 2-5 years for a propagated agave to reach maturity and start producing offsets or pups.
Can I propagate agaves from seed, and what are the benefits and challenges of doing so?
Yes, you can propagate agaves from seeds. However, this method is more challenging due to low germination rates (around 10-20%) and requires specialized care for seedlings. It’s recommended for experienced growers seeking genetic diversity.
What are some common mistakes to avoid when propagating agaves, especially regarding watering and fertilization?
Avoid overwatering, which can lead to root rot, and underfertilizing, which may hinder growth. Also, be cautious not to damage the plant during propagation, as this can cause stress and reduce its chances of survival.
Can I propagate agaves from leaf cuttings, or is this method more suitable for certain species?
Yes, some agave species (like Agave americana) are well-suited for leaf cutting propagation. However, not all species will produce viable plants through this method. Research the specific needs and requirements of your chosen species to determine the best propagation approach.