Are you a fan of growing your own unique fruits at home? If so, you’re probably no stranger to the delightful ground cherry plant! With its sweet and tangy flavor, this little gem has been gaining popularity among gardeners and foodies alike. But did you know that propagating ground cherries can be just as exciting – and rewarding – as growing them from scratch?
Whether you’re a seasoned green thumb or just starting out, successfully propagating ground cherry plants requires some basic knowledge of the right techniques to use. In this article, we’ll dive into the world of ground cherry propagation, covering essential methods such as seed starting, stem cuttings, layering, and grafting – so you can grow more of these tasty fruits in no time! We’ll also share expert tips for ensuring healthy growth and caring for your newly planted ground cherries. Let’s get started on this propagation journey together!
Understanding Ground Cherry Plants
Let’s dive deeper into understanding the ground cherry plant, from its unique appearance and growth habits to its ideal growing conditions. This foundation will help you succeed with propagation later on.
What Are Ground Cherries?
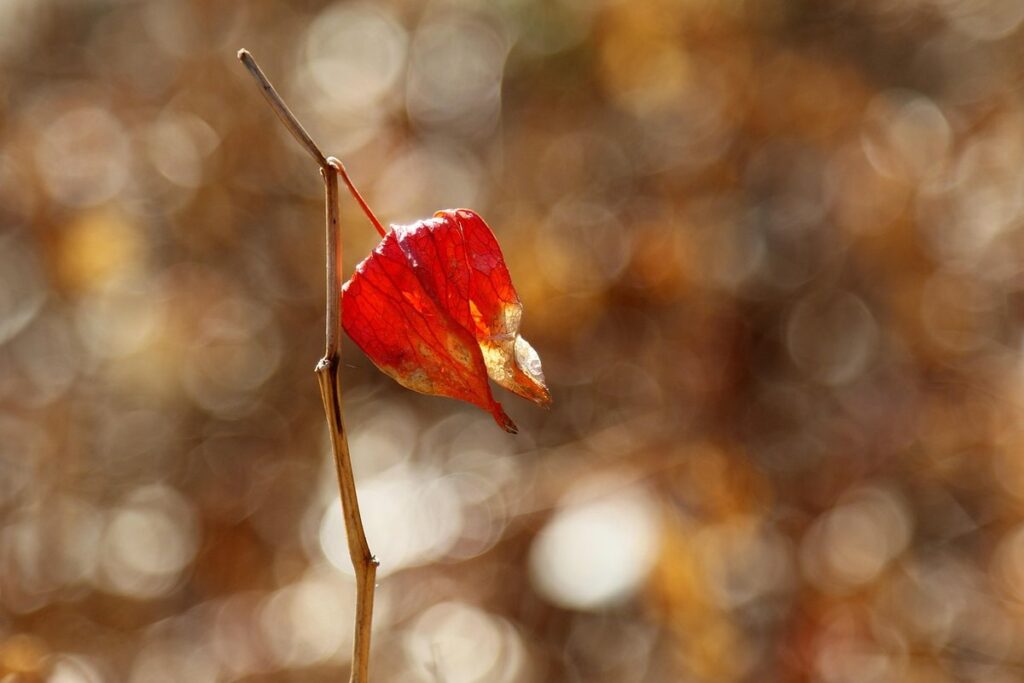
Ground cherry plants (Physalis pruinosa) are an intriguing and lesser-known fruit-bearing species native to North America. These small, yet nutritious plants have been a part of indigenous cuisine for centuries, particularly among the Native American communities. What sets them apart from other fruits is their unique presentation – the ground cherry’s papery husk encases a sweet and tangy pulp that resembles a small tomato.
One of the defining characteristics of ground cherries is their adaptability to various environments. They thrive in poor soil conditions, making them an excellent choice for areas with rocky or sandy terrain. Additionally, they are relatively low-maintenance plants, requiring minimal pruning and care. This ease of cultivation has led to increased popularity among gardeners and foragers alike.
Ground cherry plants also possess a unique ability to produce fruit without the need for cross-pollination, making them ideal for small-scale growers or those with limited space. Their compact growth habit allows them to thrive in containers, adding to their appeal as a versatile option for plant enthusiasts.
Characteristics of Ground Cherry Plants
Ground cherry plants are known for their unique characteristics that make them an excellent addition to any garden. One of the most notable features is their growth habit, which can vary depending on the specific variety. Some ground cherry plants are compact and bushy, while others can grow quite tall, up to 3 feet or more.
Fruiting seasons also differ among varieties, but in general, you can expect your ground cherry plant to produce fruit within a year of planting. The fruit itself is small, round, and papery husked, with a sweet and slightly tart taste that’s often described as a combination of pineapple and strawberry.
In terms of potential uses, ground cherries are incredibly versatile. They’re perfect for snacking fresh off the plant or using in baked goods like pies and tarts. You can also use them to make jams, preserves, and even wine. Additionally, ground cherry plants have ornamental value and can be used as a decorative element in your garden.
When selecting varieties for propagation, consider factors like growth habit, fruit size, and flavor profile to ensure you get the best results from your newly propagated plants.
Methods for Propagating Ground Cherry Plants
There are several effective methods for propagating ground cherry plants, including seed sowing and division, which we’ll explore in more detail below. Let’s dive into the specifics of each technique.
Seed Propagation
When it comes to propagating ground cherry plants from seeds, timing is crucial. In most regions, it’s best to sow seeds indoors 8-10 weeks before the last frost date. This allows the seedlings to develop a robust root system and get a head start on the growing season. If you’re sowing in late spring or early summer, direct sow seeds about 1/4 inch deep and 1-2 inches apart.
Use a well-draining seed starting mix and maintain a temperature of around 70-75°F (21-24°C) for optimal germination. Keep the soil consistently moist but not waterlogged – ground cherry seeds can rot easily if the soil is too wet. Once the seedlings have two sets of leaves, transplant them into individual pots filled with a balanced potting mix.
Aftercare is just as important as proper sowing and transplanting. Make sure to provide your seedlings with plenty of indirect light, and maintain a moderate watering schedule. Avoid over-fertilizing, as this can lead to weak or leggy growth. With proper care, your ground cherry seedlings should thrive and produce healthy fruit within 60-90 days of sowing.
Stem Cuttings Propagation
To propagate ground cherry plants using stem cuttings, start by selecting healthy stems from mature plants with plenty of nodes. Cut 3-4 inch long sections from the stems just above a node, making sure each cutting has at least two sets of leaves. Remove lower leaves, leaving only two to three pairs of leaves at the top.
Prepare your rooting medium by mixing a well-draining potting mix with perlite or vermiculite. Dip the cut end of the stem into a rooting hormone powder or liquid to stimulate root growth. Plant the cutting about 1-2 inches deep in the prepared medium, firming gently around it. Water thoroughly and maintain high humidity by covering the container with a clear plastic bag.
Within 6-8 weeks, roots should develop, and new growth will appear above ground. Once you notice significant new growth, remove the plastic bag and transplant the cutting into individual pots filled with a mix of potting soil and perlite or vermiculite. Harden off the seedlings before moving them outdoors to their permanent location.
Advanced Propagation Techniques
Now that you’ve mastered the basics of ground cherry plant propagation, it’s time to take your skills to the next level with advanced techniques for even more successful seedlings. We’ll dive into the details of these specialized methods.
Layering Ground Cherry Plants
When it comes to propagating ground cherry plants through layering, this method allows you to take cuttings from mature stems and encourage roots to form while the stem is still attached to the parent plant. This technique requires some basic equipment including a sharp, sterile knife or pruning tool for making clean cuts, twine or wire for securing the stem in place, and a rooting hormone powder or liquid that promotes root growth.
To layer ground cherry plants, start by selecting a healthy, mature stem with at least two sets of leaves. Cut a section from the parent plant using your chosen tool, making sure to leave at least one set of leaves intact on the cutting. Next, bend the cut end down towards the soil and secure it in place with twine or wire, taking care not to constrict the stem too tightly.
Once you’ve secured the cutting, apply a small amount of rooting hormone powder or liquid to the buried portion to stimulate root growth. Keep the soil consistently moist but not waterlogged, as this can lead to rot and poor root development. Over time, roots should begin to form on the buried section of stem, allowing you to gently cut it from the parent plant once roots have developed sufficiently.
Grafting Ground Cherry onto Other Hosts
Grafting ground cherry onto other hosts can be an effective way to propagate this unique and valuable plant. By joining a piece of ground cherry stem to the root system of another host or rootstock, you can leverage the benefits of both plants.
One popular grafting technique for propagating ground cherry is using a compatible rootstock like sweet orange (Citrus sinensis) or apple (Malus domestica). The benefits of this approach include improved disease resistance and increased vigor in the resulting plant. However, it’s essential to consider potential drawbacks such as compatibility issues between the grafted species.
To graft ground cherry onto another host, you’ll need a sharp, sterile knife for making precise cuts on both plants. Remove a section of stem from the ground cherry and match it with an identical incision on the rootstock. Secure the two pieces together using tape or twine until they heal. This will typically take 1-2 weeks, after which the grafted plant can be transplanted into individual pots for further growth.
Keep in mind that grafting may not always result in a 100% success rate due to factors like compatibility and disease pressure. Always research compatible rootstocks before attempting grafting.
Tips for Successful Propagation
Now that you’ve mastered the basics of ground cherry plant propagation, let’s dive into some valuable tips to ensure your new plants thrive and multiply successfully.
Environmental Considerations
When it comes to propagating ground cherry plants, environmental factors can significantly impact success. Temperature plays a crucial role, as ground cherries are sensitive to extreme temperatures. They thrive in temperatures between 65°F and 75°F (18°C and 24°C), with optimal growth occurring at around 70°F (21°C). Avoid exposing your seedlings to temperatures below 55°F (13°C) or above 85°F (29°C), as this can lead to stunted growth and poor germination.
Light is another critical consideration. Ground cherries require bright, indirect light but are sensitive to direct sunlight, which can cause the leaves to become scorched. Provide them with east- or west-facing windows or use grow lights for optimal results. Maintain a humid environment, ideally between 40% and 60% relative humidity, by covering the propagation tray with plastic wrap or a cloche.
By controlling temperature, light, and humidity, you can create an optimal environment for successful ground cherry plant propagation. Remember to acclimate your seedlings gradually to outdoor conditions to prevent shock. With proper environmental management, you’ll be well on your way to growing healthy, thriving ground cherry plants.
Common Challenges and Troubleshooting
Encountering challenges during ground cherry plant propagation is not uncommon. One common issue is root rot, which can occur if the cutting is exposed to excess moisture. To prevent this, make sure the soil is well-draining and avoid overwatering.
Another challenge you may face is slow or inconsistent rooting. This could be due to factors such as inadequate light, incorrect temperature, or insufficient humidity. Check your propagation setup to ensure it meets the requirements of the ground cherry plant: bright indirect light, temperatures between 65-75°F (18-24°C), and a humid microclimate.
Additionally, you may experience difficulties with seed germination, which can be due to old seeds, inadequate moisture, or insufficient warmth. Use fresh seeds and maintain consistent moisture levels during the germination process.
In some cases, ground cherry cuttings may not produce roots at all. If this is the case, try adjusting your propagation technique by increasing the frequency of watering or using a rooting hormone.
Caring for Newly Propagated Ground Cherry Plants
Now that you’ve successfully propagated your ground cherry plants, it’s time to give them the care they need to thrive in their new home. Learn how to properly water, prune, and protect these delicate seedlings.
Transplanting Techniques
When it’s time to transplant your newly propagated ground cherry plants, make sure you’re doing it right to give them the best chance at thriving. This is a crucial step that requires attention to detail and careful planning.
To begin, choose a location with bright, indirect light for direct planting or individual pots will need to be placed in a sunny area but not directly in full sun. If transplanting into the garden, prepare the soil by loosening it to about 8-10 inches deep and mixing in a balanced fertilizer at half the recommended strength. This will help your ground cherry plants establish themselves quickly.
For potted plants, use a well-draining potting mix that is slightly acidic (pH 6.0-7.0). Water thoroughly before transplanting to prevent soil compaction. When moving the plant to its new location, gently remove it from its container and place in the prepared bed or pot, making sure not to disturb the roots.
Water well after transplanting and keep the soil consistently moist but not waterlogged for the next two weeks. Once established, ground cherry plants are relatively drought-tolerant, so adjust your watering schedule accordingly.
Initial Care and Aftercare
After propagating your ground cherry plants, it’s essential to provide them with the right initial care to promote healthy growth. Start by watering them regularly, but make sure not to overwater. Ground cherries require well-draining soil, so if you’re using a potting mix, ensure it has good drainage properties.
Fertilization is also crucial during this stage. Use a balanced fertilizer (10-10-10 NPK) and follow the instructions on the label for application rates. You can start fertilizing your ground cherry plants about two weeks after propagation, when they have developed their first set of true leaves.
Pruning is another critical aspect of initial care. Remove any weak or spindly growth to encourage bushy development and prevent legginess. This will also help direct the plant’s energy towards producing fruit rather than leaf growth.
Aftercare is equally important for your ground cherry plants’ long-term health. Water them regularly, but reduce watering during winter months when they’re dormant. Fertilize lightly during the growing season (spring-fall) to maintain their nutrient levels. Regular pruning will also help control pests and diseases, promoting overall plant vigor.
Harvesting Ground Cherry Fruits
Now that you’ve successfully propagated your ground cherry plants, it’s time to reap the rewards and harvest those delicious fruits! Learn how to carefully collect and enjoy your homegrown ground cherries.
Seasonal Variations
When harvesting ground cherry fruits, you’ll notice that production varies significantly with the seasons. Factors such as temperature, sunlight, and rainfall can impact yield and quality. For instance, the ideal temperatures for fruit set are between 64°F to 75°F (18°C to 24°C), while excessive heat above 85°F (29°C) can lead to sunscald and reduce yields.
In regions with hot summers, ground cherry fruits often mature in mid-to-late summer. However, if your area experiences a cooler climate, fruit production might be delayed until early fall. It’s essential to understand the specific growing conditions in your region to anticipate when your plants will produce fruit.
To optimize harvests, consider pruning your ground cherry plants regularly throughout the season. This will encourage bushy growth, promote healthy fruiting, and help you identify any potential issues before they become severe problems. By being aware of seasonal variations and taking proactive steps, you can enjoy a bountiful harvest of delicious ground cherries from your homegrown plants.
Harvest Techniques
Harvesting ripe ground cherry fruits is a crucial step to ensure a bountiful harvest and healthy plants. It’s essential to remove the fruits at the right time to avoid damaging the plant or affecting future yields.
To determine if the fruit is ready, gently twist one of the calyxes (the cup-like structure that holds the fruit). If it comes off easily, the fruit is ripe. Harvesting should be done in the morning after the dew has evaporated but before the heat of the day becomes too intense.
Use a pair of scissors or pinch off the stem close to the base to avoid damaging the plant. This will also prevent any bacteria from entering the plant through open wounds. Be sure to leave a small portion of stem attached to the fruit, as this will help it dry out and store properly.
Regular harvesting is essential for maintaining a healthy ground cherry plant. By removing ripe fruits regularly, you’ll encourage the plant to produce more flowers and set new fruit. This process can be repeated throughout the growing season, allowing you to enjoy an extended harvest of delicious ground cherries.
Frequently Asked Questions
Can I propagate ground cherry plants indoors, or do they require direct sunlight?
Yes, you can propagate ground cherry plants indoors with proper lighting conditions. While direct sunlight is ideal, a south-facing window or grow lights can provide sufficient light for successful propagation.
How long does it take for ground cherry cuttings to root and start producing new growth?
The rooting process typically takes 1-3 weeks for ground cherry stem cuttings. After that, you should see new growth, and the plant will be ready for transplanting in about 2-4 months after propagation.
What are some common mistakes to avoid when layering ground cherry plants?
When layering ground cherry plants, make sure not to expose the buried portion of the stem to direct sunlight or extreme temperatures. Also, ensure that the soil is kept consistently moist but not waterlogged during this process.
Can I use a heat mat to speed up germination and rooting for seed propagation?
Yes, using a heat mat can accelerate germination and root development when propagating ground cherry plants from seeds. Just be sure to monitor temperature levels (around 70-80°F or 21-27°C) to prevent overheating.
How do I know if my newly propagated ground cherry plant is stressed or infected?
Regularly inspect your plants for signs of stress or infection, such as yellowing leaves, black spots, or unusual growth patterns. If you notice any issues, adjust your care routine accordingly and consult resources on common problems in ground cherry cultivation.
Can I propagate multiple varieties of ground cherries using the same techniques, or are there specific considerations?
When propagating multiple ground cherry varieties, be mindful that some may have unique requirements for temperature, humidity, or light. Consult specific guidelines for each variety to ensure successful propagation and optimal growth conditions.
How do I store my propagated ground cherry cuttings before transplanting them outside?
Store your cuttings in a sealed plastic bag with a damp paper towel or cloth, and keep them refrigerated at around 40°F (4°C) until you’re ready to plant. This will help slow down the rooting process until conditions are optimal for outdoor planting.