If you’re anything like me, you’ve fallen in love with the unique foliage of Fittonia plants. Their striking patterns and delicate leaves add a touch of elegance to any space. However, as much as we adore these plants, they can be pricey and difficult to find – especially if you’re looking for specific varieties. This is where propagating Fittonia comes in: a game-changer for plant enthusiasts who want to multiply their favorite species without breaking the bank. In this article, we’ll dive into the basics of propagating Fittonia, covering everything from taking cuttings and rooting them to providing optimal care for your newly propagated plants. Whether you’re a seasoned gardener or just starting out, by the end of this guide, you’ll be well on your way to successfully multiplying these beautiful plants.
Understanding Fittonia Basics
To start propagating fittonia successfully, you first need to understand the basics of these beautiful and delicate plants. That means learning their unique characteristics and needs.
What is Fittonia and Its Uses
Fittonia is a genus of flowering plants native to tropical regions of the Pacific Islands. Its history dates back to the 18th century when it was first introduced to Europe by botanists. Since then, Fittonia has become a popular choice for interior designers and gardeners alike due to its stunning foliage.
One of the primary reasons Fittonia is favored in interior design is its versatility in different lighting conditions. It can thrive in low-light environments, making it perfect for rooms with limited natural light. Its compact growth habit also makes it an ideal choice for small spaces or indoor containers. In terms of gardening, Fittonia can be used as a ground cover or added to hanging baskets and terrariums.
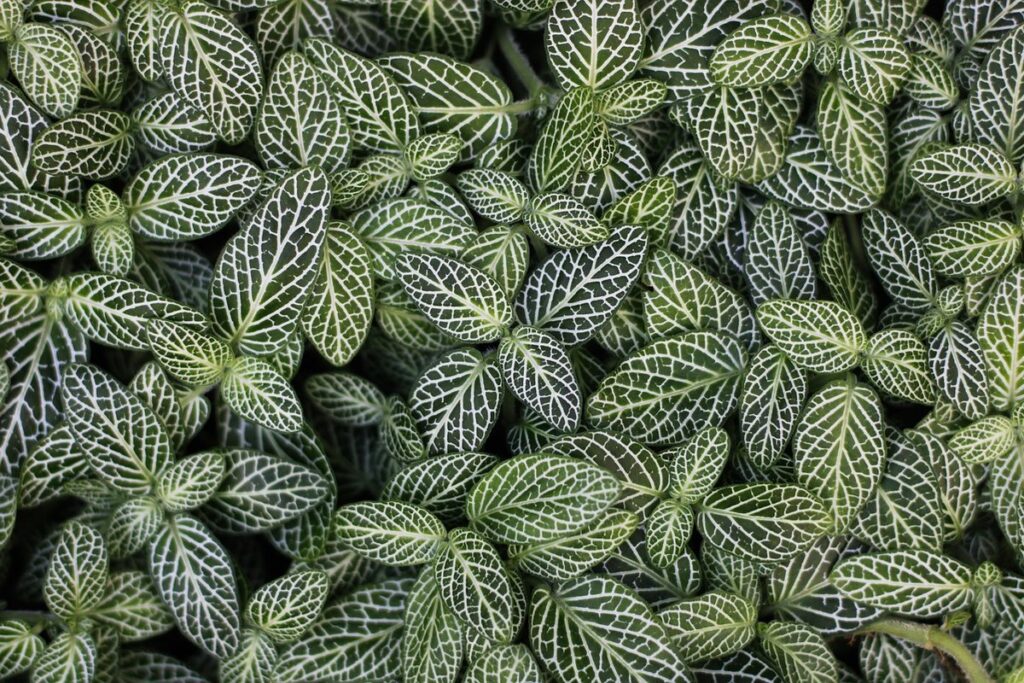
Some popular varieties of Fittonia include ‘Silver Dragon’ and ‘Micans’, known for their striking silver patterns on green leaves. These unique foliage characteristics make them a favorite among plant enthusiasts and designers looking to add visual interest to their spaces. When propagating Fittonia, it’s essential to understand its specific needs and uses, which we’ll cover in the following sections of this guide.
Types of Fittonia and Their Characteristics
Fittonia is a versatile and beautiful plant that comes in various types, each with its unique characteristics. Understanding these differences will not only enhance your appreciation for the plant but also help you choose the right species for propagation.
Some popular varieties of Fittonia include ‘Narrow Leaf’, which features long, slender leaves and a more compact growth habit; ‘Tricolor’, known for its striking white, green, and red coloration on its leaves; ‘Albo-Verdite’, with its mottled white and green foliage; and ‘Argentea’, boasting silver-gray leaves. These distinct characteristics make each type suitable for different environments and decorating styles.
When selecting a Fittonia variety for propagation, consider the growth habits of each species. For example, ‘Narrow Leaf’ is an excellent choice for small spaces or containers due to its compact nature. On the other hand, ‘Tricolor’ requires more space to grow and display its vibrant foliage. By choosing a suitable type based on your environment and desired outcome, you’ll be better equipped to successfully propagate Fittonia.
Keep in mind that different types of Fittonia have varying propagation requirements. Some may thrive under high humidity, while others prefer dry conditions. Researching the specific needs of your chosen species will help ensure successful propagation.
Choosing the Right Method for Propagation
When it comes to propagating Fittonia, there are several methods you can use, but not all will be suitable for your specific needs and goals. In this section, we’ll explore the different options available to you.
Stems Cuttings vs. Leaf Cuttings: Which is Best?
When it comes to propagating Fittonia, one of the key decisions you’ll need to make is whether to use stem cuttings or leaf cuttings. Both methods have their own set of advantages and disadvantages.
Stem cuttings are generally considered a more reliable method for propagating Fittonia. This is because they contain a node, which is where new roots will form. Cut a section from the mother plant about 2-3 inches long, making sure each node has at least two sets of leaves. Dip the base of the cutting into rooting hormone and place it in a glass of water or a propagation tray filled with a well-draining potting mix.
Leaf cuttings can also be used to propagate Fittonia, but they tend to have a lower success rate than stem cuttings. This is because leaves don’t contain nodes, making it more difficult for roots to form. However, if you’re short on time or want to try a different method, leaf cuttings can still produce successful results.
When taking leaf cuttings, choose healthy leaves with no signs of disease or pests. Remove the petiole (stem) and place the leaf in a glass of water or propagation tray. Keep the cutting in a bright, warm location, but avoid direct sunlight, which can cause the leaf to dry out too quickly.
Tools and Materials Needed for Propagation
When it comes to propagating fittonia, having the right tools and materials can make all the difference. To ensure successful propagation, you’ll need a few essential items on hand.
First and foremost, you’ll need a high-quality potting mix specifically designed for tropical plants like fittonia. This type of mix will provide the necessary nutrients and structure to support healthy root development. Choose a mix that is well-draining and rich in organic matter, such as peat moss or coconut coir.
You’ll also need some small pots or propagation trays with good drainage holes to plant your cuttings in. These should be at least 1-2 inches deep to allow for adequate root growth. Make sure the pots are clean and free of any debris before use.
In addition, you’ll want to have a few fertilizers on hand to promote healthy growth once your new plants have been established. A balanced, water-soluble fertilizer (20-20-20) will work well, but be sure to follow the instructions carefully to avoid burning your delicate roots.
Finally, don’t forget a pair of clean scissors or pruning shears for making precise cuts on your stem sections.
Preparing Your Plant for Propagation
Before you begin propagating your Fittonia, it’s essential to prepare your plant by giving it a good trim and making sure its roots are healthy. Let’s get started on this crucial step!
When to Take Cuttings: The Optimal Time
When it comes to taking cuttings from your Fittonia plant, timing is everything. You’ll want to wait until your plant has reached its optimal growth stage, which typically occurs when the leaves are fully formed and the stem is sturdy enough to support itself.
In most cases, this will be during the spring or summer months when the plant is actively growing. Avoid taking cuttings during the fall or winter when the plant is dormant, as the success rate of propagation will be significantly lower.
Look for signs that your Fittonia plant is ready for cutting, such as a new growth spurt or an increase in leaf size. This indicates that the plant has reached its peak energy production and is more likely to produce healthy cuttings. If you’re propagating from a mature plant, consider taking cuttings when the leaves are at their largest size, usually around 4-6 inches long.
By timing your cutting correctly, you’ll give your Fittonia baby plants the best chance of thriving.
Preparing the Mother Plant for Propagation
Before you can start taking cuttings from your fittonia mother plant, it’s essential to prepare her for propagation. This involves pruning and providing optimal growing conditions that will encourage healthy growth and make the cutting process more successful.
Pruning is a crucial step in preparing your mother plant for propagation. Cut back any leggy stems or remove dead leaves to prevent the spread of disease and promote new growth. Use scissors or pruning shears to cut just above a node (where a leaf meets the stem), making clean cuts at a 45-degree angle. This will help stimulate new growth and increase the chances of successful propagation.
Make sure your mother plant is receiving optimal growing conditions, including bright, indirect light and temperatures between 65-75°F (18-24°C). Keep the soil consistently moist but not waterlogged, as this can lead to root rot. By providing these conditions, you’ll be creating an environment that’s conducive to healthy growth and will make it easier to take successful cuttings in the next step of our guide.
Taking Cuttings and Rooting
To successfully propagate Fittonia, you’ll want to learn how to take healthy cuttings from mature plants and encourage them to develop a robust root system. This section will walk you through both processes.
How to Take Stems Cuttings: A Step-by-Step Guide
To take stem cuttings from your Fittonia plant, you’ll need to follow these simple steps. Start by selecting a healthy stem with at least two sets of leaves and make sure it’s free of any signs of disease or pests.
Cut the stem just below a node using a clean pair of scissors or pruning shears. It’s essential to cut at an angle, allowing for better water uptake when you plant the cutting. Remove any lower leaves that would be submerged in water, as this can lead to root rot.
Place the cutting in a glass of water or a propagation tray filled with water, making sure the node is fully submerged. Within 7-14 days, roots should start to develop. Once the roots are about an inch long, transfer the cutting into a pot filled with moistened soil, gently firming it in place.
Keep the soil consistently moist but not waterlogged and provide bright, indirect light. With proper care, your new Fittonia plant will thrive and be ready for transplanting within 4-6 weeks.
Rooting Hormones and Potting Mix: Essential for Success
When taking cuttings from Fittonia plants, it’s essential to use rooting hormones and potting mix specifically designed for this purpose. These products work together to stimulate root growth and development.
Rooting hormones contain plant growth regulators that promote cell division and differentiation, leading to the formation of new roots. When applied correctly, they can significantly increase the chances of successful rooting. For example, a study on Fittonia species found that using a 1:10 ratio of rooting hormone to water resulted in an average success rate of 85% for rooted cuttings.
The type of potting mix used is also crucial in promoting healthy root development. A well-draining mix with a balanced pH will provide the right environment for roots to grow, whereas a dense or waterlogged mix can lead to root rot and failure. As a general rule, use a mix that contains perlite or vermiculite to improve drainage and prevent waterlogging.
When choosing potting mix, look for products specifically designed for rooting cuttings. These mixes typically have a finer texture and higher water-holding capacity than regular potting soils. By using the right combination of rooting hormones and potting mix, you’ll be well on your way to successfully propagating Fittonia plants.
Post-Propagation Care and Maintenance
Once you’ve successfully propagated your Fittonia, it’s essential to provide the right care to ensure they thrive. This section will guide you through post-propagation maintenance techniques for healthy growth.
Providing Optimal Conditions After Propagation
Now that you’ve successfully propagated your Fittonia cuttings, it’s essential to provide optimal growing conditions for them to thrive. Fittonia plants require bright, indirect light but can tolerate low light conditions, making them perfect for shaded areas or offices with limited natural light.
Place the newly propagated plants near an east- or west-facing window, which provides gentle, indirect light. Avoid direct sunlight, as it can cause scorching and discoloration on the leaves. Maintain a consistent temperature between 65°F to 75°F (18°C to 24°C), ensuring your Fittonia plant is in a comfortable environment.
Water your propagated Fittonia plants thoroughly after propagation, allowing the soil to dry slightly between waterings. Avoid overwatering, which can lead to root rot and other issues. Fertilize sparingly with a balanced, water-soluble fertilizer (20-20-20) once a month during the growing season to promote healthy growth.
Monitor your plant’s response to its new environment and adjust watering and fertilization accordingly. With proper care, your Fittonia plant will quickly adapt and become a stunning addition to any indoor space.
Common Issues and Troubleshooting Tips
After propagating Fittonia, you may encounter some common issues that can hinder its growth. One of the most frequent problems is overwatering, which can lead to root rot and kill the plant. To avoid this, ensure that the propagated cuttings have good air circulation and only water when the soil feels dry to the touch.
Another issue is underwatering, which can cause the leaves to turn yellow and drop. Monitor your plant’s watering schedule and adjust it according to its needs. A general rule of thumb is to water your Fittonia once a week in the summer months and once every 10-14 days during the winter months.
If you notice that your propagated cuttings are developing brown or yellow spots, it could be due to fungal diseases like leaf spot or root rot. To prevent this, maintain good air circulation around the plant, avoid overwatering, and use a well-draining potting mix. Regularly inspect your plant for any signs of pests or diseases, and take prompt action if you notice anything unusual.
Keep an eye out for pests like spider mites, mealybugs, and scale, which can cause significant damage to the plant. Use neem oil or insecticidal soap to control infestations.
Some propagated cuttings may not develop roots properly due to factors such as high temperatures or low humidity. To resolve this issue, provide a consistent temperature between 65-75°F (18-24°C) and maintain high humidity around the plant by placing it on a tray filled with water and pebbles.
Advanced Techniques and Experimentation
Now that you’ve mastered the basics of propagating Fittonia, it’s time to take your skills to the next level by experimenting with advanced techniques to achieve unique results. We’ll explore creative methods for pushing your propagation game further.
Air Layering: A More Experimental Method
Air layering is an experimental method that can be used to propagate Fittonia, but it requires more skill and attention than other methods. This technique involves making a small incision on the stem of the mother plant and applying a rooting hormone, then covering it with moss or another medium to create a mini-greenhouse effect. The idea is that roots will develop in the air layer before the top growth dies back.
To attempt air layering, you’ll need to select a healthy Fittonia stem with a robust set of leaves. Make an incision about 1-2 inches from the tip of the stem, and gently apply rooting hormone to the cut area. Then, wrap moss or another medium around the stem, securing it with twine or wire.
Air layering can be a bit tricky, but with patience and the right conditions, you may see roots developing in as little as 2-4 weeks. However, this method is more unpredictable than others and requires careful monitoring to ensure success.
Experimenting with Different Propagation Methods
When it comes to propagating fittonia, experimentation is key to finding the most effective method for your specific needs. While traditional stem cuttings and leaf propagation are tried-and-true methods, you may find that other approaches yield better results or offer unique benefits.
For instance, some growers have successfully propagated fittonia using tissue culture, which involves taking small pieces of plant tissue and growing them in a controlled environment. This method can be particularly useful for large-scale production or when working with sensitive species. On the other hand, fittonia can also be propagated through division, where you separate the plant’s rhizome and pot up individual sections. This approach is ideal for propagation on a smaller scale or when trying to maintain the genetic integrity of a specific cultivar.
Another method worth exploring is aerial root propagation, which involves taking cuttings from the plant’s aerial roots and rooting them in water or a propagation medium. This method can be more forgiving than traditional stem cuttings and may offer higher success rates for some growers. Ultimately, the key to successful fittonia propagation lies in experimentation and adaptability – don’t be afraid to try new approaches and adjust your technique as needed.
Frequently Asked Questions
How do I know if my propagated Fittonia plant is healthy?
When inspecting your newly rooted plant, look for firm, compact roots and vibrant green leaves. Check the soil moisture daily to ensure it’s not too dry or waterlogged, which can lead to root rot. With proper care and attention, your propagated Fittonia should thrive within a few weeks.
Can I propagate Fittonia using only leaf cuttings?
While stem cuttings are generally more successful for propagating Fittonia, you can try using leaf cuttings as an alternative method. However, the success rate may be lower due to the higher risk of root rot and inadequate rooting hormones in leaves. It’s recommended to use a combination of both methods for optimal results.
How long does it take for propagated Fittonia plants to reach their full size?
The time it takes for propagated Fittonia plants to mature depends on factors like light, temperature, and humidity. Generally, you can expect your newly rooted plant to reach its full size within 6-12 months, but some varieties may take longer.
Can I propagate Fittonia during the winter months?
While Fittonia prefers warmer temperatures for optimal growth, it’s not impossible to propagate them during the winter. However, be cautious of extreme temperature fluctuations and ensure your plant is receiving sufficient light to promote healthy root development.
What are some common mistakes to avoid when propagating Fittonia?
One common mistake is overwatering, which can lead to root rot and reduced success rates. Another error is using low-quality rooting hormones or potting mixes, which may inhibit proper root growth. Regularly inspect your plant’s roots and adjust your care routine accordingly to achieve optimal results.