Watering your orchid can be a daunting task, especially if you’re new to plant parenthood. With so many different varieties and environmental conditions, it’s easy to get it wrong and end up with a sad, limp stem and brown leaves instead of the vibrant flowers you were hoping for. The truth is, watering is one of the most critical factors in keeping your orchid healthy and thriving. If you’re not doing it correctly, you might be unintentionally causing root rot or even killing off your beloved plant. But don’t worry, we’ve got you covered! In this article, we’ll show you how to water orchids like a pro, covering the best techniques for different varieties and environmental conditions. We’ll help you avoid common mistakes and give you the confidence to care for your orchid with ease.
Understanding Orchid Watering Needs
When it comes to orchid care, getting the watering routine just right can be a challenge. This section will help you understand what your orchid needs to thrive and prevent over- or underwatering.
Orchid Varieties and Their Unique Requirements
When it comes to watering orchids, one of the most crucial factors is understanding their specific variety. Different types of orchids have unique requirements when it comes to water intake. Phalaenopsis, for instance, thrive in moist environments but can be susceptible to overwatering. To avoid this, allow the potting medium to dry slightly between waterings.
Dendrobium orchids, on the other hand, prefer well-draining potting mixes and should not be watered too frequently. Overwatering can lead to root rot, a common problem with these types of orchids. In contrast, Oncidium orchids are relatively drought-tolerant but still need regular watering.
Another key consideration is the temperature at which you’re keeping your orchids. Some varieties, such as Phalaenopsis, prefer warmer temperatures and may require more frequent watering in hotter environments. Others, like Dendrobium, can tolerate cooler temperatures but still need adequate moisture.
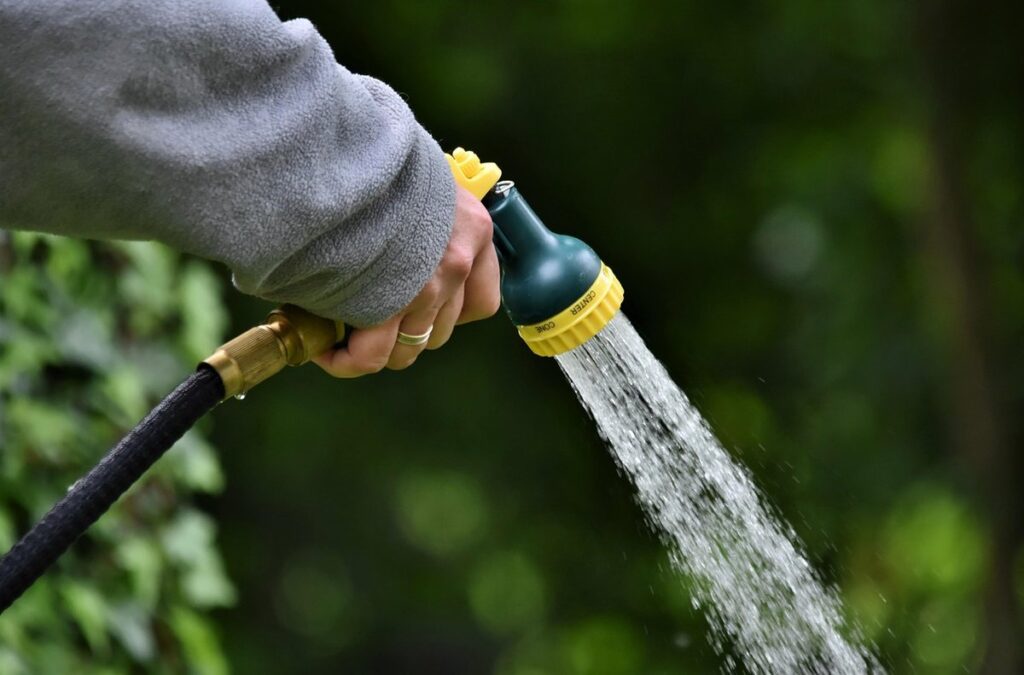
To determine the optimal watering schedule for your orchid, pay attention to its potting mix’s moisture level. If it feels dry to the touch, it’s time to water. Avoid getting water on the plant’s crown or leaves, as this can cause rot and other problems. Instead, water at the base of the plant to ensure the roots receive the necessary moisture.
Environmental Factors That Influence Watering
When it comes to watering your orchid, understanding the environmental factors that influence its needs is crucial. Temperature, humidity, light, and air circulation all play a significant role in determining how often and how much water your orchid requires.
Temperature, for instance, affects the rate at which an orchid absorbs water. Most orchids thrive in temperatures between 65-75°F (18-24°C), but some species prefer warmer or cooler conditions. In warmer environments, an orchid will require more frequent watering, while cooler temperatures slow down its water absorption.
Humidity levels also impact an orchid’s watering needs. If the air is dry, your orchid may need more water to compensate for the lack of moisture in the atmosphere. On the other hand, if the humidity is high, you’ll want to reduce watering to prevent root rot.
Light and air circulation are just as important as temperature and humidity. Orchids grown in bright light require less water than those in low-light conditions, while good air circulation helps prevent fungal diseases that can thrive in humid environments.
Preparing for Orchid Care
Before you start watering your orchids, take a few minutes to set up a perfect environment by preparing the right tools and understanding their unique needs. This is crucial for successful care.
Choosing the Right Potting Mix
When it comes to preparing for orchid care, selecting the right potting mix is often overlooked but plays a crucial role in maintaining healthy roots. Unlike regular houseplants, orchids thrive in well-draining mixes that prevent waterlogged conditions. A standard potting mix can retain too much moisture, causing root rot and fungal diseases.
Look for a potting mix specifically designed for orchids, which typically contains ingredients like sphagnum moss, perlite, or fir bark. These materials allow excess water to escape while retaining just the right amount of moisture around the roots. You can also create your own blend by combining these ingredients with other materials like coconut coir or vermiculite.
Avoid using regular potting mixes or those containing peat moss, as they can be too dense and retain too much water. Instead, opt for a mix that promotes good airflow to prevent root circling and promote healthy growth. Always read the label and follow the manufacturer’s instructions for the recommended moisture level and fertilization schedule.
Some popular brands offer orchid-specific potting mixes that cater to different types of orchids. When selecting a mix, consider your orchid species and its specific needs.
Selecting the Perfect Water Source
When it comes to watering your orchids, one of the most crucial decisions you’ll make is selecting the perfect water source. While tap water may seem like a convenient option, it’s not always the best choice for these delicate plants. Tap water can contain high levels of minerals and chemicals that can accumulate in the potting mix over time, causing more harm than good.
On the other hand, filtered water can be an excellent alternative. Many orchid enthusiasts swear by using filtered water, which has been stripped of impurities and minerals. However, it’s essential to note that some filtered waters may still contain high levels of fluoride, which can be detrimental to your orchids’ health.
Rainwater is another popular option for watering orchids. Not only does it lack the chemicals and minerals found in tap water, but it also has a naturally acidic pH level, which can help maintain a healthy balance in the potting mix. If you do decide to use rainwater, make sure to let it sit for 24 hours before using it to allow any sediment or debris to settle.
When selecting your water source, consider using a combination of these options to create a balanced and healthy environment for your orchids.
Watering Techniques for Optimal Health
When it comes to keeping your orchids happy and healthy, watering is one of the most critical factors. In this next part, we’ll cover specific techniques for optimal water absorption.
The Sipping Method: A Gentle Approach
When using the sipping method for watering your orchids, it’s essential to start by gently pouring water into the pot until it flows out of the drainage holes. This approach allows you to monitor how much water the plant is taking up, preventing overwatering which can be detrimental to their delicate roots.
Begin by filling a cup with room temperature water. As you pour the water into the pot, observe how quickly it drains through the holes. If the water flows out too quickly, this could indicate that the soil is dry and in need of watering. On the other hand, if the water lingers or pools on top of the soil, this may be a sign that the plant doesn’t require as much moisture.
Continue adding small amounts of water to the pot until it’s just saturated but not overflowing. The key here is to observe your orchid’s response and adjust your watering schedule accordingly. By adopting this sipping method, you’ll develop a more intuitive understanding of your plant’s unique needs, helping you provide optimal care for its health and well-being.
Submerging in Water: A Soaking Technique
Submerging an orchid pot in water can be a beneficial watering technique for some growers. This method, also known as “water submersion” or “soaking,” involves placing the pot into a container filled with room-temperature water. The benefits include faster and more thorough hydration of the roots, which is particularly useful during times of drought or when repotting.
However, there are potential drawbacks to consider: over-watering can occur if the water level is too high, causing root rot; and some orchid varieties may not tolerate this method well, requiring a lower water table. To minimize risks, start with short submersion periods (about 30 minutes) and observe your orchid’s response.
It’s also essential to ensure the pot has adequate drainage holes to prevent water from accumulating in the pot itself. Use a tray or container with a wide mouth to make it easy to place and remove the pot without spills.
Common Mistakes to Avoid When Watering Orchids
When it comes to watering your orchid, it’s easy to make mistakes that can lead to root rot and unhappy plants. Let’s take a closer look at some common errors to avoid.
Overwatering: The Leading Cause of Death
Overwatering is one of the most common mistakes people make when caring for orchids, and it can be a recipe for disaster. When an orchid’s roots are constantly saturated with water, they begin to rot from the inside out. This can lead to root rot, which is often irreversible. In severe cases, the rot can even spread to other parts of the plant, causing fungal infections that can be deadly.
The dangers of overwatering don’t stop there. Excess moisture creates an ideal environment for pests like mealybugs and spider mites to thrive, further weakening the plant’s defenses. Moreover, overwatering can cause the leaves to become soft and mushy, making them more susceptible to disease and even causing them to drop off altogether.
To avoid this catastrophic outcome, it’s essential to check your orchid’s moisture levels regularly. Stick your finger into the potting medium about an inch deep – if it feels dry, it’s time for a drink. Aim to water only when the top two inches of the potting mix feel dry to the touch. By being mindful of your watering schedule and monitoring your plant’s response, you can prevent overwatering from becoming a fatal mistake in your orchid care routine.
Underwatering: A Less Obvious but Still Critical Issue
Underwatering can be just as detrimental to orchids as overwatering, and it’s often overlooked. When an orchid is not receiving enough water, the consequences can be severe. One of the first signs of underwatering is shriveled or wilted leaves. This can be a bit misleading, as it may look like the plant needs more water, but in reality, it’s already been deprived for too long.
If left unaddressed, underwatering can lead to reduced flower production and even prevent an orchid from blooming altogether. In extreme cases, underwatering can cause the roots to dry out completely, leading to a decline in the overall health of the plant. To avoid this, make sure to check the moisture levels of your orchid’s potting medium by sticking your finger into it up to the first knuckle. If the mix feels dry, it’s time for a drink.
In addition to checking the moisture level, also monitor your orchid’s water needs based on its environment and climate. Orchids grown in cooler temperatures may require less water than those kept in warmer environments. By being mindful of these factors, you can prevent underwatering and keep your orchid healthy and thriving.
Advanced Techniques for Watering Orchids
Now that you’ve mastered the basics of watering orchids, it’s time to take your skills to the next level by learning advanced techniques that will ensure your plants thrive. This is where precision and patience come into play.
Watering in the Morning vs. Evening
When it comes to watering your orchids, timing is everything. You’ve probably heard that watering in the morning is best, but is this really true? Or should you be watering your orchids in the evening instead? The answer lies in understanding the pros and cons of each approach.
Watering in the morning allows the plant to absorb moisture throughout the day, which can be beneficial for plants that thrive in bright, sunny conditions. However, if you live in a hot and humid climate, this can lead to overwatering and root rot. On the other hand, watering in the evening gives your orchid a chance to drink up overnight, but it may not have enough time to dry out before nightfall, which can increase the risk of fungal diseases.
Ultimately, the best time to water your orchids depends on their specific needs and the climate you live in. If possible, observe your plant’s behavior and adjust your watering schedule accordingly. For example, if you notice that your orchid is droopy during the day but perky at night, it may be a sign that it prefers evening watering. Experiment with different schedules to find what works best for your plant, and remember to always check the soil moisture before watering.
Monitoring Moisture Levels with a Hygrometer
Using a hygrometer is an excellent way to track moisture levels in your orchid’s environment and adjust your watering schedule accordingly. This simple device can provide you with valuable insights into the humidity levels that your plant prefers, helping you avoid over- or under-watering.
To use a hygrometer effectively, choose one that measures both temperature and humidity. This will allow you to track the entire microclimate around your orchid. Place the sensor near the pot, but not touching it, as this can disrupt readings. Readings should be taken at the same time each day, ideally in the morning or afternoon when temperatures are relatively stable.
As a general rule of thumb, most orchids prefer humidity levels between 40-70%. However, some species may require higher or lower levels. Keep an eye on your hygrometer’s readings and adjust your watering schedule based on changes in humidity levels. For example, if you notice that the humidity is consistently above 60%, it may be time to reduce watering frequency.
Troubleshooting Common Issues
Don’t worry if you’re experiencing problems with your orchid’s watering schedule, we’ve got solutions for the most common issues to get your plant back on track. Let’s tackle those tricky scenarios together!
Root Rot and Fungal Infections
When it comes to overwatering orchids, root rot and fungal infections can quickly become major problems. These issues often arise when excess moisture collects around the roots, creating an ideal environment for disease-causing pathogens to thrive.
Identifying root rot can be a bit tricky, as it may not always be visible above ground. However, if your orchid’s leaves are turning yellow or dropping, or if you notice blackened or mushy roots, it could be a sign of root rot. Fungal infections, on the other hand, often manifest as white or grayish patches on the leaves or crown of the plant.
To treat these issues, start by repotting your orchid in fresh, well-draining potting mix. Remove any affected roots and gently trim away dead tissue to prevent the spread of disease. For fungal infections, you can also try treating with a fungicide specifically designed for orchids. It’s essential to address both root rot and fungal infections promptly, as they can quickly kill your orchid if left unchecked.
Prevention is key: to avoid overwatering in the first place, ensure that your pot has good drainage holes, and only water your orchid when the top inch of soil feels dry to the touch.
Drought Stress: Symptoms and Solutions
Drought stress is one of the most common issues that can affect orchids. It’s essential to recognize the signs and take corrective action before it’s too late. When an orchid is underwatered, it will start to exhibit symptoms such as wrinkled or dry leaves, a decline in flower production, and a change in color – typically turning yellow or brown.
If you suspect that your orchid has been affected by drought stress, the first step is to stop watering it immediately. Allow the plant to dry out completely for 7-10 days before resuming normal watering habits. This break will give the roots time to recover and help prevent further damage. To revive a dehydrated orchid, you can also try soaking the pot in water for 15-20 minutes, then letting it drain thoroughly.
Some key things to keep in mind when reviving your orchid include repotting it with fresh, well-draining media if necessary, and adjusting your watering schedule to ensure that the plant is receiving adequate moisture. With proper care and attention, even a severely dehydrated orchid can recover and thrive again.
Conclusion
In conclusion, watering orchids may seem like a daunting task, but with the right approach, you’ll be enjoying these beautiful plants in no time. Remember that it’s better to err on the side of caution and underwater your orchid rather than overwatering it. This will help prevent root rot and other problems that can arise from too much moisture.
By following the tips outlined in this article – checking the moisture levels, avoiding overhead watering, and letting the pot drain thoroughly – you’ll be well on your way to becoming an orchid expert. With a little patience and practice, you’ll develop a keen sense of when your orchid needs water. Don’t be discouraged if it takes some trial and error – every plant is different, and finding what works best for yours will take time.
Frequently Asked Questions
Can I water my orchid with tap water, or do I need to use distilled or filtered water?
While it’s technically possible to use tap water for your orchids, it’s often not the best choice due to high mineral content. These minerals can cause spotting on leaves and flowers over time. Using distilled or filtered water is recommended to prevent such issues.
What are some common signs that I’m underwatering my orchid?
If you notice your orchid’s leaves are becoming wrinkled, its stems are sagging, or it’s dropping buds, it might be a sign of underwatering. To rectify this, increase watering frequency slightly and ensure the potting medium is consistently moist but not waterlogged.
How often should I repot my orchid after initially planting it?
As your orchid grows, its root system will require more space to expand. Typically, repot every 1-3 years or when you notice roots growing out of the pot’s drainage holes. Choose a potting mix specifically designed for orchids and gently remove old potting medium before placing the orchid in its new home.
What should I do if my orchid starts developing root rot despite proper watering?
Root rot can be caused by overwatering, but other factors like high temperatures or poor air circulation might also contribute. Identify the cause and adjust your care accordingly. To treat root rot, carefully remove affected roots, repot in fresh potting medium, and reduce watering until the orchid recovers.
Can I grow orchids indoors with low humidity levels?
While orchids generally prefer humid environments, many species can adapt to average home humidity (around 40-50%). However, this might lead to slower growth rates. To combat this, use a humidifier nearby or group plants together to create microclimates that retain moisture and promote healthy growth.