Fertilizing your garden soil is one of the most crucial steps in creating a thriving and healthy garden. Just like our bodies need nutrients to grow strong, plants require essential nutrients to reach their full potential. Unfortunately, many gardeners don’t know where to start when it comes to fertilizing their soil, leading to lackluster growth and disappointing harvests. But fear not! With the right knowledge and techniques, you can unlock your garden’s true potential and enjoy bountiful blooms and delicious produce.
In this comprehensive guide, we’ll walk you through the essential steps of fertilizing your garden soil, from testing its nutritional needs to choosing the perfect fertilizer and applying it effectively. By following our expert advice, you’ll be well on your way to growing robust plants that are better equipped to withstand pests and diseases, resulting in a healthier and more productive garden overall.
Understanding Your Soil’s Nutrient Needs
To create a tailored fertilization plan, you need to understand what nutrients your soil is lacking and how to replenish them for optimal growth. Let’s dive into assessing your soil’s nutrient needs.
Identifying Soil Type and pH Levels
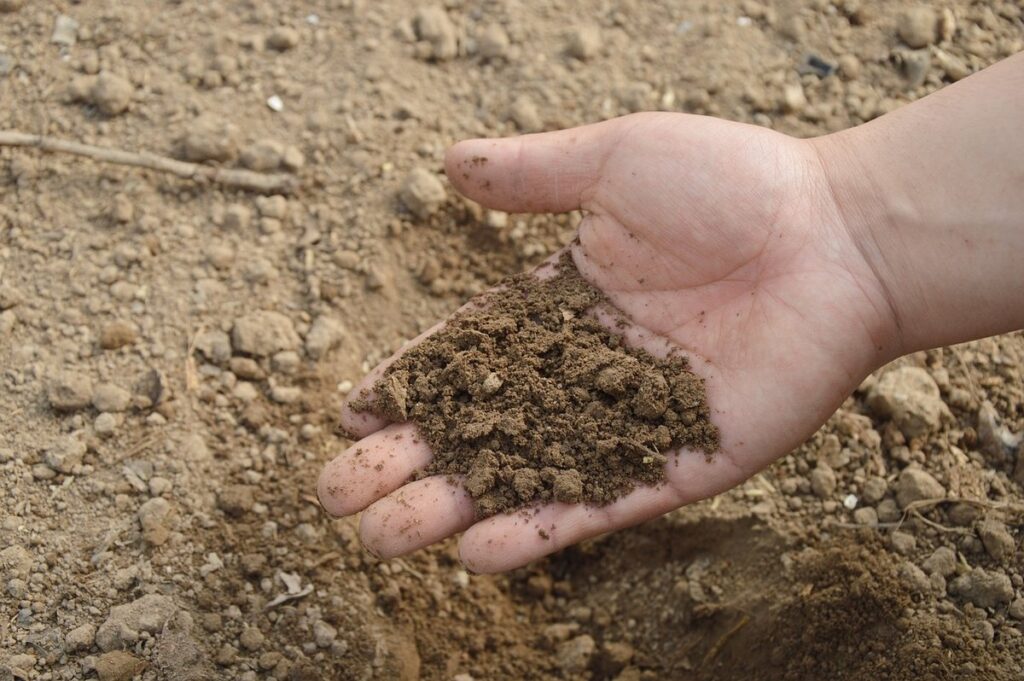
Determining your garden soil’s type and pH levels is crucial for proper fertilization. You can use DIY kits or lab tests to identify these factors. A DIY kit usually includes a series of bags containing different substances that change color when exposed to certain soil types. This simple test can give you an idea of whether your soil leans towards clay, silt, or sand.
However, for more accurate results, consider sending a sample of your soil to a lab for analysis. This will provide detailed information on pH levels, nutrient content, and other essential factors that influence fertilization. Understanding these aspects is vital because different soil types require tailored approaches to fertilization. For example, clay soils tend to retain moisture and nutrients, making them less dependent on fertilizer inputs.
If your soil test reveals an alkaline or acidic pH level, this also affects fertilization choices. Most plants prefer a slightly acidic to neutral pH range (around 6-7). Fertilizers can be formulated to adjust these levels, but it’s essential to address the underlying issue rather than just masking the symptoms with a quick fix.
Assessing Soil Nutrient Deficiencies
Identifying nutrient deficiencies in plants is crucial to providing the right fertilizer for your garden soil. Look for signs such as yellowing leaves, stunted growth, and slow development. Nitrogen deficiency is often visible through pale green or yellow leaves, while phosphorus deficiency can cause distorted or weak stems and roots.
Potassium deficiency manifests itself through scorching leaf tips and edges. To assess nutrient deficiencies, take a soil sample for analysis to determine the pH level and nutrient content. This will help you identify areas that need improvement.
Some common signs of nutrient deficiencies include:
* Nitrogen: yellowing leaves, stunted growth
* Phosphorus: distorted or weak stems and roots
* Potassium: scorching leaf tips and edges
Be aware that nutrient deficiencies can be caused by factors other than soil quality. Over-watering, under-watering, pests, diseases, and environmental stressors like extreme temperatures can also impact plant health.
To address nutrient deficiencies, you’ll need to determine the underlying cause and adjust your fertilizer application accordingly. This might involve changing the type or amount of fertilizer used. Regular monitoring and adjustments will help ensure that your plants receive the necessary nutrients for optimal growth.
Choosing the Right Fertilizer
When it comes to fertilizing your garden soil, selecting the right fertilizer can be overwhelming. Let’s break down the key factors to consider in choosing a high-quality fertilizer for optimal results.
Organic vs. Synthetic Fertilizers
When it comes to choosing between organic and synthetic fertilizers for your garden soil, there are several factors to consider. On one hand, organic fertilizers like compost and manure offer a more natural approach to gardening. They improve the overall health of the soil by introducing beneficial microbes and adding nutrients that plants can easily absorb. Compost, in particular, is rich in carbon and nitrogen, making it an excellent choice for gardens with heavy clay soils.
On the other hand, synthetic fertilizers provide quick results by providing a rapid boost of nutrients to your plants. They’re often cheaper than organic options and can be readily available at most gardening stores. However, they come with environmental costs: overuse can lead to soil degradation, water pollution, and harm to beneficial microorganisms in the soil.
The key is finding a balance between these two approaches. For example, using compost as a base fertilizer and supplementing with synthetic options during periods of high growth can be an effective strategy. Ultimately, it’s essential to consider your specific garden needs and choose the fertilizers that best suit them. By doing so, you’ll be able to create a healthy, thriving garden ecosystem.
Understanding Fertilizer Labels and Nutrient Ratios
When it comes to choosing the right fertilizer for your garden soil, deciphering fertilizer labels can be overwhelming. But don’t worry, understanding the basics is easier than you think.
First, take note of the three main numbers listed on the label: N-P-K (nitrogen-phosphorus-potassium). These represent the percentage of each nutrient in the fertilizer. Nitrogen promotes leafy growth and green color, phosphorus supports root development and flowering, while potassium enhances overall plant health and resistance to disease.
Now, let’s dive into some key ingredients you should look for: slow-release agents (such as sulfur-coated urea or ESN) that regulate nutrient release over time, and micronutrients like iron, magnesium, and calcium, which are essential for optimal plant growth. Be cautious of excessive nitrogen content, which can lead to weak roots and poor soil structure.
When comparing labels, consider the specific needs of your garden. For example, if you’re growing a fruiting crop, prioritize phosphorus-rich fertilizers that promote healthy root development. By understanding nutrient ratios and identifying key ingredients, you’ll be better equipped to choose the right fertilizer for your garden’s unique requirements.
Application Methods and Timing
Now that you know why fertilizing is essential, let’s move on to the next crucial step: applying the right fertilizer at the optimal time for your garden. We’ll explore various methods and schedules in this section.
Liquid vs. Granular Fertilizers
When it comes to fertilizing garden soil, two popular options are liquid and granular fertilizers. Each type has its own advantages and disadvantages, making them suitable for different needs.
Liquid fertilizers offer rapid plant uptake, allowing plants to absorb nutrients quickly. This is particularly beneficial during times of high growth or when dealing with nutrient deficiencies. They’re also often more concentrated, reducing the amount of waste and runoff. For example, if you’re trying to provide a boost to your tomatoes before harvest, liquid fertilizer can give them an instant energy kick.
On the other hand, granular fertilizers release nutrients over a longer period, providing a steady supply for plants. This type is often preferred for established gardens or when looking for a more cost-effective option. Granules also tend to be easier to spread evenly, reducing waste and ensuring that all areas of your garden receive adequate nutrition.
Consider your specific needs and plant requirements when deciding between liquid and granular fertilizers. If you want rapid results, liquid might be the way to go. However, if you’re looking for a more sustainable option with long-term benefits, granular is a good choice.
Best Practices for Fertilizer Application
When applying fertilizers, timing is crucial to ensure they are utilized efficiently by the plants. Typically, it’s recommended to apply fertilizer before planting, as this allows the soil to absorb and break down the nutrients over time. This pre-plant application can be done 2-4 weeks prior to sowing seeds or transplanting seedlings.
Another key aspect of fertilization is spacing. The general rule of thumb is to spread fertilizer evenly across the area where you will be planting, maintaining a distance of about 6-8 inches from the plant’s center. This helps prevent over-fertilization and promotes healthy root growth.
The depth of application also plays an essential role in effective fertilization. Fertilizers should be incorporated into the top 2-3 inches of soil, where most plant roots can reach easily. Avoid mixing fertilizer deeper than this, as it may not be accessible to the plants.
Monitoring Soil Health and Adjusting Fertilization Strategies
As you continue on your fertilization journey, it’s essential to monitor soil health and adjust your strategies accordingly. This ensures that your plants receive exactly what they need.
Using Soil Testing Kits and Lab Tests
When it comes to fertilizing your garden soil, it’s essential to monitor nutrient levels and adjust your strategy accordingly. This is where DIY soil testing kits and lab tests come into play.
DIY soil testing kits are a cost-effective and convenient way to get an idea of your soil’s nutrient levels. These kits usually include pH testers, nutrient test strips, and other easy-to-use tools that can give you a basic understanding of your soil’s condition. For example, the Luster Leaf Soil Test Kit is a popular choice among gardeners, offering a comprehensive analysis of pH, nitrogen, phosphorus, potassium, and micronutrients.
However, if you want more detailed and accurate results, lab tests are the way to go. A professional laboratory can analyze your soil samples for nutrient levels, pH, and other factors that affect plant growth. For instance, the University of California’s Soil Testing Program offers a comprehensive analysis of your soil’s chemical and physical properties. When interpreting lab test results, look for recommendations on optimal nutrient levels, pH adjustments, and fertilizer applications.
When using either DIY kits or lab tests, remember to collect multiple samples from different areas of your garden to get an accurate representation of your soil’s condition. This will help you identify nutrient deficiencies and adjust your fertilization strategy accordingly.
Interpreting Results and Making Data-Driven Decisions
When you receive your soil test results, it’s essential to interpret them correctly and identify trends to make informed decisions about fertilizer application and soil management. Start by reviewing the pH level, nutrient levels (such as nitrogen, phosphorus, and potassium), and other parameters measured.
A key aspect is identifying patterns in the data. For instance, if the test reveals consistently low phosphorus levels over several years, it may indicate a need for targeted fertilization. Conversely, if your soil’s pH level has remained stable despite repeated testing, you might be able to rely on natural adjustments, such as leaf litter or compost, to maintain optimal pH.
To make data-driven decisions, create a baseline of previous test results and track changes over time. This will allow you to identify trends, such as seasonal fluctuations in nutrient levels or the impact of specific fertilizers on your soil’s health.
Additional Tips for Sustainable Gardening
Now that you’ve learned how to fertilize your garden soil effectively, let’s discuss some additional tips to make your gardening routine even more sustainable and eco-friendly.
Composting and Waste Management
Composting is an excellent way to enrich your garden soil with essential nutrients. By breaking down organic matter into its most basic form, you create a nutrient-rich fertilizer that promotes healthy plant growth and reduces waste. To start composting, collect kitchen scraps, leaves, and other yard waste in a designated bin or pile.
Aim for a mix of ‘green’ materials (like fruit and veggie peels) and ‘brown’ materials (such as dry leaves), which will help balance carbon and nitrogen levels. Regularly turn the pile to ensure oxygen reaches all areas, speeding up decomposition. Consider setting aside space for vermicomposting – worm composting – for an accelerated process.
When done correctly, composting can divert up to 30% of household waste from landfills. As a closed-loop system, you’ll minimize external inputs and rely on your garden’s natural processes. Set up a worm farm or bokashi bin for managing food scraps, which can be added directly to the soil as fertilizer.
By implementing these simple practices, you’ll significantly reduce waste while creating nutrient-rich compost that feeds your plants.
Integrating Fertilizers with Other Soil Amendments
When it comes to maintaining healthy and thriving garden soil, integrating fertilizers with other soil amendments is a game-changer. By combining fertilizers with mulch, cover crops, or green manure, you can promote long-term soil health, improve soil structure, and increase nutrient availability for your plants.
One effective way to do this is by using cover crops as a living fertilizer. Planting cover crops like legumes (clover or beans) or grasses in the off-season helps to replenish nitrogen levels, suppress weeds, and add organic matter to the soil. These benefits can be combined with the use of compost-based fertilizers, which provide a slow release of nutrients.
For example, try planting a mix of clover and rye cover crops in the fall, followed by applying a 2-inch layer of compost mulch around your plants in the spring. This will help to retain moisture, suppress weeds, and provide a boost of nutrients as the cover crops decompose.
Frequently Asked Questions
How can I choose between organic and synthetic fertilizers if I have limited space for a compost pile?
Organic fertilizers are an excellent choice for small gardens, as they’re made from natural ingredients that improve soil structure and promote beneficial microbial growth. However, they may require more time and effort to prepare. Synthetic fertilizers, on the other hand, provide quick results but might deplete soil nutrients in the long run. Consider your specific needs and resources before making a decision.
What if I don’t have access to a lab or DIY testing kit to assess my soil’s pH levels?
You can still determine your soil’s pH levels using an inexpensive at-home test kit available at most gardening stores. Alternatively, consult with a local nursery or extension office for guidance on selecting the right fertilizer based on general climate and region-specific conditions.
How often should I retest my soil’s nutrient needs after applying fertilizers?
Re-testing is crucial to ensure your fertilization plan remains effective. It’s recommended to re-test every 6-12 months, depending on factors like crop type, growth rate, and weather patterns. This will help you adjust your fertilizer application schedule and avoid over-fertilizing or under-fertilizing.
Can I use liquid fertilizers as a substitute for granular ones, or vice versa?
Both types of fertilizers have their advantages. Liquid fertilizers provide quick results and are often easier to apply, while granular ones offer more targeted nutrient release and better soil penetration. Consider the specific needs of your plants and adjust accordingly; it’s not uncommon to use both types in a single garden.
What should I do if I’m unsure about how to interpret my soil test results?
If you’re still unsure after reviewing your test results, consult with a gardening expert or contact your local extension office for guidance. They can help you decipher the data and recommend tailored fertilization strategies based on your specific climate, soil type, and crop needs.