If you’re like many gardeners, you’re eager to preserve the harvest from your beloved gourd plants. But harvesting the seeds from gourds is an art that requires patience and attention to detail. Not only can improper handling and storage of gourd seeds affect their viability, but it’s also crucial for preserving the genetic diversity of these versatile vegetables.
In this article, we’ll take you through the essential steps to harvest high-quality gourd seeds. From selecting the right gourds to drying and extracting the seeds, we’ll cover everything you need to know to ensure your seed collection remains healthy and viable for years to come. Whether you’re a seasoned gardener or just starting out, this comprehensive guide will walk you through the process of harvesting gourd seeds like a pro.
Choosing the Right Gourd Variety
When it comes time to harvest and save seeds from your gourds, choosing the right variety is crucial. This selection will depend on several key factors, including intended use and growing conditions.
Understanding Gourd Types
When it comes to choosing the right gourd variety for seed saving, understanding the different types is crucial. There are three main categories: ornamental, edible, and medicinal gourds.
Ornamental gourds are grown primarily for their unique shapes, sizes, and colors. They’re often used in decorative arrangements and as a statement piece in gardens. These varieties tend to be more prolific and easier to grow than their edible counterparts. Popular examples include ‘Luffa Bush’ and ‘Crookneck’. Ornamental gourds typically thrive in full sun and well-draining soil, requiring minimal care beyond occasional watering.
Edible gourds are a staple in many cultures worldwide, often used in soups, stews, or as a vegetable side dish. Examples of edible gourds include ‘Calabash’ and ‘Squash’. These varieties require more attention than ornamental gourds, as they need consistent moisture levels and warmer temperatures to mature.
Medicinal gourds have been used for centuries in traditional medicine due to their antiseptic and anti-inflammatory properties. ‘Luffa Sponge Gourd’ is a well-known example of this type. Medicinal gourds often require specific growing conditions, such as partial shade and consistent moisture levels.
When selecting gourd varieties for seed saving, consider the mature size, growth habits, and ideal growing conditions to ensure successful harvests and high-quality seeds.
Selecting Gourds for Seed Saving
When selecting gourds for seed saving, it’s essential to identify mature fruits that are ready for harvesting. A key visual cue is the color and texture of the skin. Mature gourds typically have a deep, rich color, and their skin may develop fine cracks or wrinkles as they ripen.
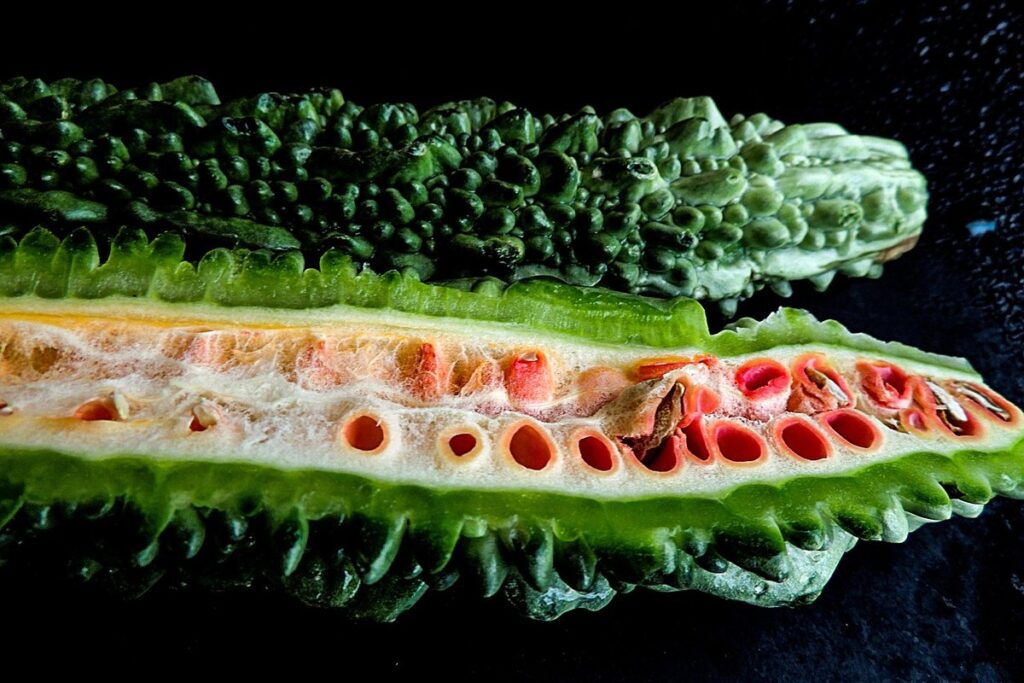
Physically, you can check the weight of the gourd by gently lifting it off the vine. Mature gourds will feel heavy for their size due to the developed seeds inside. Another test is to cut open a small gourd; if the interior is filled with mature seeds and a dry, fibrous material called pith, it’s likely ready for seed saving.
Check the stem end of the gourd as well – a mature gourd will have a dried-out stem that snaps easily when pulled. Avoid selecting gourds with soft or mushy spots, as these may be signs of decay or rot, which can harm seed viability.
When in doubt, it’s always better to err on the side of caution and wait another week or two for the gourd to fully mature. Remember, a single gourd can produce hundreds of seeds, so selecting the right ones is crucial for successful seed saving.
Preparing Gourds for Seed Harvest
Before you can harvest seeds from your gourd, it’s essential to prepare the mature fruit for seed removal. Let’s learn how to carefully dry and clean the gourd for optimal seed quality.
Drying and Curing Methods
When drying and curing gourds for seed harvesting, it’s essential to use methods that preserve seed quality. Air drying is a straightforward approach where you hang the gourds upside down in a warm, dry, dark location with good air circulation. This method can take several weeks to several months, depending on the humidity level and gourd size.
For faster results, oven drying is an alternative option. Preheat your oven to its lowest temperature setting (usually around 150°F – 200°F). Place the gourds in a single layer on baking sheets, ensuring they don’t touch each other. Leave the oven door slightly ajar for air circulation and monitor them every few days until dry.
Another effective method is solar drying, where you spread gourds out in direct sunlight on a wire rack or tray. Bring the gourds inside at night to prevent moisture from accumulating. Monitor their condition daily, as they can quickly become over-dry if left outside for extended periods.
In all cases, ensure the gourds are completely dry and brittle before cutting them open to retrieve the seeds.
Removing Seeds from Gourds
Extracting seeds from dried gourds can be a delicate process. Start by carefully selecting a clean and dry workspace to prevent any contamination of the seeds. Begin by cutting open the gourd along its length, using a sharp knife or pruning tool. Make sure not to cut too deeply, as you want to preserve the integrity of the seed cavity.
Gently pry open the gourd halves and scoop out the pulp and stringy fibers with a spoon or your fingers. Be patient, as this can be a tedious process. Next, locate the seeds within the gourd, which are typically attached to the inner surface by a white or yellowish membrane.
Use a blunt tool such as a chopstick or pencil to carefully dislodge the seeds from their attachment points. As you remove each seed, place it in a separate container filled with water to keep them moist and clean. Be gentle when handling the seeds to prevent damage and ensure optimal viability for planting.
Seed Extraction and Cleaning
To get high-quality seeds from your gourds, you’ll need to extract them carefully and clean them properly to ensure they’re ready for saving and planting next season. This section will walk you through the process of seed extraction and cleaning.
Hand-Extraction Techniques
Extracting seeds from gourds can be a bit more labor-intensive than extracting those from other types of vegetables. To do it manually, you’ll need to start by cutting the gourd open and scooping out the pulp and seeds. Scoop out as much of the pulp as possible, as this will make it easier to separate the seeds.
Next, use your fingers or a blunt tool like a spoon to gently pry loose any stubborn seeds that are stuck together. Be careful not to press too hard, as you don’t want to damage the seeds. Rinse the extracted seeds with water to remove any remaining pulp and debris.
Some common challenges when extracting seeds manually include encountering overripe gourds whose seeds may be moldy or rotten, which can affect their viability. To avoid this issue, try to harvest your gourds at the optimal time – usually around 6-8 months after sowing. You can also use a gentle touch and keep an eye out for any soft spots or mold on the seeds themselves.
When you encounter stubborn seeds that just won’t come loose, try soaking the entire seed mass in water overnight to loosen them up. In the morning, they should be much easier to extract.
Mechanical Methods for Seed Extraction
Mechanical tools can simplify seed extraction from gourds, especially when handling large quantities. The Threshing Machine is a popular option for breaking open the gourd and releasing seeds. This machine works by applying pressure to crush the gourd, allowing the seeds to be collected.
Another mechanical method is using a Gourd Crusher or Press. These tools are specifically designed for seed extraction from hard-shelled gourds like calabash or bottle gourd. They work by crushing the gourd and extracting the seeds through a screen or mesh.
When choosing a mechanical tool, consider the type of gourd you’re working with and its size. Smaller gourds might require manual processing to avoid damaging the seeds. Larger gourds can be more easily processed using mechanical tools like the Threshing Machine or Gourd Crusher.
When operating any mechanical tool, ensure proper safety precautions are in place, such as wearing protective gear and keeping loose clothing tied back. Regular maintenance of these tools is also essential to prevent damage and ensure optimal performance.
Storing Seeds for Long-Term Viability
To ensure that your gourd seeds remain viable, it’s essential to store them properly, which means keeping them cool and dry until you’re ready to plant. Learn how to do this effectively.
Proper Storage Containers
When storing seeds from gourds for long-term viability, it’s essential to choose containers that maintain humidity control and protect the seeds from moisture, light, and pests. Airtight bags are an excellent option, as they prevent air, light, and moisture from entering the container. Make sure to use a bag specifically designed for seed storage, which is usually made of a thick, non-permeable material.
Another great choice is glass jars with desiccants, such as silica gel or activated charcoal. These materials absorb excess moisture and help maintain a stable humidity level within the jar. When using glass jars, ensure they are completely clean and dry before storing seeds. Fill any empty space in the jar with desiccants to prevent moisture buildup.
It’s also crucial to label each container with the seed type, date of storage, and any relevant notes about the storage conditions. This information will help you keep track of your stored seeds and ensure they remain viable for future planting. By using airtight bags or glass jars with desiccants, you can enjoy healthy germination rates and extend the lifespan of your gourd seeds.
Seed Labeling and Organization
When it comes to storing seeds from gourds for long-term viability, labeling and organization are crucial steps that often get overlooked. However, accurately tracking and recording seed packets is essential for maintaining the integrity of your seed collection. To achieve this, it’s vital to implement a clear labeling system for each packet.
Start by attaching a label or tag to each seed packet with the following information: date harvested, gourd variety, seed type (e.g., winter squash or melon), and any notable characteristics (e.g., disease resistance). You can also include additional details like the number of seeds in the packet and any specific growing instructions.
Consider investing in a seed storage container with built-in labeling and sorting features. These containers often come equipped with dividers, allowing you to separate different types of seeds within a single container. This helps maintain organization and makes it easier to locate specific packets when needed. By implementing a solid labeling system, you’ll be able to keep track of your seed collection’s history and make informed decisions about which varieties to plant in future seasons.
When to Harvest Seeds: Timing and Weather Considerations
When it comes to harvesting seeds from gourds, timing is everything – a few days too early or late can make all the difference in seed quality. Let’s explore the optimal times and weather conditions for successful harvests.
Understanding Gourd Maturity
Determining when gourds are mature enough for seed harvesting is crucial to ensure high-quality seeds. Start by observing visual indicators such as a rich brown color on the ridges and the drying of the rind, which signals that the outer layer has fully hardened. Tactilely check if the skin can be easily scratched or punctured; it should be brittle.
Check for seed maturity by cutting open the gourd at the stem end. If the seeds are mature, they will come loose from their attachments to the pulp. A mature seed is typically about 1/2 inch (1 cm) in length and has a hard outer layer called a testa. Avoid taking seeds when the gourds appear shriveled or discolored as this may indicate poor ripening.
Inspect the seeds regularly, usually over several days, to catch them at their optimal maturity stage. For example, some popular varieties like bottle gourds typically mature in about 120-150 days after sowing. Check your specific variety’s documentation for guidance on when they’re ready for harvest.
Effects of Weather on Seed Quality
When seeds are exposed to adverse weather conditions, it can significantly impact their quality and viability. Drought, for instance, can cause seed embryos to shrink, leading to reduced germination rates. On the other hand, frost can damage seed coats, making them more susceptible to disease and decay.
To mitigate these effects, it’s essential to monitor weather forecasts closely during the maturation period of your gourd crop. If drought is predicted, ensure that the plants receive adequate moisture by providing supplementary irrigation. This will help prevent embryo shrinkage and maintain seed viability.
If frost is forecasted, cover your gourd patch with a breathable cloth or sheet to protect the seeds from damage. Alternatively, bring potted gourds indoors to shield them from cold temperatures. By taking proactive measures, you can safeguard your seeds’ quality and ensure they remain viable for planting next season.
In ideal conditions, seeds should be harvested when the gourd is fully mature and dry. Avoid harvesting during periods of high humidity or precipitation, as this can compromise seed quality.
Additional Tips for Successful Seed Saving
Now that you’ve harvested and dried your gourd seeds, it’s time to refine your technique with some expert advice on how to ensure success in saving viable seeds for next year. Let’s explore a few more tips to guarantee a bountiful harvest.
Pest Control Measures
Pests can be a major problem when it comes to saving gourd seeds. To prevent damage, make sure to keep your gourds dry and clean throughout the seed extraction process. This is especially important if you’re harvesting seeds from tropical or subtropical varieties, which are more prone to pests.
Some common pests that target gourd seeds include weevils, beetles, and ants. Weevils, in particular, can be a significant problem, as they can lay eggs inside the seed pods, causing damage even after harvest. To prevent infestations, store your gourds in well-ventilated areas or dry containers with loose lids.
When cleaning the seeds, make sure to remove any debris or damaged parts that may attract pests. Use a soft-bristled brush to gently sweep away any dirt or particles from the seed surface. Finally, store your saved seeds in a cool, dry place, such as an envelope or container sealed with silica gel packets to keep them fresh and pest-free. By following these simple steps, you can ensure that your gourd seeds are protected from pests and ready for planting next season.
Record-Keeping for Future Reference
Maintaining accurate records of your seed saving efforts is crucial for monitoring progress and planning future harvests. By keeping track of your gourd varieties, sowing dates, weather conditions, and harvesting results, you’ll be able to fine-tune your techniques and make informed decisions about which seeds are worth saving.
Consider using a dedicated notebook or spreadsheet to record key information such as:
• Date planted
• Variety of gourd
• Number of seeds harvested
• Weather conditions (temperature, rainfall, etc.)
• Any issues encountered during growth or harvesting
Regularly reviewing your records will allow you to identify patterns and areas for improvement. For example, you might notice that certain varieties perform better in warmer or cooler temperatures, or that specific weather conditions affect seed viability.
By monitoring your progress and making adjustments as needed, you’ll be able to refine your seed saving techniques and increase the chances of successful germination in future seasons.
Frequently Asked Questions
What if I accidentally harvest seeds from a gourd with disease or pests? Can they still be used?
If you’ve inadvertently harvested seeds from a gourd with disease or pests, it’s best to err on the side of caution and discard them. Infected or contaminated seeds can spread diseases and reduce seed viability. To avoid this issue in the future, regularly inspect your gourds for signs of disease or infestation before harvesting.
How do I store gourd seeds for long-term viability when living in a humid climate?
Storing gourd seeds in a humid climate requires careful attention to packaging and storage conditions. Use airtight containers with silica gel packets to control moisture, and keep them away from direct sunlight and heat sources. You can also consider using seed banks or refrigerators for longer-term storage.
Can I use any type of container for storing gourd seeds?
No, it’s essential to choose the right container when storing gourd seeds. Airtight containers like glass jars, plastic bins, or Mylar bags are ideal because they prevent moisture and contaminants from entering. Avoid using paper bags, cardboard boxes, or open containers that can compromise seed quality.
How do I ensure my gourd seed collection remains genetically diverse?
To maintain genetic diversity in your gourd seed collection, save seeds from multiple plants within a variety and consider saving seeds from different regions or sources. This will help preserve the unique characteristics of each plant and prevent inbreeding.
What’s the ideal temperature for drying and curing gourd seeds?
The ideal temperature for drying and curing gourd seeds is between 60°F to 70°F (15°C to 21°C). Avoid exposing seeds to temperatures above 80°F (27°C), as this can cause damage or degradation. Monitor seed moisture levels regularly, and adjust storage conditions accordingly.