Are you ready to grow your own delicious sweet potatoes in the comfort of your own backyard, without breaking the bank or sacrificing space? With a little know-how and some expert tips, you can successfully plant sweet potatoes in containers. But first, let’s talk variety – not all sweet potato varieties are created equal when it comes to container growing. Some excel in small spaces while others require more room to spread out.
In this article, we’ll cover the ins and outs of growing sweet potatoes in pots from choosing the right variety to harvesting your crop. We’ll dive into the best soil preparation techniques for containers, share expert tips on fertilization, pruning, and more. By following these simple steps, you’ll be on your way to a bountiful harvest of juicy, sweet sweet potatoes in no time. Get ready to grow!
Choosing the Right Variety and Container
When it comes to growing sweet potatoes in containers, selecting the right variety for your climate and desired harvest is crucial. Let’s discuss how to choose a suitable variety and container setup for optimal results.
Selecting a Sweet Potato Variety for Container Growing
When selecting a sweet potato variety for container growing, it’s essential to consider factors such as disease resistance, yield potential, and space requirements. With numerous varieties available, choosing the right one can be overwhelming.
Some popular sweet potato varieties suitable for container growing include ‘Jewel’, ‘Beauregard’, and ‘Covington’. These varieties are compact in size, producing smaller tubers that don’t require a lot of space. They also have good disease resistance and high yield potential, making them ideal for small-scale growers.
When evaluating sweet potato varieties, consider the specific characteristics you need. For example, if you’re growing in a shaded area, look for varieties with improved chlorophyll retention, such as ‘Jewel’. If you’re concerned about disease susceptibility, opt for resistant varieties like ‘Beauregard’.
In terms of space requirements, compact varieties typically require 5-10 gallons of container space. This allows for adequate room for root development and air circulation. Make sure to choose a variety that fits within your available space constraints.
When selecting sweet potato slips, look for healthy stems with two sets of leaves. Avoid weak or damaged slips, as they can be prone to disease and reduced yields.
Understanding Container Size and Material Options
When it comes to growing sweet potatoes in containers, selecting the right size and material is crucial for optimal results. A container that’s too small can lead to overcrowding, while one that’s too large may require more soil than necessary. For sweet potatoes, a minimum container size of 12-14 inches deep and 24-36 inches wide is recommended.
In terms of material, you have several options: plastic, metal, ceramic, or wooden containers. However, not all materials are created equal. Look for containers with good drainage holes to prevent waterlogged soil, which can be detrimental to sweet potato growth. Metal and ceramic containers tend to provide better aeration and heat retention than plastic or wood. Additionally, consider the sunlight exposure of your container – if it will be placed in full sun, choose a material that won’t become too hot, such as ceramic or metal.
Considerations like drainage and aeration may seem minor, but they play a significant role in the health and productivity of your sweet potato plants.
Preparing the Soil and Containers
Before you start planting, it’s crucial to prepare your containers and soil to give your sweet potatoes a healthy foundation for growth. This includes selecting the right potting mix and container size.
Creating a Well-Draining Potting Mix
When growing sweet potatoes in containers, it’s essential to create a well-draining potting mix that prevents waterlogged soil. Sweet potatoes are prone to root rot if the soil doesn’t drain properly, which can lead to reduced yields and poor tuber quality. A well-draining mix also ensures healthy roots growth by providing enough oxygen.
You can either make your own potting mix or purchase a suitable one from a gardening store. To create your own mix, combine 40% peat moss or coconut coir, 20% perlite, and 20% vermiculite with 20% compost. Perlite helps improve drainage, while vermiculite retains moisture. Compost adds nutrients to the soil.
When selecting a commercial potting mix, look for products labeled as ‘well-draining’ or ‘container garden mix’. Avoid mixes containing high amounts of peat moss, as they can retain too much water. Some popular brands offer organic and non-organic options with various blends tailored for specific plant requirements.
Adding Fertilizers and Other Essential Nutrients
When it comes to growing sweet potatoes in containers, fertilizers play a crucial role in promoting healthy growth and development. Without sufficient nutrients, your plants may struggle to thrive, leading to reduced yields and poor flavor. To choose the right fertilizer for your container-grown sweet potatoes, you have two primary options: organic and synthetic.
Organic fertilizers are derived from natural sources, such as compost or manure, and release nutrients slowly over time. They’re a great choice for container gardens because they improve soil structure and promote beneficial microbial activity. Some popular organic fertilizer options include fish emulsion, bone meal, and worm casting. When using organic fertilizers, be sure to follow the application guidelines carefully, as excessive application can lead to burning your plants’ roots.
Synthetic fertilizers, on the other hand, provide a quick dose of nutrients to your plants. They’re often more concentrated than organic options, so be sure to follow the recommended dosages to avoid over-fertilizing. Some popular synthetic fertilizer options include Miracle-Gro and 20-20-20 NPK. Regardless of which type you choose, apply fertilizers at planting time, followed by regular feedings throughout the growing season. A general rule of thumb is to fertilize your sweet potatoes every two weeks during peak growth periods.
Planting Sweet Potatoes in Containers
If you’re short on garden space, planting sweet potatoes in containers is a great way to enjoy these nutritious tubers. In this section, we’ll cover everything you need to know about growing sweet potatoes in pots.
Preparing the Seedlings for Transplanting
Before transplanting your sweet potato seedlings into containers, it’s essential to prepare them for the transition. This process is called hardening off, and it involves gradually acclimating your seedlings to outdoor conditions to prevent shock.
Start by moving your seedlings outdoors to a shaded area for 1-2 hours a day, increasing the duration over the course of 7-10 days. This will help them get used to direct sunlight, wind, and temperature fluctuations. Be sure to bring them back indoors at night to protect them from frost.
During this period, also focus on pruning your sweet potato seedlings. Remove any weak or spindly growth to promote bushy development and encourage more tubers to form. Cut the stem just above a node, as this will help direct the plant’s energy towards producing new roots and tubers.
By hardening off your seedlings and pruning them effectively, you’ll set your container-grown sweet potatoes up for success and increase their chances of producing a bountiful harvest.
Transplanting Seedlings into Containers
When transplanting sweet potato seedlings into containers, it’s essential to handle them with care. Start by choosing a container that is at least 5-7 gallons in size to provide enough room for the roots to grow. Fill the container with a well-draining potting mix, and gently remove the seedling from its tray or pack.
Place the seedling in the center of the container, making sure not to bury the crown (where the stem meets the roots). Water thoroughly after transplanting, and then provide about 1-2 inches of water per week. Be cautious not to overwater, as this can lead to root rot.
Initial care is crucial during this time. Keep the soil consistently moist but not soggy, and ensure it receives at least 6 hours of direct sunlight per day. You can also fertilize with a balanced fertilizer once a month to promote healthy growth.
As you continue to care for your seedlings, remember that proper spacing will prevent overcrowding and root competition. For optimal growth, plant seedlings 12-18 inches apart in the container, leaving enough room for mature plants to spread out.
Providing Optimal Growing Conditions
To ensure a bountiful harvest, it’s crucial that you provide your container sweet potatoes with optimal growing conditions, including adequate sunlight and warmth. This section will cover the essential requirements for successful growth.
Sunlight and Temperature Requirements
When growing sweet potatoes in containers, it’s essential to provide optimal sunlight and temperature conditions for maximum yields. Sweet potatoes are tropical plants that thrive in warm temperatures between 65°F (18°C) and 95°F (35°C). However, they can tolerate a wide range of temperatures, but temperatures above 100°F (38°C) can cause stress.
To create a suitable microclimate, place your container sweet potato plant in an area with full sun to partial shade. If you live in a region with intense sunlight, consider providing some afternoon shade to prevent scorching. Aim for at least six hours of direct sunlight per day for optimal growth.
Keep your container away from cold drafts and air conditioning vents, as these can cause temperature fluctuations that may damage the plant. Monitor the temperature closely, especially during extreme weather conditions. If possible, use a thermometer to ensure the temperature remains within the ideal range.
Watering and Humidity Management
Sweet potatoes grown in containers require consistent moisture levels to thrive. This is because their roots are confined within a smaller space, making it essential to maintain optimal humidity levels around the plant. One method for managing humidity is through misting. You can use a spray bottle to gently mist the leaves and soil daily, especially during hot or dry weather conditions.
Another approach is to group containers together, as this creates a microclimate that retains moisture. Place them on a tray filled with water and pebbles to increase the surrounding humidity levels. This will help to prevent excessive evaporation from the soil surface.
Monitor the soil’s moisture levels by inserting your finger into the top inch of soil. If it feels dry, it’s time for watering. Aim for consistent moisture, neither too wet nor too dry. Keep in mind that sweet potatoes have a relatively shallow root system, so they prefer well-drained but consistently moist conditions.
Monitoring and Maintaining Healthy Plants
To keep your container-grown sweet potatoes thriving, it’s crucial to establish a regular monitoring routine and perform necessary maintenance tasks on a consistent basis. Regular care will ensure optimal yields.
Identifying Common Pests and Diseases
When growing sweet potatoes in containers, it’s essential to be aware of the common pests and diseases that can affect these plants. Some of the most common issues you might encounter include aphids, whiteflies, and spider mites. These pests can weaken the plant by sucking sap from its leaves, causing curled or distorted foliage.
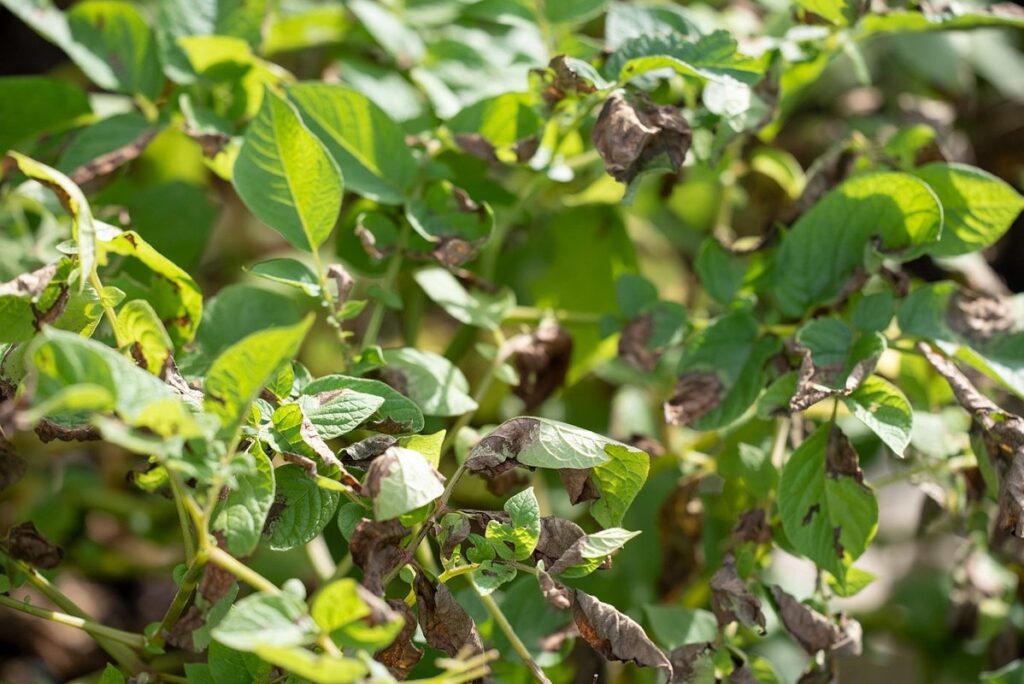
Diseases such as powdery mildew, leaf spot, and root rot are also prevalent in container-grown sweet potatoes. Powdery mildew appears as a white, dusty coating on leaves, while leaf spot causes small, circular lesions to form on the surface of leaves. Root rot occurs when the roots become waterlogged, leading to a soft, mushy texture.
Regularly inspect your plants for signs of pests or diseases and take action promptly if you notice any issues. To prevent infestations, maintain good air circulation around your container garden, and avoid overwatering. For existing problems, use insecticidal soap or neem oil to control pest populations. For fungal diseases, treat with a fungicide specifically labeled for sweet potatoes.
Fertilizing and Pruning Throughout the Growing Season
As you continue to care for your container-grown sweet potato plants, it’s essential to fertilize and prune them regularly to promote healthy growth and maximize yields. Fertilization is a critical aspect of sweet potato cultivation, as these plants require a balanced diet of nutrients to produce high-quality tubers.
Begin by applying a starter fertilizer rich in nitrogen (around 5-10-10 N-P-K) when you plant your slips. Follow this up with a balanced fertilizer (around 20-20-20 N-P-K) once a month, taking care not to over-fertilize, which can lead to weak and spindly growth.
Pruning is also vital for maintaining healthy sweet potato plants. Remove any weak or damaged leaves to prevent disease and promote air circulation within the container. Trim back your plant’s top growth by about one-third to encourage bushy growth and more tubers. This will also help you manage the plant’s size and keep it contained in its pot.
Harvesting Sweet Potatoes from Containers
Now that you have successfully grown your sweet potatoes in containers, it’s time to harvest them, and we’ll walk you through the easy steps of bringing home this delicious crop. Harvesting at the right time is crucial for optimal flavor and texture.
Timing and Preparing for Harvest
When it comes to harvesting sweet potatoes grown in containers, timing is everything. As the plants begin to mature, you’ll notice a few key signs that indicate they’re ready for harvest.
One of the most obvious signs is the color change of the leaves – as the plants reach maturity, the leaves will turn yellow and then brown, signaling that the tubers are fully formed below ground. You can also check for this by gently digging around the base of the plant with your fingers or a small fork, being careful not to damage the tubers.
Another indicator is the vine’s growth pattern – as the sweet potatoes reach maturity, the vines will start to die back and turn brown, causing the leaves to wilt. This is a clear sign that the tubers are ready to be harvested.
It’s essential to harvest your sweet potatoes when they’re mature but still firm, as leaving them in the soil for too long can cause them to spoil or become too hard to cook with. To prepare for harvesting, make sure you have a container large enough to hold the harvested tubers and some tools like gloves, a fork, and a shovel handy.
Handling and Storing Harvested Tubers
Proper handling and storage of harvested tubers is crucial to maintaining their quality and extending shelf life. When lifting sweet potatoes from containers, be gentle to avoid damaging the skin, which can lead to rot and spoilage. Carefully brush off excess soil, taking care not to scratch the tuber’s surface.
For short-term storage (up to 10 days), you can store harvested sweet potatoes in a cool, dry place with good air circulation. Do not wash them before storing, as moisture can encourage rot. Instead, wipe them clean with a paper towel to prevent dirt from accumulating and causing damage.
When storing for longer periods (up to 2 months), it’s essential to maintain a consistent temperature between 50°F to 60°F (10°C to 15°C) and humidity levels below 70%. You can store sweet potatoes in paper bags or breathable containers, such as mesh bags. Avoid plastic bags or sealed containers, as they can trap moisture and cause spoilage.
Regularly check on stored tubers for signs of rot or mold. Remove any affected tubers promptly to prevent the spread of disease. By following these handling and storage techniques, you’ll be able to enjoy your homegrown sweet potatoes at their best.
Frequently Asked Questions
Can I grow sweet potatoes in containers indoors during the winter months?
Yes, you can grow sweet potatoes in containers indoors during the winter months as long as you provide sufficient light and maintain a consistent temperature between 65-75°F (18-24°C). Use grow lights to supplement natural light, and ensure good air circulation to prevent fungal diseases. Monitor your plants closely for signs of nutrient deficiency or pest infestations.
How often should I fertilize my sweet potato container garden?
Fertilize your sweet potatoes regularly throughout the growing season. Feed them with a balanced fertilizer (10-10-10 NPK) once a month, and adjust according to soil test results. Also, side-dress with high-phosphorus fertilizer (e.g., 15-30-15 NPK) when you see tuber formation to promote healthy root development.
What’s the best way to prevent pests from damaging my sweet potato plants in containers?
Common container garden pests like aphids, whiteflies, and spider mites can be managed using neem oil, insecticidal soap, or pyrethrin sprays. Regularly inspect your plants for signs of infestation, such as distorted leaves or sticky honeydew droplets. Use physical barriers (e.g., fine mesh) to prevent pests from reaching your plants.
How do I store my harvested sweet potatoes to keep them fresh for longer?
After harvesting, cure your sweet potatoes in a warm, dry location (around 80°F/27°C) with good air circulation for 2-3 weeks. Then, store them in a cool, dark place with high humidity (e.g., a root cellar or basement). Keep the tubers away from direct sunlight and heat sources to maintain their quality.
Can I grow sweet potatoes in small containers using hydroponic systems?
Yes, you can successfully grow sweet potatoes in small containers using hydroponic systems. However, ensure proper nutrient delivery and pH management for optimal growth. Also, keep an eye on water temperature (around 70°F/21°C) and maintain a consistent light cycle to promote healthy root development and tuber formation.