Growing delicious pumpkins from seed to harvest can be a rewarding experience, but it often requires a lot of space. That’s where container gardening comes in – a perfect solution for small gardens or limited spaces. With the right container and care, you can grow pumpkins in containers just like you would in the ground. But how do you get started? In this article, we’ll cover everything you need to know about growing pumpkins in containers, including selecting the best containers, preparing the perfect soil, providing adequate lighting, and more. By following our step-by-step guide, you’ll be harvesting your own pumpkins in no time – right on your balcony or patio. Whether you’re a seasoned gardener or just starting out, learn how to grow pumpkins in containers with ease.
Choosing the Right Container and Soil
When growing pumpkins in containers, selecting the right container and soil is crucial for a healthy and productive harvest. Let’s dive into the specifics of what to look for.
Selecting the Perfect Container Size
When it comes to growing pumpkins in containers, selecting the right size of container is crucial for optimal growth. A minimum container size of 14-16 inches deep and 24-36 inches wide is recommended, but this can vary depending on the specific pumpkin variety you’re growing.
To determine the perfect container size for your available space, consider the mature size of the pumpkin plant and its spread. For example, compact varieties like ‘Baby Boo’ or ‘Jack Be Little’ can thrive in smaller containers (12-14 inches deep and 18-24 inches wide), while larger varieties like ‘Atlantic Giant’ require more room to spread out.
When choosing a container, also consider the material – plastic, wood, or fabric pots. Ensure it has drainage holes to prevent waterlogged soil. A general rule of thumb is to provide at least 3-4 square feet of growing space per pumpkin plant. This will allow for proper air circulation and prevent disease from spreading. Be mindful of your available space and adjust the container size accordingly to ensure a healthy and productive harvest.
Soil Requirements for Container Grown Pumpkins
When it comes to growing pumpkins in containers, selecting the right potting mix is crucial for optimal results. A good potting mix should have a pH level between 6.0 and 7.0, which allows for adequate nutrient uptake by the pumpkin vines. Aim for a mix that’s rich in organic matter, such as compost or well-rotted manure, to provide essential nutrients like nitrogen, phosphorus, and potassium.
For drainage, look for a potting mix with a perlite or vermiculite content of around 20-30%. This will ensure excess water can escape quickly, preventing waterlogged soil and root rot. Some gardeners prefer a mix specifically designed for container gardening, which usually contains additional ingredients like worm castings or alfalfa meal to promote healthy plant growth.
When preparing your potting mix, consider adding a balanced fertilizer (10-10-10 NPK) at the recommended rate to provide an initial boost of nutrients. As the pumpkin vines grow, you can supplement with a high-phosphorus fertilizer (e.g., 10-20-10 NPK) to promote fruiting and flowering. Remember to water carefully, avoiding overwatering that can lead to poor growth or reduced yields.
Preparing the Container for Planting
Before planting your pumpkin seeds, make sure your container is ready by preparing it with the right soil mix and adequate drainage to support healthy growth. This step ensures a strong start for your pumpkin plants.
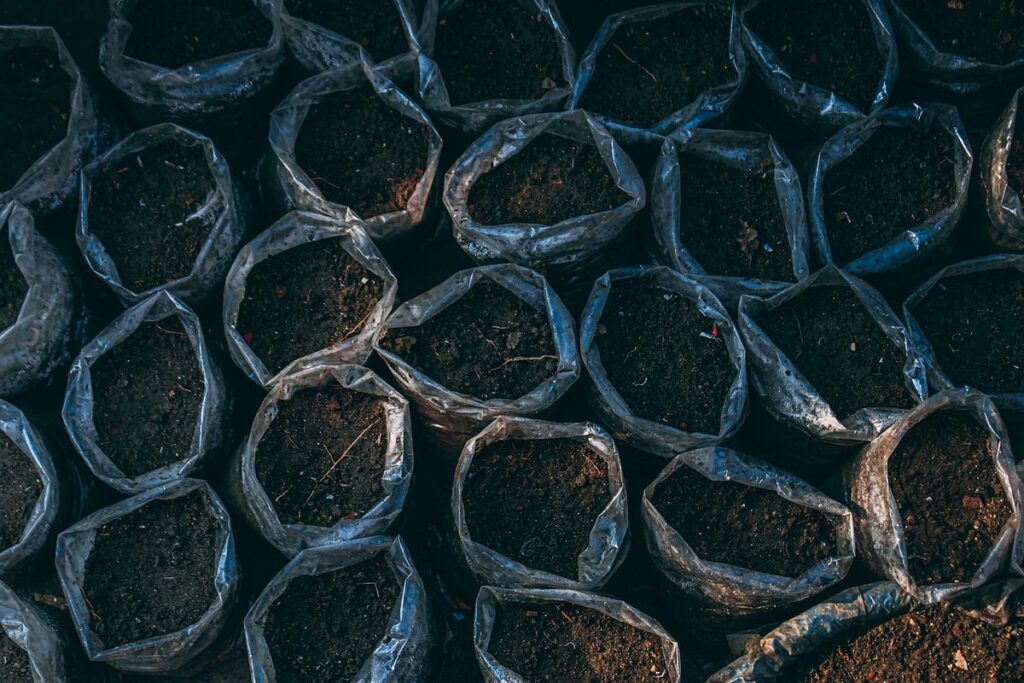
Cleaning and Sterilizing the Container
When starting to grow pumpkins in containers, it’s essential to begin with a clean container to prevent disease and pests from taking hold. A dirty container can harbor fungi, bacteria, and insects that can quickly spread to the roots of your pumpkin plants, causing them to become weak and susceptible to further infection.
To sterilize your container, start by washing it thoroughly with soap and warm water to remove any debris or dirt. Next, scrub the interior with a stiff brush to dislodge any stubborn stains or residue. Rinse the container multiple times to ensure all soap is removed.
For an extra layer of protection, you can also soak the container in a 1:10 solution of bleach to water for 30 minutes to kill any lingering bacteria or fungi. After soaking, rinse the container with fresh water and let it air dry before filling it with potting mix and planting your pumpkin seeds. By taking this crucial step, you’ll be giving your plants the best chance to thrive in their new home and avoid common issues like powdery mildew and root rot.
Adding Organic Matter and Fertilizers
Incorporating organic matter into the potting mix is essential for container-grown pumpkins. Start by adding a 2-3 inch layer of well-rotted compost or manure to the base of the pot. This will help improve soil structure, increase water retention, and provide beneficial microbes that aid in nutrient uptake.
For the main potting mix, combine a general-purpose potting mix with 10-20% composted matter. You can also use coconut coir or peat moss as an alternative to traditional compost. Avoid using fresh manure, as it may contain weed seeds and pathogens that can harm your pumpkin plants.
When it comes to fertilizers, opt for balanced formulas (e.g., 10-10-10 N-P-K) applied in moderation. Over-fertilizing can lead to weak, leggy growth, making the plant more susceptible to disease. Instead, side-dress with a high-phosphorus fertilizer (e.g., 10-20-10) to promote fruiting and flowering.
Keep an eye on your plants’ response to fertilizers, adjusting applications as needed based on soil pH, nutrient deficiencies, or excessive growth.
Planting Pumpkin Seeds in Containers
When it comes to growing pumpkins in containers, starting with healthy seeds is crucial. Here’s a step-by-step guide on how to plant pumpkin seeds in containers for optimal growth and success.
Sowing Seeds at the Right Depth and Spacing
When sowing pumpkin seeds in containers, it’s essential to get the depth and spacing just right. This will ensure that your seedlings have enough room to grow and develop properly. To start, sow two to three seeds about 1 inch deep and 4-6 inches apart from each other in a well-draining potting mix.
As you plant the seeds, gently firm the soil around them to prevent washing away. Water the seeds thoroughly after planting and keep the soil consistently moist during the germination period, which can take anywhere from 7-10 days. Once the seedlings emerge, thin them out to the strongest one, making sure to remove the weakest or deformed plants.
Aim for a spacing of at least 12 inches between each plant as they grow. This will give them enough room to spread out and receive adequate air circulation, which is crucial in preventing fungal diseases that can be detrimental to pumpkin growth. By following these guidelines, you’ll set your seedlings up for success and be well on your way to harvesting a bountiful crop of homegrown pumpkins from your container garden.
Transplanting Seedlings from Small Pots
When transplanting seedlings from small pots into larger containers, it’s essential to minimize root disturbance. This process can be a bit tricky, but with the right approach, you’ll give your pumpkin seedlings the best chance at thriving.
Typically, seedlings grown in small pots need to be transplanted into larger containers when they have 2-3 sets of true leaves. This is usually around 7-10 days after sowing. Before transplanting, water the seedling thoroughly and gently remove it from its pot, taking care not to damage the roots.
To minimize root disturbance, handle the roots as little as possible. If a few roots are damaged during the process, don’t worry – pumpkins have an incredible ability to recover. Once in the new container, add fresh potting mix around the seedling, and gently firm it in place.
Keep your transplanted seedlings in a bright location with temperatures between 65-75°F (18-24°C). Water them regularly, but avoid overwatering, which can lead to root rot. With proper care, your pumpkin seedlings will establish themselves quickly and start producing new growth in no time.
Providing Adequate Light and Water for Container Grown Pumpkins
Providing adequate light and water is crucial for container-grown pumpkins, which can be finicky in terms of their requirements. Let’s dive into how to meet these needs successfully.
Ensuring Sufficient Sunlight
When it comes to growing pumpkins in containers, one of the most critical factors for their success is ensuring they receive sufficient sunlight. Pumpkins are warm-season crops that thrive in full sun, requiring a minimum of six hours of direct sunlight per day.
To maximize sunlight exposure for your container-grown pumpkin plants, consider placing them in a south-facing location or using grow lights as a supplement. If you don’t have a spot with direct sunlight, north-facing locations can also work, but they may require additional lighting to compensate. Make sure the containers are at least 6-8 hours away from any structures that might block sunlight.
Another tip is to rotate your containers regularly to ensure even light distribution and prevent lopsided growth. Keep in mind that pumpkin plants can grow quite large, so give them enough space to spread out comfortably. By providing your container-grown pumpkins with sufficient sunlight, you’ll be well on your way to a bountiful harvest.
Watering and Humidity Requirements
When it comes to watering and humidity levels for container-grown pumpkins, it’s essential to strike the right balance. Overwatering is just as detrimental as underwatering, so let’s dive into what you can do to prevent these common mistakes.
Soil moisture levels are crucial in containers, especially when growing pumpkins. Aim to keep the soil consistently moist but not waterlogged. Check the soil by sticking your finger into it up to the knuckle. If the soil feels dry, it’s time for a drink. However, if it’s already moist or water starts seeping out of the drainage holes, wait another day before watering.
Maintaining optimal humidity levels is also vital for healthy pumpkin growth. Aim for a relative humidity between 50-70%. You can achieve this by placing the container on a tray filled with water and pebbles (making sure the pot isn’t sitting in water). Alternatively, you can group plants together to create their own microclimate.
Monitor your pumpkins’ leaves and stems; if they’re wilting or developing brown spots, it’s likely due to underwatering. On the other hand, if you notice yellowing leaves or a soft, mushy texture, overwatering is probably the culprit. Adjust your watering schedule accordingly to ensure your pumpkin receives just the right amount of moisture.
Supporting Container Grown Pumpkins with Stakes and Pruning
To prevent your container grown pumpkins from toppling over, you’ll need to provide them with sturdy support in the form of stakes and strategic pruning. Pruning also encourages a more compact growth habit.
Using Trellises or Other Supports
When growing vining pumpkin varieties in containers, it’s essential to provide structural support for the plants as they spread out and grow. Without proper support, these vigorous growers can become top-heavy and prone to collapse, which can be detrimental to fruit production.
Using trellises or other supports is a great way to keep your container-grown pumpkins upright and well-ventilated. For example, you can place a sturdy trellis behind the plant and gently twine the stems around it as they grow. Alternatively, you can use stakes to provide individual support for each plant.
Another option is to use a trellis system that has built-in wires or netting to hold the plant in place. This type of support is ideal for smaller containers where space is limited. You can also use tomato cages or obelisks as makeshift supports, provided they’re sturdy enough to hold the weight of the mature pumpkin.
When using stakes, make sure to drive them at least 12 inches into the soil and secure the plant firmly to prevent damage from wind. Remember to prune your plants regularly to encourage bushy growth and promote fruiting, which will help distribute the plant’s weight more evenly and minimize the need for additional support.
Pruning Techniques to Promote Healthy Growth
Pruning container-grown pumpkins is an essential technique to promote healthy growth, increase fruit production, and prevent disease. By selectively removing certain parts of the plant, you can direct its energy towards producing a bounty of pumpkins. To start, remove lower leaves that are touching the soil to prevent fungal diseases from spreading.
Next, prune the tip of the vine after it reaches about 8 feet long to encourage branching and increase the number of fruiting nodes. This will also help control the plant’s growth and prevent it from becoming too leggy. Remove any weak or spindly growth, as this can make the plant more susceptible to pests and diseases.
Another technique is to remove all but two or three of the strongest tendrils on each stem. This will allow the plant to focus its energy on producing fruit rather than supporting itself with excessive foliage. Regular pruning also helps to improve air circulation around the plant, reducing the risk of fungal diseases. By incorporating these simple pruning techniques into your container-grown pumpkin care routine, you’ll be rewarded with a healthy and productive crop.
Harvesting Container Grown Pumpkins
Now that your container-grown pumpkins are mature, it’s time to harvest them carefully to ensure they continue to thrive and produce well for years to come. Learn how to do it right here.
Timing the Harvest for Optimal Flavor and Size
When it comes to harvesting pumpkins from containers, timing is everything. You want to pick them at the optimal moment to ensure they’re at their best flavor and size. To determine if a pumpkin is ready for harvest, check its size, color, and maturity indicators.
A good rule of thumb is to wait until your pumpkin has reached its full size and the rind is hard and smooth. For most varieties, this will be around 100-150 days from sowing. However, some smaller varieties like ‘Jack Be Little’ or ‘Baby Boo’ may be ready in as little as 60-90 days.
Check for a deep, rich color that matches the variety’s expected hue. If you’re growing a white pumpkin, look for a creamy white with a yellow undertone. Avoid pulling on the stem, as this can cause damage to the fruit. Instead, use a gentle twisting motion to separate it from the plant. Cut the stem at an angle using pruning shears or a sharp knife. Harvesting at the right time will not only ensure optimal flavor and size but also help prevent diseases and pests that thrive on overripe pumpkins.
Handling and Storing Harvested Pumpkins
When you’ve finally harvested your container-grown pumpkin, it’s essential to handle and store it correctly to preserve its freshness and extend shelf life. The moment you cut into the stem, the pumpkin begins to lose moisture and its sugar content starts to convert into starch. To slow down this process, make sure to harvest pumpkins in the morning when they’re still cool from the night.
Gently lift the pumpkin out of the container using a fork or a tool with a curved blade to avoid damaging it. If you need to move the pumpkin, use a dolly or a cart with soft padding to prevent bruising. Handle the fruit carefully, as rough handling can cause damage and create an entry point for fungal diseases.
Store harvested pumpkins in a cool, dry place with good ventilation. Avoid direct sunlight, which can cause the skin to become soft and develop brown spots. A temperature range of 50-60°F (10-15°C) is ideal for storing pumpkins. You can also store them in a garage or shed, but ensure it’s not too humid or exposed to moisture.
Keep an eye on your stored pumpkins regularly, checking for any signs of decay or mold. Discard any affected fruits immediately to prevent the spread of disease. By following these simple steps, you’ll be able to enjoy your homegrown container-grown pumpkin for weeks to come.
Frequently Asked Questions
What if I’m short on space, but still want to grow a larger pumpkin variety?
You can use a trellis or other support system to train the vine to climb upwards, freeing up more floor space for other plants. Just be sure to choose a sturdy container that can hold the weight of the mature plant.
Can I repurpose containers from last year’s garden for growing pumpkins?
While it’s tempting to reuse old containers, it’s best to start fresh with new ones each season to prevent disease and pests from carrying over. Clean and sterilize any containers you plan to use, then fill them with fresh potting mix.
How often should I water my container-grown pumpkin plants during hot summer months?
Pumpkins need consistent moisture, especially when they’re producing fruit. Water your plants deeply once or twice a week, depending on weather conditions. Check the soil daily by sticking your finger into it – if the top inch feels dry, it’s time to water.
Can I grow pumpkins in containers with poor drainage?
Pumpkins need well-draining soil to prevent root rot and other issues. If your container lacks proper drainage holes, consider adding a layer of small rocks or broken pottery at the bottom before filling with potting mix. This will help excess water drain away from the roots.
How long does it take for pumpkin seeds to germinate in containers?
Pumpkin seeds typically take 7-10 days to sprout after sowing. Keep the soil consistently moist during this time, and provide adequate warmth (around 70-80°F) for optimal growth.