Are you ready to grow your own delicious homegrown potatoes without breaking the bank or taking up too much space in your garden? Container gardening is a game-changer for small-space gardeners and city dwellers, allowing you to enjoy fresh produce right outside your doorstep. And when it comes to container gardening with potatoes, the possibilities are endless! But before you start digging into the world of potato cultivation, let’s get down to basics. Choosing the right container and soil is crucial to a bountiful harvest. In this article, we’ll take you through everything you need to know about growing scrumptious potatoes in containers, from selecting the perfect pot to harvesting and storing your crop with ease.
Choosing the Right Container
When selecting a container for growing potatoes, consider factors such as size, drainage, and material to ensure your spuds have the best chance at thriving.
Selecting a Suitable Container Size
When it comes to container gardening with potatoes, one of the most crucial decisions you’ll make is selecting a suitable container size. To grow healthy potato plants, you need a container that’s at least 6-8 inches deep. This depth allows for sufficient space between the soil surface and the bottom of the container, which is essential for proper root growth.
In addition to depth, consider the type of container you’ll use. Plastic tubs are a popular choice for container gardening with potatoes because they’re affordable, lightweight, and easy to clean. Wooden barrels can also work well, especially if you have access to one or can purchase a used barrel at a local nursery. Self-watering planters are another option, which can be beneficial if you tend to forget to water your plants.
When choosing a container, think about its material and drainage. A container with good drainage will help prevent waterlogged soil and root rot. If you’re using a plastic or wooden container, make sure it has holes or gaps in the bottom for proper drainage. Alternatively, consider purchasing a self-watering planter that has an integrated watering system.
Remember to also take into account the size of your potato crop when selecting a container. A larger container will give your potatoes more room to grow, but may require more space on your patio or balcony. Start with a smaller container and expand as needed, rather than overcrowding your plants from the beginning.
Considering Soil Quality and Depth
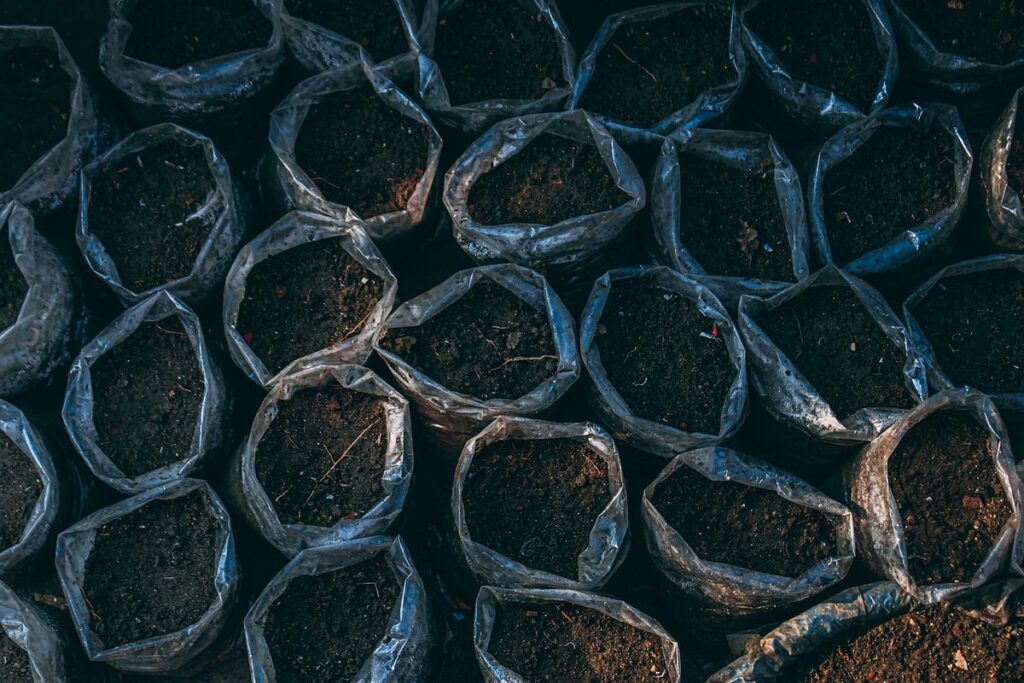
When growing potatoes in containers, it’s essential to use potting soil that is specifically designed for root vegetables like potatoes. This type of soil will have better drainage properties and will help prevent waterlogged conditions that can lead to disease and rot. Regular potting mix may not provide the necessary aeration and structure for potato tubers to grow, so make sure to choose a high-quality, well-draining mix.
As for the container’s soil depth, it should be at least 12-18 inches deep to allow for proper root growth and development. This will also give you enough room to harvest multiple potatoes from each plant. To prepare your container’s soil depth, start by filling the bottom 2-3 inches with a layer of small rocks or broken pottery pieces to help with drainage.
When adding potting mix, make sure it’s moist but not waterlogged, and gently firm it down as you go to prevent settling over time. Leave about an inch at the top for watering and maintenance. With proper soil depth and preparation, your container garden will thrive, and you’ll be rewarded with a bountiful harvest of delicious homegrown potatoes!
Preparing the Container for Planting
Before you start planting, it’s essential to prepare your container to provide a healthy environment for your potato plants. This includes choosing the right size and material of container.
Seed Selection and Sourcing
When it comes to growing potatoes in containers, selecting the right variety is crucial. Popular choices among container gardeners include ‘Nicola’, ‘Maris Piper’, and ‘Katahdin’. These varieties are not only compact but also yield high-quality tubers. ‘Nicola’ is a waxy potato that retains its shape well, making it ideal for boiling or steaming. ‘Maris Piper’ is a high-yielding variety with a fluffy texture perfect for roasting.
It’s essential to use disease-free seed potatoes to avoid contamination and potential crop failure. You can purchase these from reputable nurseries or online suppliers. Some gardeners prefer to source their own seed potatoes from their existing harvest, but be sure to select healthy tubers that show no signs of disease.
When selecting seed potatoes, look for those with at least one ‘eye’ each, as this is where the new growth will emerge. Avoid using small or sprouted tubers, as these may not produce well. By choosing the right variety and sourcing disease-free seed potatoes, you’ll be well on your way to a successful container potato harvest.
Chitting Seeds and Starting Indoors
When starting to grow potatoes in containers, you’ll want to get a head start on the growing season. This is where chitting seeds come into play. Chitting allows you to encourage seed tubers to sprout before they’re transplanted into their final container home.
To begin, select healthy, disease-free seed potatoes from your supplier or store them over winter in a cool, dark place. Allow 4-6 weeks for chitting before moving on to the next step. Place the seeds with the “eyes” (small buds) facing upwards in a light, frost-free spot with temperatures between 10-15°C (50-59°F). Avoid direct sunlight, which can cause the sprouts to become weak and leggy.
Keep an eye out for small green shoots emerging from the eyes. This process is known as “chitting” – essentially, it’s coaxing the seed potato into producing a new plant. Once you’ve got several sets of leaves developing on each seed, it’s time to start them indoors in pots filled with compost or potting mix specifically designed for potatoes.
Transplanting and Caring for Potato Plants
Now that you’ve got your potato seeds or seedlings growing strong, it’s time to learn how to transplant them into their new container home. This section covers the essential steps for successful transplanting and care.
Plant Spacing and Support
When transplanting potato plants into containers, it’s essential to consider optimal plant spacing. Generally, you want to space them around 12 inches apart to allow for proper growth and air circulation. This distance also helps prevent the spread of diseases that thrive in humid environments.
As the plants grow, they’ll require support systems to prevent toppling due to wind or fruit growth. You can use trellises or stakes specifically designed for potatoes. These will help keep the plants upright while allowing them to make the most of their container space.
When choosing a support system, consider the mature size of your potato variety and the size of your container. For example, if you’re growing a compact variety in a small container, a single stake might be sufficient. However, for larger varieties or containers, a trellis will provide more stability.
Watering and Fertilization Tips
When it comes to container gardening with potatoes, watering and fertilization are crucial for healthy growth. As a general rule of thumb, potato plants need about 1-2 inches of water per week, either from rain or irrigation. However, this can vary depending on climate and soil conditions. In hot and dry climates, you may need to water your container-grown potatoes more frequently, while in cooler and wetter climates, they may require less watering.
It’s also essential to check the moisture level of the soil by sticking your finger into it up to the knuckle. If the soil feels dry, it’s time for a drink. On the other hand, if you notice water pooling around the base of the container, reduce the frequency of watering. When fertilizing containers with potatoes, start with a balanced fertilizer at planting time. You can also side-dress with a high-phosphorus fertilizer during the growing season to promote tuber formation.
For example, if you’re using a 10-10-10 NPK fertilizer, apply it according to the manufacturer’s instructions at planting time. Later on, when the plants are about 6 inches tall, apply a side-dressing of bone meal or rock phosphate to give them an extra boost of phosphorus. This will help promote healthy tuber growth and improve yields.
Pest and Disease Management
When growing potatoes in containers, it’s essential to be aware of potential pests and diseases that can affect your crop. Let’s dive into some effective methods for managing these issues.
Common Potato Pests in Containers
As you cultivate potatoes in containers, be aware that these plants can be vulnerable to various pests. One of the most common potato pests in containers is aphids. These tiny insects feed on sap, weakening the plant and creating sticky honeydew droplets on leaves. To control aphid infestations, use neem oil or insecticidal soap as a chemical solution. Alternatively, introduce natural predators like ladybugs or lacewings to your container garden.
Slugs are another threat to potato plants in containers. These slimy pests feed on leaves and tubers at night, leaving behind holes and damage. To deter slugs, create a barrier around the plant using copper tape or crushed eggshells. You can also try hand-picking slugs from your container during the night.
Wireworms are another common pest affecting potato plants in containers. These larvae feed on roots, stunting plant growth and reducing yields. To manage wireworm populations, use solarization – cover the soil with clear plastic to heat it up for a few weeks. This kills the wireworms and other pests present in the soil.
Identifying and Managing Diseases
When growing potatoes in containers, it’s essential to be aware of common fungal diseases that can affect your crop. These include powdery scab, late blight, and powdery mildew.
Powdery scab appears as white or yellowish patches on the tubers’ surface. It’s often mistaken for a nutrient deficiency but is actually caused by the fungus Streptomyces scabies. To prevent powdery scab, use certified disease-free seed potatoes and ensure good air circulation around your containers.
Late blight is a more severe disease that can destroy an entire crop in a matter of days. It’s characterized by black spots on the leaves and a grayish mold on the stems. If you suspect late blight, remove all infected plants immediately to prevent its spread. Apply a fungicide specifically labeled for use against late blight, following the product instructions carefully.
Preventing powdery mildew is relatively simple: keep your containers clean, provide adequate air circulation, and avoid overwatering. Regularly inspect your plants for signs of disease, and take action promptly to prevent its spread. If you do spot any fungal diseases, use a fungicide as soon as possible to reduce the risk of damage to your crop.
Harvesting and Storage
Now that your potatoes are mature, it’s time to harvest them carefully to prevent damage. We’ll guide you through the process of safely collecting and storing your container-grown spuds.
Knowing When to Harvest
Knowing when to harvest your potatoes is crucial for achieving optimal flavor and texture. As a general rule of thumb, it’s best to dig up your tubers 10-14 weeks after planting, when they’re mature but still tender. This timing allows the plants to reach their full potential without becoming too large or fibrous.
To check if your potatoes are ready, gently lift the plants out of their container. Carefully inspect the size and color of the tubers. Mature potatoes should be firm and free of soft spots. You can also check by carefully digging around the edges of the container with a fork to avoid damaging any larger tubers.
If you wait too long, your potatoes will start to decline in quality, becoming mealy or developing an unpleasant flavor. Don’t worry if some of your tubers are still small – they’ll continue to grow underground, even after harvest. This is why it’s essential to keep a close eye on their development and plan accordingly.
Storing Harvested Potatoes
When you’re finally ready to harvest your potatoes from your container garden, it’s essential to store them properly to maintain their quality and flavor. The process involves two main steps: curing and long-term storage.
Curing allows the potatoes to heal over any cuts or bruises, which can help prevent rotting. To cure your harvested potatoes, let them sit in a warm, dark place with good air circulation for 2-3 days. Check on them daily to ensure they’re not developing mold or mildew. You can do this by spreading them out in a single layer on a tray or container.
Once cured, store the potatoes in a cool, dark place with good ventilation. This could be a basement, root cellar, or even a cupboard under the stairs. The ideal temperature for long-term storage is between 40°F and 50°F (4°C and 10°C). Avoid storing them near fruit, as ethylene gas produced by fruits can cause potatoes to ripen prematurely. Keep the stored potatoes away from direct sunlight and moisture to prolong their shelf life.
Troubleshooting Common Issues
Don’t worry, we’ve all been there – encountering unexpected problems while growing potatoes in containers! This section will help you troubleshoot common issues and get back on track.
Addressing Low Yields or Poor Growth
If you’re experiencing low yields or poor growth in your container-grown potatoes, there are several potential causes to investigate. Insufficient sunlight is a common issue, as potatoes require at least six hours of direct sunlight per day to produce well. If you’re growing in a shaded area or during the winter months when days are shorter, this could be the culprit.
Inadequate watering can also lead to stunted growth and reduced yields. Potatoes need consistent moisture, especially when they’re producing tubers. Aim to water your containers thoroughly once or twice a week, depending on weather conditions. Be cautious not to overwater, as this can cause root rot and other problems.
Another potential issue is an incorrect soil pH. Potatoes prefer a slightly acidic to neutral soil pH (around 4.5-7). If your potting mix is too alkaline, it may hinder nutrient uptake and plant growth. Consider getting a soil test kit or consulting with a local nursery expert for guidance on adjusting your potting mix.
In addition to these common issues, pests like aphids, slugs, and wireworms can also impact potato yields. Keep an eye out for signs of infestation and take action promptly if you notice any problems. Regularly inspecting your plants and taking preventative measures will go a long way in maintaining healthy growth and high yields.
Encouraging Healthy Regrowth and New Crops
When it comes to container gardening with potatoes, one of the most exciting aspects is watching new growth emerge from spent plants. To encourage healthy regrowth and set yourself up for a successful harvest, it’s essential to remove spent plants at the right time.
To do this, wait until the original plant has begun to yellow and die back, usually around 10-14 weeks after planting. Cut off the spent plant just above the soil line, making sure to leave any remaining foliage intact. This will help direct nutrients and energy towards new growth, encouraging the tubers to continue producing.
As you harvest your existing crop, set aside some of the saved tubers for regrowth. To do this, choose healthy-looking tubers with at least one ‘eye’ each – these will be the starting points for new plants. Store them in a cool, dark place until you’re ready to plant them out again. This process is called ‘chitting’, and it gives your new crop a head start before being transplanted into fresh containers.
Frequently Asked Questions
How Do I Know When My Potatoes Are Ready to Harvest?
Check for signs of maturity like green shoots emerging from the top, yellowing leaves, or a slight pulling away from the sides of the container. Gently dig around the base with your fingers, feeling for firm tubers. Harvest when the majority are between 2-3 inches in diameter.
Can I Grow Potatoes in Shallow Containers?
While it’s possible to grow potatoes in shallower containers (4-6 inches deep), they won’t produce as many tubers or have a robust harvest due to insufficient root growth. If you’re new to container gardening with potatoes, consider starting with larger containers for optimal results.
How Do I Prevent Greening of the Eyes?
To prevent green skin on your harvested potatoes, store them in a cool (around 40°F/4°C), dark place with high humidity. Avoid washing or exposing them to direct sunlight as this can cause the eyes to sprout and become green. Use paper bags or breathable containers for storage.
Can I Grow Multiple Crops of Potatoes from the Same Container?
No, you should rotate your potato crops every season (at least 3-4 months) to avoid depleting the soil nutrients and risking disease buildup. If you want a continuous harvest, consider planting multiple small batches or growing other varieties with different growth periods.
How Do I Handle Potato Bugs in My Containers?
To prevent potato bugs, keep your containers clean, free from debris, and inspect them regularly for signs of infestation (small holes or tunnels). Use fine mesh or insect netting to cover the top and sides of your container. Hand-picking is an effective method; squash any bugs you find to break their life cycle.