Are you a fan of fresh mint leaves but tired of buying them at the store? Propagating mint from cuttings in water is a game-changer for gardeners and indoor plant enthusiasts alike. Not only does it save you money, but it also allows you to grow your favorite varieties with ease. However, growing mint from cuttings can be a bit tricky if you don’t know what you’re doing.
In this article, we’ll show you how to successfully propagate mint from cuttings in water. We’ll cover the best mint varieties for propagation, how to prepare and take cuttings, and what environmental conditions are necessary for healthy growth. Whether you want to grow peppermint, spearmint, or chocolate mint, we’ve got you covered. With these simple steps and some basic knowledge, you can start growing your own mint from scratch in no time.
Choosing the Right Mint Variety
Now that you’ve successfully rooted your mint cutting, it’s time to choose a variety that fits your taste preferences and growing conditions. With so many options available, we’ll help you pick the perfect one.
Selecting a Mint Type Suitable for Propagation
When it comes to growing mint from cuttings in water, not all types of mint are created equal. You’ll want to choose a variety that’s well-suited for this method of propagation.
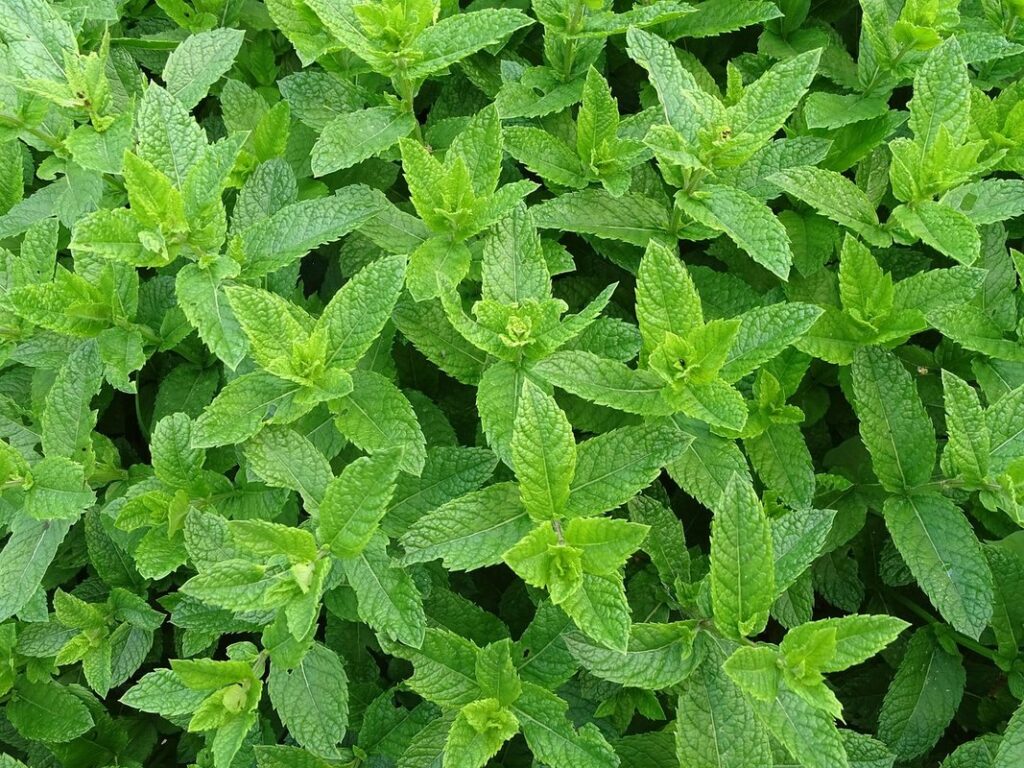
For example, peppermint and spearmint are popular choices for growing from cuttings, as they tend to root quickly and easily. Peppermint, with its bright green leaves and reddish stems, is known for its strong minty flavor and aroma. Spearmint, on the other hand, has a milder taste and fragrance, making it a great choice for those who prefer a less intense mint experience.
Chocolate mint, while delicious in its own right, can be more finicky when it comes to growing from cuttings. Its leaves are often smaller and more delicate than peppermint or spearmint, which can make them more prone to damage during the rooting process. However, with careful attention and patience, chocolate mint can still be grown successfully from cuttings.
Some other factors to consider when selecting a mint type suitable for propagation include leaf size, stem thickness, and overall hardiness. Look for varieties that have large, sturdy leaves and thick stems, as these will be easier to work with when growing from cuttings in water.
Factors to Consider When Selecting Cuttings
When selecting cuttings for growing mint from water, it’s crucial to choose healthy and vigorous mother plants. This ensures that your propagated mint will thrive and have the best chance of success.
Start by examining the stem size: opt for stems with a diameter of at least 6-8 mm, as these tend to produce more nodes and roots. A good quality mother plant should also exhibit robust leaf growth, with leaves that are dark green, firm, and free from damage or disease.
Node density is another critical factor; select cuttings taken above the second node (just below a leaf pair) for optimal rooting. This allows you to harvest multiple cuttings without weakening the mother plant. Be cautious not to over-harvest, as this can stress the plant, affecting its overall health and vitality.
When scouting for healthy mother plants, remember that even minor flaws in appearance or vigor can impact the success of your propagated mint.
Preparing the Cuttings
To successfully grow mint from cuttings in water, you’ll need to prepare those cuttings correctly, which starts with choosing fresh and healthy stems. Select a few vigorous shoots for your project.
Removing Lower Leaves and Trimming Stems
When preparing mint cuttings for propagation in water, it’s essential to remove lower leaves and trim stems to promote rooting. Start by gently grasping the cutting just above a node (the point where a leaf meets the stem) with one hand. Hold the node between your thumb and index finger, taking care not to crush the delicate tissues.
Remove any lower leaves that will be submerged in water, as they can create an entry point for bacteria and reduce the chances of successful rooting. Typically, you’ll want to remove all but two or three sets of leaves at the top of the cutting. This will help direct the plant’s energy towards developing roots rather than leaf growth.
Next, trim the stem just above a node using a clean pair of scissors or pruning shears. Make your cut at an angle, about 1-2 inches from the node. This will encourage new growth and increase the chances of successful rooting. Be sure to make your cuts cleanly and without crushing the stem tissues, as this can lead to infection and reduced success rates.
Soaking the Cuttings in Root Stimulant or Water
When it’s time to give your mint cuttings the best chance at developing strong roots, you have two main options: soaking them in root stimulant or simply submerging them in water. While both methods can be effective, using a root stimulant can offer several benefits.
Using a root stimulant can help accelerate root growth and increase the chances of successful propagation. These products typically contain plant hormones like auxins and gibberellins that promote cell division and elongation. This means your mint cuttings will develop roots faster and be ready for transfer to soil sooner.
When choosing a root stimulant, make sure to follow the recommended concentration on the label. Typically, you’ll need to dilute the product with water according to the instructions, usually between 1-5 parts per million (ppm). Application times can vary as well – some products may require multiple soakings over several days or weeks, while others may work in just a few hours.
For example, if using Miracle-Gro’s rooting hormone powder, you’ll typically mix 1-2 teaspoons with one gallon of water. Let your cuttings soak for about 24 hours before transferring them to a glass jar filled with water.
Propagation Methods: Water vs. Soil
When it comes to growing mint from cuttings, two popular methods are water and soil propagation – but which one is more effective for you? Let’s dive into the key differences between these two approaches.
Growing Mint in Water (Hydroponics)
Growing mint from cuttings directly in water is an efficient and innovative method that’s gained popularity among gardeners. This hydroponic approach allows for rapid root development, eliminating the need for soil and extensive care. To begin with, you’ll want to place your mint cutting in a glass or container filled with lukewarm water (around 70-80°F). Be cautious not to add cold water, as this can shock the cutting.
Monitor your mint cutting closely for signs of rooting, which typically manifest within 7-10 days. Gently inspect the node area where you made the cut; if you notice any visible white roots or a slight change in color, it’s an indication that root development has begun. Maintain water level to ensure the node remains submerged while allowing air circulation around the leaves.
Adjust your conditions as necessary; keep an eye out for algae growth and replace the water when necessary to prevent bacterial buildup. Once you’ve noticed substantial root growth (about 1-2 inches), it’s time to transplant your mint plant into a larger container or directly into the soil.
Growing Mint in Soil (Traditional Method)
Growing mint in soil is a traditional and popular method for propagating this hardy herb. To get started, choose pots that are at least 6-8 inches deep to accommodate the plant’s extensive root system. Fill the pots with a high-quality potting mix specifically designed for herbs, as it will retain moisture but also drain excess water efficiently.
Prepare your mint cuttings by trimming them back to about 2-3 inches from the node (where the leaf meets the stem). This will encourage new growth and prevent the cutting from becoming leggy. Plant the cuttings about 1 inch deep in the potting mix, making sure the node is buried. Water gently but thoroughly, then provide bright indirect light.
Water your mint plants regularly, keeping the soil consistently moist but not waterlogged. Aim to water every 2-3 days during the spring and summer months when the plant is actively growing. Reduce watering to once a week in the fall and winter as growth slows down. By following these simple steps, you’ll be well on your way to growing healthy mint plants from cuttings in soil.
Environmental Conditions for Successful Propagation
To successfully propagate mint from cuttings in water, you’ll need to create a suitable environment that mimics its natural habitats, focusing on humidity and temperature. This section explores those essential conditions in more detail.
Lighting Requirements
Mint cuttings grown in water require optimal lighting conditions to promote healthy growth and prevent fungal diseases. When it comes to natural light, south-facing windows are ideal for mint propagation as they provide direct sunlight. However, if this isn’t possible, east- or west-facing windows can also work well.
If you’re growing indoors without access to a sunny window, supplemental lighting becomes crucial. LED grow lights are an excellent option as they produce minimal heat and consume less energy. Aim for 12-14 hours of light exposure per day to mimic the plant’s natural daylight cycle. Keep in mind that mint plants prefer bright, indirect light rather than direct sunlight.
When it comes to photoperiod considerations, mint cuttings grown in water require a longer daylight period during the initial stages of growth. Gradually reduce the lighting duration as the plants mature to prevent overgrowth and promote healthy root development. Monitor your plants’ response to different lighting conditions and adjust accordingly to ensure optimal propagation results.
Temperature and Humidity Considerations
When growing mint from cuttings in water, temperature and humidity play crucial roles in determining the success of propagation. Temperature affects the metabolic rate of mint plants, influencing their growth rate and overall health.
For optimal results, maintain a temperature between 65°F to 75°F (18°C to 24°C), which is within the ideal range for mint growth. Temperatures above or below this range can cause stunted growth, increased risk of fungal diseases, or even plant death. For example, temperatures below 55°F (13°C) can slow down metabolic processes, making it harder for the cutting to root.
Humidity levels also impact the propagation process. Mint plants thrive in humid environments, typically between 40% to 60% relative humidity. Maintaining a consistent level of humidity will help prevent moisture stress and ensure healthy root development. To achieve the right balance, you can place the glass container with cuttings on a tray filled with water and pebbles or use a humidifier nearby.
Be aware that these conditions may vary depending on your location’s climate. If you live in an area with very high humidity (above 60%), you might need to adjust by providing good air circulation around the container. Conversely, dry environments will require more frequent misting to maintain suitable humidity levels.
Common Challenges and Troubleshooting
As you begin growing mint from cuttings in water, you may encounter some unexpected issues – don’t worry, we’ve got solutions for common problems that can arise.
Identifying Causes of Failure or Slow Growth
When growing mint from cuttings in water, you may encounter common issues that hinder successful propagation. One of the most prevalent problems is poor rooting, where the cutting fails to develop a robust root system. This can be due to insufficient light, inadequate water quality, or exposure to extreme temperatures.
Fungal infections are another challenge that may arise during this process. These can be caused by contaminated water, excessive moisture, or poor air circulation around the cuttings. To identify the cause of these issues, closely monitor your mint cuttings and observe any changes in their appearance or behavior.
Look for signs such as yellowing leaves, soft spots on the stem, or a sticky substance on the surface of the water. If you notice any of these symptoms, it may be a sign that your water is contaminated with bacteria or fungi. Regularly change the water and ensure good air circulation around the cuttings to prevent further issues.
In some cases, the problem might not be immediately apparent. To troubleshoot effectively, keep detailed records of your mint growing process, including factors such as lighting, temperature, and watering schedules. This will help you pinpoint potential causes and make adjustments accordingly.
Adjusting Conditions to Promote Healthy Growth
If you notice that your mint cuttings are not growing as expected, it’s likely due to inadequate light, incorrect temperature, insufficient humidity, or inconsistent watering. To promote healthy growth, make adjustments accordingly.
Start by assessing the lighting conditions. Most mint varieties prefer bright, indirect light, but some can tolerate partial shade. If your space receives direct sunlight for extended periods, consider moving the container or providing shade using a sheer curtain. For optimal results, aim for at least 4-6 hours of direct sunlight per day.
Temperature also plays a crucial role in mint growth. Ensure the environment is between 65°F to 75°F (18°C to 24°C). Avoid placing cuttings near drafty windows or heating/cooling vents, as this can cause temperature fluctuations.
Maintaining optimal humidity levels is essential for preventing waterborne diseases and promoting healthy root development. Keep the water level consistent by topping it off daily. A humidity tray or a humidifier nearby can help maintain an ideal environment around 40-50% relative humidity.
Monitor your watering schedule closely, as mint cuttings require consistent moisture. Water once every 1-2 days, depending on the temperature and light exposure.
Caring for Young Mint Plants
Once you’ve successfully rooted your mint cuttings, it’s time to move them into a pot and provide the right care to help them thrive. In this next step, we’ll cover everything you need to know about caring for young mint plants.
Transplanting into Soil or Pots
When it’s time to transplant your young mint plants from their water or soil propagation vessel into larger containers or directly into the garden, follow these steps for a smooth transition. Make sure the roots have developed enough to handle the transfer, usually within 1-2 weeks.
To begin, choose a location with well-draining soil and full sun to partial shade, depending on the mint variety. Mint can grow quite invasive, so consider containing it in pots or raised beds to keep its spread under control. If transplanting into the garden, space plants at least 12 inches apart to allow for air circulation and prevent overcrowding.
When transferring from a water vessel, gently remove the cutting, taking care not to disturb the roots. Trim back any overgrown stems by about one-third to encourage new growth. Plant the mint in its new location, firming the soil around the roots to secure them in place. Water thoroughly and keep the soil consistently moist during the first few weeks after transplanting.
If transplanting into pots, use a well-draining potting mix and containers with good air circulation to prevent root rot.
Post-Propagation Care Tips
After successfully propagating mint plants in water, it’s essential to provide them with the right care to ensure they thrive. Pruning is a crucial aspect of post-propagation care for young mint plants. Regular pruning not only encourages bushy growth but also prevents the plant from becoming leggy and weak.
To prune your mint plant, simply snip off any long stems or branches that have reached beyond their pot. Cut them back to about 2-3 inches from the node (where a leaf meets the stem). This will stimulate new growth and encourage the plant to produce more leaves and stems. Prune your mint plant every 1-2 weeks, depending on how quickly it grows.
In terms of fertilization, use a balanced, water-soluble fertilizer at half the recommended strength. Feed your mint plant once a week to promote healthy growth and prevent nutrient deficiencies. Keep an eye out for pests like aphids, whiteflies, and spider mites, which can be treated with insecticidal soap or neem oil. By following these post-propagation care tips, you’ll be well on your way to raising a robust and fragrant mint plant.
Frequently Asked Questions
How do I know if my mint cuttings are rooting properly?
Check for roots by gently removing the cutting from the water or pot after a few weeks. You should see white, fuzzy roots developing on the stem below the node where you made the cut. If you don’t see any roots, it may be due to insufficient light, temperature fluctuations, or using old or damaged cuttings.
Can I propagate mint from leaf cuttings instead of stem cuttings?
Yes, but leaf cuttings tend to root slower and less reliably than stem cuttings. This method works best for certain mint varieties like peppermint and spearmint. When taking leaf cuttings, use the largest leaves possible and ensure they have a node (where the leaf meets the stem) attached.
How do I prevent fungal growth in my propagation water?
Regularly change the water every 1-2 weeks to maintain cleanliness. Also, make sure your container has good air circulation around it. You can also add a few drops of tea tree oil or hydrogen peroxide (3%) to the water as natural antifungals.
Can I transfer my rooted mint cuttings directly into soil without using pots?
Yes, but be cautious not to damage the roots during transplantation. It’s recommended to use small pots first and then transplant them into a larger container or directly into the ground when the plants are more robust.
How do I prevent overwatering and root rot in my hydroponic mint system?
Monitor your water level closely, ensuring it doesn’t exceed 2-3 inches deep. Also, keep an eye on temperature fluctuations and provide adequate light (at least 12 hours a day) to promote healthy growth. Regularly inspect the roots for signs of rot or decay, and adjust conditions as needed.