As a gardener looking to make a positive impact on our buzzing friends, you’re likely eager to learn how to create a bee-friendly haven in your own backyard. One simple yet effective way to do this is by growing clover for bees. This nitrogen-fixing superstar not only provides a rich source of nectar and pollen but also offers shelter from the elements. By incorporating clover into your garden, you’ll be supporting local honeybees and native pollinators, which are facing increasing threats to their populations. In this article, we’ll delve into the benefits of growing bee-friendly clover, explore the different types available, and share essential care tips for a thriving clover garden that will attract these vital visitors all season long.
Why Clover is a Bee-Friendly Plant
Growing clover can be a simple yet effective way to support local bee populations, and understanding why it’s beneficial for them is key to creating a thriving ecosystem in your garden. Let’s take a closer look at what makes clover so bee-friendly!
Benefits of Clover for Honeybees and Native Pollinators
Clover is an incredibly valuable addition to any garden, especially for those looking to support their local bee population. One of the primary reasons clover is a bee favorite is that it provides an abundant source of nectar and pollen, which are essential nutrients for honeybees and native pollinators.
The nectar-rich flowers of clover are particularly attractive to bees as they contain high amounts of sugar, making them an ideal source of energy. Bees collect this nectar to store in their hives, using it to feed themselves and their colonies during times when other food sources are scarce. By planting clover, you’re essentially providing a reliable “gas station” for your local bee population.
But that’s not all – clover also offers bees shelter from the elements. The dense clusters of flowers provide a safe haven from strong winds and harsh weather conditions, allowing bees to rest and recharge while they collect nectar and pollen. By incorporating clover into your garden, you’re not only supporting the local bee population but also creating a welcoming environment for these vital pollinators.
To reap the benefits, simply plant white or red clover in an area with full sun and well-draining soil. Be sure to leave some areas of the clover unmanicured, allowing it to grow freely and providing ample shelter for bees. With just a little planning, you can create a haven that will support your local bee population’s health and growth all season long!
Types of Clover Suitable for Bee Gardens
When it comes to incorporating clover into your bee-friendly garden, you have several options when it comes to species. Three popular types of clover that are perfect for attracting bees are White Clover (Trifolium repens), Red Clover (Trifolium pratense), and Microclover (Trifolium microphyllum).
White Clover is a perennial favorite among bee enthusiasts, as it’s incredibly easy to grow and can thrive in a variety of conditions. It produces an abundance of white flowers in the spring and early summer, which are rich in nectar and pollen for bees. White Clover also has a shallow root system, making it perfect for lawns or areas with compacted soil.
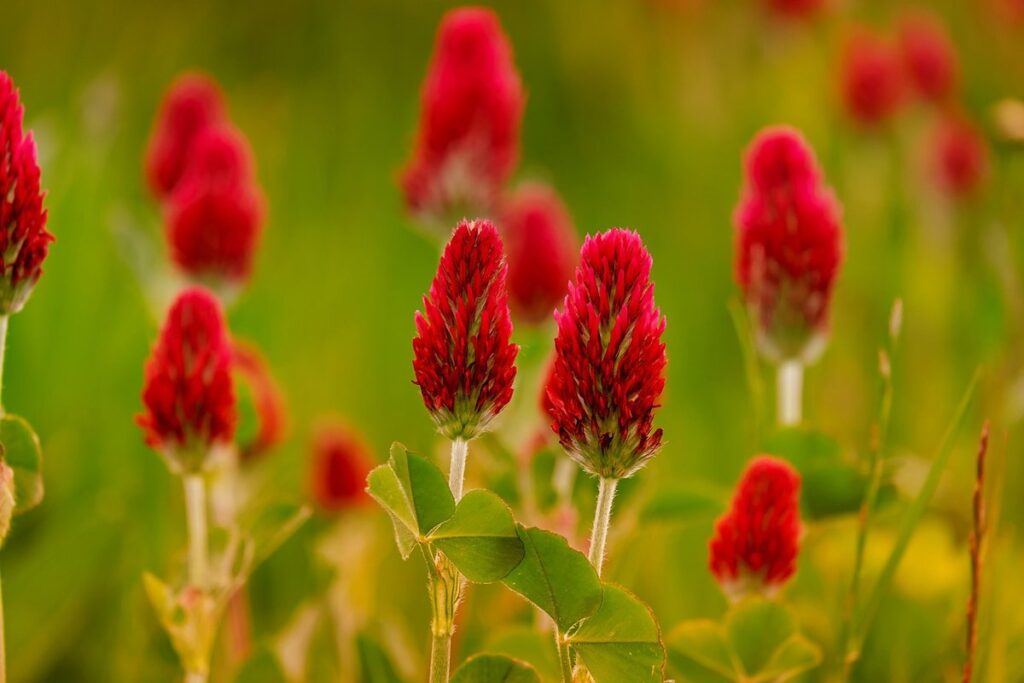
Red Clover, on the other hand, is a biennial that’s known for its vibrant red flowers. It prefers well-drained soil and full sun to partial shade, making it an excellent choice for gardens with open spaces. Red Clover is also a great option if you’re looking for a clover species that can tolerate drought.
Microclover is the smallest of the three options but packs a big punch when it comes to bee-friendliness. It’s a low-growing perennial that produces tiny white flowers in late spring, which are rich in nutrients for bees. Microclover prefers well-drained soil and partial shade, making it perfect for areas with limited sunlight.
All three species of clover are relatively easy to grow and require minimal maintenance. When choosing the right type of clover for your bee-friendly garden, consider factors such as soil quality, sunlight exposure, and moisture levels.
Preparing Your Garden for Clover
Before planting clover, take a moment to assess your garden’s soil and climate to ensure it’s suitable for this low-maintenance, high-benefit crop. Let’s walk through some essential preparation steps together.
Choosing the Right Soil Conditions
When preparing your garden for clover growth, it’s essential to assess and adjust your soil conditions. Clover thrives in environments with a slightly acidic to neutral pH, ranging from 6.0 to 7.0. To determine your garden’s pH level, you can purchase a DIY soil testing kit or send a sample to a laboratory for analysis.
If your soil pH is too high (alkaline), it may limit clover growth and nutrient uptake. On the other hand, if it’s too low (acidic), it can lead to root rot and reduced plant diversity. Once you know your soil’s pH level, you can make necessary adjustments by adding lime to raise the pH or sulfur to lower it.
In addition to pH, consider your garden’s nutrient levels. Clover requires moderate levels of nitrogen, phosphorus, and potassium. You can test for these nutrients using a kit or consult with a local nursery expert. Based on the results, you may need to fertilize your soil with organic amendments like compost or manure tea. By understanding and adjusting your garden’s soil conditions, you’ll create an optimal environment for clover growth and provide a haven for pollinators.
Selecting the Perfect Location
When selecting the perfect location for growing clover, it’s essential to consider three critical factors: sunlight, water, and airflow. Clover thrives in areas that receive full sun to partial shade, with a minimum of six hours of direct sunlight per day. Bees will also appreciate this sunshine as they flit from flower to flower.
Water is another crucial element, but be cautious not to overwater. Clovers prefer well-draining soil and can tolerate some drought once established. Aim for an area with good water retention capacity to avoid frequent watering.
Airflow is equally important, allowing the clover plants to breathe freely and reducing the risk of disease. Select a spot that receives gentle breezes or consider incorporating air circulation by adding a trellis or a windbreak.
To identify ideal spots within your garden, look for areas with southern exposure, where sunlight is abundant during the morning and early afternoon. Avoid low-lying areas prone to waterlogging, and steer clear of dense vegetation that may compete with your clover for resources.
Planting Clover for Bees
To attract more bees to your garden, it’s essential to plant clover correctly. This section covers the step-by-step process of planting and caring for clover that will draw in these busy pollinators.
Sowing Clover Seeds or Seedlings
When sowing clover seeds directly into the ground, it’s essential to prepare the soil properly. Start by loosening the top 8-10 inches of soil to a depth that allows for easy root growth. If your soil is heavy clay or sandy, mix in some organic matter like compost to improve its structure and drainage.
For direct sowing, spread the seeds evenly over the prepared area, following the package instructions for the recommended seeding rate. Lightly rake the seeds into the soil to a depth of about 1/4 inch. Keep the soil consistently moist during the germination period, usually 7-10 days.
Alternatively, you can start clover seedlings in containers indoors or outdoors and then transplant them to your garden bed. When transplanting, dig a shallow hole slightly larger than the root ball, gently place the seedling, and firm the soil around it. Water thoroughly and keep the soil moist for a few weeks after transplanting.
Remember to choose a spot with full sun and well-drained soil for optimal clover growth.
Tips for Encouraging Healthy Growth
When it comes to planting clover for bees, it’s essential to create an environment that fosters healthy growth. One key aspect of this is maintaining soil fertility. Clover thrives in well-draining, fertile soil rich in organic matter. To achieve this, add a 2-inch layer of compost or well-rotted manure to the soil before planting. This will not only provide essential nutrients but also improve the soil‘s structure and water-holding capacity.
Controlling weeds is another crucial aspect of promoting healthy clover growth. Weeds compete with clover for resources such as light, water, and nutrients, which can hinder its development. To control weeds effectively, use a shallow cultivation tool to remove them before they spread. For example, you can try using a hoe or cultivator specifically designed for weeding in tight spaces.
For climbing varieties of clover, provide support by installing trellises or stakes that allow the plants to grow upwards without becoming leggy. This will also help maintain a neat and tidy appearance in your garden. As an added benefit, supported clover plants tend to produce more flowers, which are essential for attracting bees.
Caring for Your Clover Plant
To keep your clover plant thriving and healthy, it’s essential to provide regular care and attention. Here, we’ll cover some crucial tips on how to nurture your clover plant for maximum bee-friendly benefits.
Watering and Mulching Best Practices
When it comes to caring for your clover plant, proper watering and mulching techniques are crucial for its health and productivity. Watering is essential for clover’s growth, as it thrives in moist environments but can be sensitive to overwatering. To get it just right, check the soil daily by inserting your finger into the soil up to the knuckle. If the soil feels dry, it’s time to water.
Use a gentle stream of water to avoid washing away seeds or small plants. Water your clover in the morning or early afternoon to ensure the leaves have a chance to dry before nightfall. As for mulching, it helps retain moisture, suppress weeds, and regulate soil temperature. Apply a 2-3 inch layer of organic mulch around your clover plant, keeping it a few inches away from the stem.
Some good mulching options include wood chips, bark, or straw. Avoid using too much mulch, as this can cause competition for water and nutrients with your clover plant. Regularly inspect your mulch layer to ensure it’s not compacting or causing any damage to your plants.
Pest and Disease Management
As you nurture your clover plants to create a thriving haven for bees, it’s essential to address potential pests and diseases that may affect their growth. One of the most common issues with clover is aphids, tiny sap-sucking insects that can spread disease and weaken the plant. To prevent aphid infestations, inspect your clover regularly, looking for curled or distorted leaves, which are often a sign of aphid presence.
If you notice aphids, try using neem oil or insecticidal soap to control their population. Spraying these natural pesticides in early morning or evening when the sun is not intense can help minimize harm to beneficial insects like bees. Another common issue with clover is powdery mildew, a fungal disease that appears as a white, powdery coating on leaves.
To prevent powdery mildew, ensure good air circulation around your clover plants and avoid overhead watering, which can encourage the spread of fungal spores. If you do notice powdery mildew, remove affected areas to prevent the fungus from spreading. Regularly inspecting your clover for signs of pests or diseases will allow you to take prompt action and maintain a healthy, thriving environment for your pollinators.
Maximizing Bee Activity in Your Clover Garden
To get the most out of your clover garden, let’s explore some simple tips to encourage bees to visit and thrive in your lush green haven.
Creating a Pollinator-Friendly Ecosystem
To create a pollinator-friendly ecosystem in your clover garden, you’ll want to design an integrated garden with complementary plants that provide bees with a diverse food source throughout the growing season. This means choosing plants that bloom at different times to ensure a constant nectar and pollen supply for our busy bee friends.
Start by selecting plants from various plant families, such as sunflowers (Helianthus annuus), lavender (Lavandula spp.), and coneflowers (Echinacea spp.). These plants not only provide nectar-rich flowers but also serve as host plants for beneficial insects. Consider planting a mix of annuals like zinnias (Zinnia spp.) and perennials like black-eyed Susans (Rudbeckia hirta) to create a diverse landscape.
When designing your integrated garden, remember to include a variety of flower shapes and sizes. This will attract a range of pollinators, from bees to butterflies and hummingbirds. Consider incorporating native plants, which are naturally adapted to your local climate and soil conditions. By planting a mix of nectar-rich flowers, host plants, and native species, you’ll create a thriving ecosystem that supports the well-being of your clover garden’s bee population.
Supporting Other Beneficial Insects
When you plant clover in your garden, you’re not just supporting the local bee population – you’re also creating a welcoming habitat for other beneficial insects that are essential to a balanced ecosystem. These insects, like ladybugs, lacewings, and parasitic wasps, play a crucial role in controlling pest populations and maintaining the health of your plants.
Ladybugs, for example, feed on aphids, whiteflies, and other small pests that can damage your clover blooms. To attract these beneficial beetles to your garden, provide them with a source of water and a sheltered spot to nest. Planting dill or fennel nearby can also encourage ladybug populations.
Lacewings are another important insect ally – they prey on aphids, mealybugs, and other soft-bodied pests that target clover plants. Encourage lacewing populations by planting flowers like angelica or queen anne’s lace, which serve as nectar sources for these delicate insects.
Parasitic wasps, too, are vital to a healthy garden ecosystem – they prey on pest insects, reducing the need for pesticides and maintaining soil health. By planting a diverse array of flowers that attract these beneficial wasps, you can create a balanced environment that supports both pollinators and predators alike.
Monitoring and Enjoying Your Clover Garden
Now that you’ve successfully planted your clover garden, it’s time to enjoy watching it thrive and benefitting from its rewards, as outlined in this next part.
Tracking Bee Activity and Plant Health
Tracking bee activity and plant health is crucial to ensure the success of your clover garden. Start by observing your bees regularly, noting the types of bees visiting your flowers, their numbers, and the times they’re most active. Keep a journal or use a mobile app to record these observations, which will help you identify patterns and make informed decisions about your garden.
To track plant growth, measure the height of your clover plants and note any changes in leaf color, texture, or shape. Check for signs of pests or diseases, such as white powdery patches on leaves (a common sign of fungal infections) or tiny eggs or larvae on stems. If you notice any issues, research organic solutions to address them.
You can also monitor the overall health of your garden by observing changes in soil moisture, temperature, and humidity levels. Use a rain gauge to track rainfall and note when watering is necessary. By regularly monitoring these factors, you’ll be able to make adjustments to create a thriving environment for both bees and plants.
Harvesting and Sharing Your Bounty
Now that you’ve successfully grown and maintained your clover garden, it’s time to reap the rewards of your hard work. Harvesting your bounty is a crucial step in ensuring that your clover flowers and leaves are used to their full potential.
When harvesting clover flowers, simply snip off the blooms at the stem with scissors or pinch them off by hand. You can use these fresh flowers as a sweet treat for your local beekeepers or dry them for later use in teas or potpourri. If you’re looking to harvest leaves instead, simply mow over the area with a lawn mower or use pruning shears to trim back the foliage.
Consider partnering with nearby beekeepers to share your homegrown clover bounty. Not only will this support the local pollinator community, but it’ll also give you an opportunity to learn more about the importance of sustainable beekeeping practices and how to best care for these vital creatures. You can donate your fresh flowers or leaves directly to a local apiary or sell them through a community-supported agriculture (CSA) program.
This mutually beneficial partnership will not only bring joy to both parties but also promote a healthy ecosystem within your garden and beyond!
Conclusion: Growing a Bee-Friendly Garden with Clover
As you’ve now learned how to grow clover for bees, it’s time to put your newfound knowledge into action. Creating a bee-friendly garden is a rewarding experience that brings many benefits to both you and the environment. By incorporating clover into your garden design, you’ll not only be providing a valuable food source for pollinators but also creating a beautiful and low-maintenance landscape feature. Consider adding other native flowers and plants to complement your clover and attract a variety of bee species.
With these simple steps and a little patience, you can create a thriving bee-friendly garden that will bring joy and benefit to your community.
Frequently Asked Questions
How to Integrate Clover into an Existing Garden Layout?
If you already have a garden layout, it’s essential to carefully plan where to introduce clover without overwhelming the existing plants. Start by choosing areas with partial shade and well-draining soil, which are ideal for clover growth. Consider incorporating clover into a meadow-style garden or using it as a ground cover in between rows of other plants.
Can I Grow Clover in Containers?
Yes, you can grow clover in containers! However, make sure to choose a container with good drainage and use a well-draining potting mix to prevent waterlogged soil. Select a compact variety of clover that’s suitable for container growing, such as Microclover or Dutch White Clover. Water regularly, but avoid overwatering, which can lead to root rot.
How Long Does It Take for Clover to Establish Itself?
Clover is relatively quick to establish itself in the garden, typically taking around 6-8 weeks after sowing to start blooming profusely. This timeframe allows the clover roots to develop and become established, providing a stable source of nectar and pollen for bees.
Will Clover Compete with Other Plants for Water and Nutrients?
No, clover is actually a beneficial addition to your garden as it’s a nitrogen-fixing plant that can help improve soil fertility. It has a shallow root system and doesn’t compete aggressively with other plants for water or nutrients. In fact, clover’s presence can enhance the overall health of your garden by attracting beneficial insects and promoting biodiversity.
How Can I Support Bees During the Winter Months When Clover Is Not in Bloom?
While clover is an excellent source of nectar and pollen during the growing season, it does go dormant during winter. To support bees during this period, consider incorporating other bee-friendly plants that provide a constant source of food, such as evergreen trees or shrubs with berries. Additionally, you can create a bee hotel to provide shelter for solitary bees and other beneficial insects.