Planting potatoes in a sack is one of the simplest and most rewarding ways to grow your own spuds at home. With a little bit of space and some basic materials, you can enjoy fresh, homegrown potatoes all season long. But why plant potatoes in a sack? For starters, it’s a great way to make use of small spaces or containers that might otherwise go unused. Plus, it allows for easy harvesting and minimal waste – no digging up your entire backyard necessary! In this article, we’ll take you through the complete process of planting and caring for potatoes in a sack, from preparing the soil to sowing the seeds and finally harvesting your delicious crop. Whether you’re a seasoned gardener or just starting out, our comprehensive guide has got you covered.
Choosing the Right Location and Materials
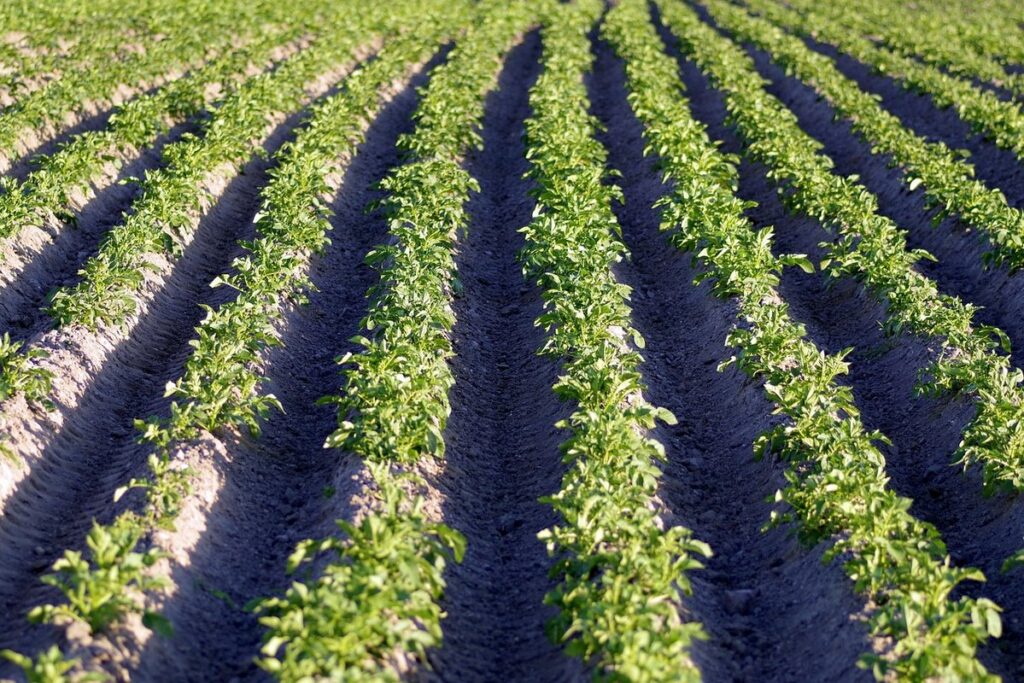
When it comes to planting potatoes in a sack, selecting the right location and using suitable materials is crucial for their health and growth. Let’s dive into choosing the perfect spot and gathering the necessary tools.
Selecting a Sunny Spot for Your Container
When selecting a sunny spot for your potato sack, it’s essential to ensure that it receives the right amount of sunlight for optimal growth. Potatoes need at least 6 hours of direct sunlight per day to produce a healthy crop.
Consider the location of your potato sack in relation to any nearby structures or trees that may cast shade during the day. A spot with morning sun and afternoon shade is ideal, as it will prevent the soil from becoming too hot and dry. If you live in an area with intense sunlight, choose a spot that provides some protection from direct rays.
Look for a location that receives full sun to partial shade, depending on your climate. In cooler climates, potatoes can thrive in partial shade, while in warmer climates, they require more direct sunlight. Be mindful of the soil temperature, as it should be at least 45°F (7°C) for planting.
When placing your potato sack, avoid areas with standing water or where water tends to collect, as this can lead to root rot and other issues. Choose a spot that is well-drained and receives adequate air circulation to prevent fungal diseases.
Gathering Essential Materials and Tools
To plant potatoes in a sack successfully, you’ll need to gather the right materials and tools. Let’s start with the essentials. You’ll need high-quality potato sacks made of breathable material, such as burlap or canvas. These sacks will serve as the container for your potatoes, providing them with the necessary ventilation.
You’ll also need seed potatoes, which can be purchased from a gardening store or online. It’s essential to choose disease-free and certified organic seeds to ensure healthy growth.
In addition to the sacks and seeds, you’ll need topsoil or a well-draining potting mix to fill the sacks. This will provide your potato plants with the necessary nutrients and oxygen for optimal growth.
Don’t forget to include some basic gardening tools in your arsenal, such as gloves, a trowel, and a watering can. These will make it easier to handle the soil, seeds, and plants throughout the growing process.
Some other items you might find useful are potato eyes (if you’re starting with a whole potato), fertilizer, and pest control measures like neem oil or garlic spray. Having these materials on hand will help you address any potential issues that may arise during the growing season.
Preparing Your Potato Sack for Planting
Before you start planting your potatoes, it’s essential to prepare your sack by adding a layer of organic matter and filling it to the right depth. This will create an ideal environment for your spuds to grow.
Creating Drainage Holes in the Sack
When creating drainage holes in your potato sack, it’s essential to ensure that excess water can escape freely. This helps prevent root rot and other issues that can arise from standing water. To do this, take a drill or a sharp object like a screwdriver and make 2-3 small holes at the bottom of the sack, just above the soil level.
Make sure these holes are evenly spaced to allow for even drainage. You want to avoid creating too many holes as this can cause your potatoes to dry out rapidly. A good rule of thumb is to create one hole per square foot of soil. If you’re using a larger sack or planting multiple rows, simply multiply the number of holes accordingly.
The key here is to balance water retention with drainage. You want your soil to be moist but not waterlogged. By creating these holes, you’ll ensure that excess water can escape while retaining enough moisture for healthy root growth. This simple step will help prevent common issues and promote a bountiful harvest in your potato sack.
Filling the Sack with Compost and Soil Mix
Now that you have prepared your potato sack with drainage holes and a support system, it’s time to fill it with a suitable compost and soil mix for optimal growth. The key is to create a blend that provides the right balance of nutrients, structure, and moisture-holding capacity.
Start by filling about one-third of the sack with a good-quality compost. You can use store-bought bagged compost or make your own at home using kitchen scraps and yard waste. If you’re using bagged compost, follow the instructions on the label for correct application rates. Next, add in about two-thirds of the remaining space with a well-draining potting soil mix. Look for a mix specifically designed for root vegetables like potatoes, which will have a slightly higher concentration of organic matter and nutrients.
Remember to leave some space at the top for watering, as the soil can become waterlogged if it’s too densely packed. You can also add in a handful of well-rotted manure or worm castings to give your potato plants an extra boost of nutrients.
Sowing Potato Seeds in Your Sack
Now that you have your seed potatoes and sack ready, let’s talk about sowing those tiny seeds into their new home. This is where patience and planning come together to ensure a bountiful harvest.
Understanding Seed Selection and Quantity
When it comes to sowing potato seeds in your sack, selecting the right variety and quantity of seed potatoes is crucial for a successful harvest. As you’re growing potatoes in a confined space, disease resistance becomes even more important to prevent the spread of diseases.
Choose seed potatoes that are certified disease-free and suitable for container growing. Some popular varieties include ‘Nicola’, ‘Charlottes’, and ‘Maris Peer’. These varieties are known for their compact growth habits and high yields.
For a standard sack, aim for 2-3 kg (4.4-6.6 lbs) of seed potatoes. This will give you enough space to plant the tubers about 10-15 cm (4-6 inches) apart. When selecting your seed potatoes, look for those with at least two ‘eyes’ each – these will produce more stems and increase your yield.
Remember that seed potatoes are not the same as buying regular potatoes from a store. They should have a rough, dry texture on the outside and be firm to the touch. Make sure you purchase them from a reputable supplier or garden center to ensure they meet these criteria.
Planting Seeds and Covering with Soil
Now that you have your sack prepared and your seeds are ready to go, it’s time to start planting. Hold one seed about 2-3 inches from the top of the sack, just above a handful of the compost mix. Make sure the pointed end is facing downwards, towards the bottom of the sack. Gently press the seed into the soil until it’s fully covered, but not too deep – the top of the seed should still be visible.
Next, sprinkle some of the compost mix around and over the seed to secure it in place. Make sure to cover the seed with a decent amount of soil, about 1-2 inches deep. This will give your seedling enough room to grow without being overcrowded. As you continue planting, make sure each seed has at least an inch of space between them – this is crucial for proper growth.
Use a gentle touch when covering the seeds with soil, as rough handling can damage the delicate roots. With each seed planted, add a small amount of water to keep the soil moist and promote germination.
Caring for Your Potatoes in the Sack
Now that your potatoes are sprouting and growing, it’s essential to provide them with the right care in their sack to ensure they thrive and produce a bountiful harvest. Check out these top tips for optimal growth.
Watering and Irrigation Techniques
Watering and irrigation are crucial aspects of potato care in a sack. Overwatering can lead to rot, which is detrimental to the tubers’ health. To avoid this, ensure the soil feels moist but not waterlogged when you insert your finger into it. Check the soil’s moisture by lifting the corner of the sack slightly – if it feels heavy and soggy, it’s likely too wet.
The ideal watering schedule for potatoes in a sack is to keep the soil consistently moist during the first few weeks after planting. Once the plants start producing tubers, reduce watering to about once a week. You can also use a drip irrigation system or soaker hose to deliver water directly to the roots, reducing evaporation and runoff.
Monitor your plants’ response to watering by observing their leaves – if they’re droopy and pale, it may be a sign of underwatering. Conversely, if the leaves are bright green and perky, you’re likely doing a good job with irrigation. Keep in mind that potatoes need about 1-2 inches of water per week, either from rainfall or supplemental watering. By striking this balance, you’ll be well on your way to growing delicious, healthy potatoes in your sack garden!
Monitoring for Signs of Disease or Pests
Regularly inspecting your potato sack is crucial to prevent potential problems. Keep an eye out for signs of disease or pests, which can quickly spread and ruin your harvest.
Some common issues to watch for include powdery scab (a white powder on the tubers), blackleg (small, soft spots on the stems), and Colorado potato beetle infestations (oval-shaped beetles with distinctive yellow stripes). If you notice any of these problems, remove infected plants from the sack immediately.
To monitor your potatoes more effectively:
* Check for pests or disease signs at least once a week
* Gently dig through the soil to inspect tubers and stems without causing damage
* Be on the lookout for unusual growth patterns or unexplained holes in leaves
If you do find an issue, act quickly. Remove any infected plants to prevent the problem from spreading, and consider implementing Integrated Pest Management (IPM) strategies to control pests and diseases naturally.
Keep in mind that some issues may be unavoidable, especially if you’re growing potatoes in a humid or high-pest-pressure area. By being vigilant and taking prompt action when problems arise, you can minimize their impact and ensure a healthy, thriving potato crop.
Harvesting Your Homegrown Potatoes
Now that your potatoes have grown and matured, it’s time to bring them home by carefully harvesting each one from your sack garden. Learn how to avoid damaging the tubers in this crucial step.
Checking for Maturity and Timing
When harvesting your homegrown potatoes from a sack, it’s essential to check for maturity and timing. This is often referred to as “checking for size” or “digging up test tubers.” To do this, carefully dig around the base of the plant with a fork, being careful not to damage any of the surrounding plants.
As you dig, gently loosen the soil until you can see the potatoes near the surface. If they’re still small and green, leave them in the ground for another week or two. Check again at this point by gently digging up one or two tubers. This will give you an idea of their size and whether they’ve reached maturity.
A general rule of thumb is that potatoes are ready to harvest when they reach 1-2 inches in diameter. They should also be firm, but not hard. If the skin starts to wrinkle or shows signs of sprouting, it’s likely overripe and may spoil quickly after harvesting. Remember, different varieties have varying maturation times, so check the seed packet for specific guidelines.
Tips for Gently Digging Up Your Crop
When it’s time to harvest your potatoes grown in a sack, you’ll want to be careful not to damage them. This can happen easily if you dig around the plants with too much force, causing bruises and breaks.
First, wait for the tops of the plants to start yellowing and dying back, which is usually about 7-10 days before the harvest date indicated on your seed potatoes. This signals that the tubers are mature and ready to be dug up.
To gently dig up your crop:
* Gently lift the edges of the sack or container using a fork, working your way around the plant.
* Carefully slide a flat-edged tool, such as a spade or trowel, under the potatoes to loosen them from the soil. Make sure not to cut any of the tubers with this tool.
* Use your hands to carefully lift out the potatoes from the sack or container.
Keep in mind that potatoes grown in a sack are usually shallower than those grown in the ground. Aim for about 6-8 inches deep to avoid damaging the tubers.
Troubleshooting Common Issues with Sack-Grown Potatoes
Don’t worry if things don’t go as planned when growing potatoes in a sack, we’ve got you covered. Let’s troubleshoot some common issues together and get your harvest back on track!
Addressing Problems Like Slow Growth or No Harvest
If you’re experiencing slow growth or no harvest from your sack-grown potatoes, don’t worry – it’s more common than you think. Here are some common issues and their solutions to get your potato crop back on track.
Slow growth can be caused by inadequate sunlight, poor soil quality, or insufficient watering. To address this, ensure that your sack is placed in a spot with at least six hours of direct sunlight per day. Check the soil pH level – potatoes prefer a slightly acidic to neutral soil pH (around 4.5-7). If the soil is too alkaline or lacking essential nutrients, consider repotting your potato plants into fresh, nutrient-rich soil.
Another reason for slow growth could be overwatering or underwatering. Sack-grown potatoes require consistent moisture but should not sit in waterlogged conditions. Check the soil regularly by gently lifting the edge of the sack and assess the moisture level before watering again.
Optimizing Conditions for Future Crops
When assessing conditions for future crops, it’s essential to analyze lessons learned from previous harvests. This step helps identify areas that require improvement and optimizes the environment for better outcomes.
Start by evaluating the soil composition and its pH level. If you noticed reduced yields or stunted growth in your last crop, it might be due to inadequate drainage or nutrient deficiencies. Test the soil’s pH level using a kit and adjust it accordingly. Most potatoes thrive in slightly acidic to neutral soil with a pH between 4.5 and 7.
Consider factors like sunlight exposure and temperature fluctuations during critical growing periods. Note the timing of the last frost and plan for suitable coverings or protection methods. Additionally, assess the sack’s condition – was it damaged or torn? Reuseable sacks can be thoroughly cleaned and disinfected, but make sure to replace them if excessively worn.
Lastly, record specific details about your harvest, such as weather patterns, growing conditions, and crop variety performance. This documentation enables you to fine-tune techniques for future crops, ultimately ensuring optimal growth and higher yields.
Frequently Asked Questions
Can I use any type of sack for planting potatoes?
You can, but it’s recommended to use a breathable material like burlap or canvas for optimal growth and drainage. Avoid using plastic sacks as they can retain too much moisture, leading to root rot.
How often should I water my potato sack?
Water your potato sack regularly, but make sure the soil isn’t waterlogged. Aim to keep the top 2-3 inches of soil moist, but not soggy. Check the soil daily by inserting a finger into the top layer – if it feels dry, it’s time to water.
What if I notice signs of disease or pests in my potato sack?
Monitor your plants regularly for any signs of disease or pests. If you spot any issues, remove affected areas and treat the remaining plants with organic pest control methods. Keep a clean environment by removing weeds and debris around your potato sack.
Can I use seeds from store-bought potatoes to plant in my sack?
It’s not recommended to use store-bought potatoes for seed as they may be hybrids or treated with chemicals that can affect growth. Instead, purchase certified disease-free potato seeds from a reputable supplier or save seeds from last year’s harvest.
How do I know when my potatoes are ready to harvest?
Check for maturity by gently digging up the plants about 10 days before you expect them to be fully ripe. If the tubers are still small, leave them in the sack and check again after another week.