As summer slowly fades away, gardeners are already thinking about the next season’s blooms. Planting fall bulbs is an essential step in creating a stunning winter display, and with the right planning, you can enjoy vibrant flowers even when the rest of your garden is dormant. But not all bulbs are created equal – some will thrive in your local climate, while others may struggle. In this article, we’ll explore how to choose the perfect fall bulbs for your garden, including preparing the soil and providing post-planting care to ensure a healthy bloom come winter. By following our simple tips and tricks, you’ll be well on your way to enjoying a beautiful winter display that will brighten up even the chilliest of days.
Choosing the Right Bulbs
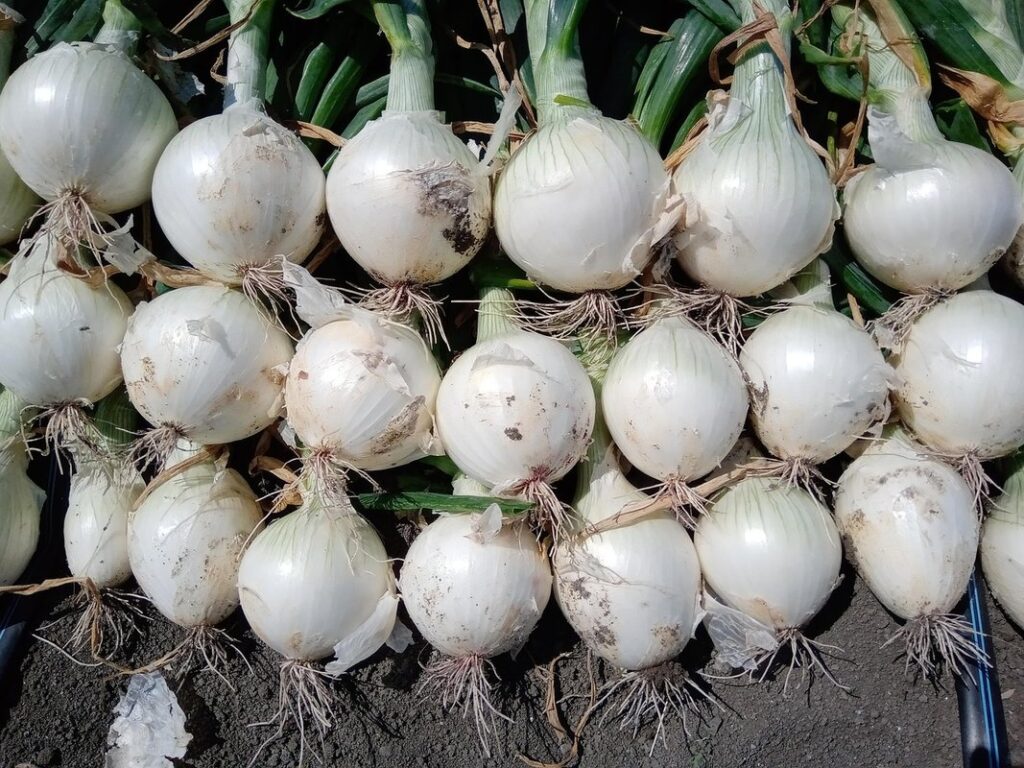
When it comes to choosing bulbs for fall planting, selecting the right ones can be overwhelming with so many varieties and options available. Let’s break down what you need to know about selecting the perfect bulbs.
Factors to Consider Before Selecting Bulbs
When it comes to selecting the perfect fall bulbs for your garden, there are several key factors to consider before making a decision. Climate is one of the most important considerations, as different bulbs thrive in different temperature ranges. For example, daffodils and tulips prefer cooler temperatures, while hyacinths and grape hyacinths can handle warmer conditions.
Soil type is also crucial when choosing fall bulbs. Some bulbs, like lilies and fritillaries, require well-draining soil to prevent root rot, while others, such as narcissus and daffodils, can tolerate a range of soil types. Consider the pH level of your soil as well – some bulbs prefer acidic or alkaline conditions.
Lastly, think about the desired bloom time for your fall bulbs. Do you want them to bloom in the early fall, around September or October, or later in the season? Different bulbs have different bloom times, so be sure to choose varieties that fit your needs. For example, if you want a summer-long display of color, choose bulbs like glads and dahlias that bloom from mid-summer to frost.
Popular Types of Fall Bulbs for Different Regions
When it comes to choosing the right fall bulbs for your region, there are several popular types that thrive in different climates. For gardeners in USDA Hardiness Zones 3-5, tulips (Tulipa spp.) and daffodils (Narcissus pseudonarcissus) are excellent choices. These hardy bulbs can withstand harsh winters and bloom beautifully come spring.
In warmer regions like USDA Hardiness Zones 6-8, hyacinths (Hyacinthus orientalis) and grape hyacinth (Muscari armeniacum) are better suited for fall planting. They require a bit more warmth to thrive but will still provide stunning color in the early growing season.
If you live in areas with mild winters like USDA Hardiness Zones 9-11, you can plant bulbs like freesia (Freesia spp.) and nerine (Nerine bowdenii) in the fall. These tender bulbs need protection from extreme heat but will still bloom beautifully in the cooler months.
When selecting bulbs for your region, consider factors like soil type, moisture levels, and winter temperatures to ensure you choose varieties that thrive in your local climate.
Preparing the Soil for Planting
Before you start planting those beautiful fall bulbs, let’s make sure your soil is ready to support their growth. This step is crucial in giving them a strong foundation to thrive throughout the seasons.
Testing and Amending Your Soil
Testing and amending your soil is an essential step before planting fall bulbs. The pH level of your soil can significantly impact bulb growth, with most bulbs thriving in a slightly acidic to neutral soil pH (between 6.0 and 7.0). However, if your soil tests reveal a high or low pH level, it may hinder bulb growth.
To determine the nutrient levels in your soil, you’ll need to conduct a soil test. You can purchase a DIY kit or send a sample to a lab for analysis. The test will reveal the presence of essential nutrients like nitrogen, phosphorus, and potassium, as well as micronutrients like magnesium and sulfur. If the results indicate deficiencies, you can amend your soil with organic matter like compost or manure.
For example, if your test reveals low levels of phosphorus, which is crucial for bulb growth, you can add a balanced fertilizer rich in phosphorus to your soil. Similarly, if your soil lacks organic matter, incorporating compost or well-rotted manure will help improve its structure and fertility. By testing and amending your soil accordingly, you’ll create an optimal environment for your fall bulbs to thrive.
Tips for Creating an Ideal Bulb-Planting Bed
When designing an ideal bed for fall bulb planting, consider the importance of spacing and layering. The general rule of thumb is to plant bulbs 3-4 times their depth apart, but this can vary depending on the type of bulb. For example, tulips should be planted about 6-8 inches apart, while daffodils can be spaced as far as 12 inches apart.
To add visual interest and create a sense of movement in your bed, try layering different types of bulbs by planting smaller ones, like grape hyacinths or winter aconite, at the front and larger ones, like tulips or hyacinths, towards the back. This layered approach will provide a succession of blooms throughout the spring and early summer.
Companion planting is another strategy to consider when designing your bulb bed. Planting bulbs alongside perennials or shrubs can not only add structure but also attract pollinators and other beneficial insects. For example, planting bulbs beneath a rose bush or near a fragrant herb like lavender can create a beautiful and functional garden space. Experiment with different combinations to find what works best for your specific climate and bulb selection.
Planting Techniques for Success
Now that you’ve chosen the perfect bulbs, it’s time to learn how to plant them successfully. In this next part of our guide, we’ll walk through the techniques for getting your fall bulbs off to a great start.
Correct Planting Depth and Spacing
Proper planting depth and spacing are crucial for ensuring optimal growth and bloom from your fall-planted bulbs. Different types of bulbs have varying requirements, so it’s essential to get these details right.
For example, tulips and daffodils should be planted 2-3 times deeper than their height, while smaller bulbs like grape hyacinths can be planted about 1-2 inches deep. When it comes to spacing, general guidelines are 3-6 inches between small bulbs, 6-12 inches for medium-sized bulbs, and 12-18 inches for large bulbs.
To give you a better idea, here’s how some popular fall-planted bulb varieties should be spaced:
* Tulips: Plant 3-4 bulbs per square foot
* Daffodils: Plant 5-7 bulbs per square foot
* Hyacinths: Plant 6-8 bulbs per square foot
Keep in mind that these are just rough estimates, and you may need to adjust based on the specific bulb variety and growing conditions.
Best Practices for Hand-Planting vs. Using a Bulb Planter
When it comes to planting bulbs, you have two primary options: hand-planting and using a bulb planter. Both methods have their advantages and disadvantages.
Hand-planting allows for precise placement of the bulb, ensuring even spacing and minimizing soil disturbance. This method is ideal for small-scale plantings or when working with delicate bulbs like tulips or daffodils. However, it can be time-consuming and labor-intensive, especially when planting large quantities of bulbs.
On the other hand, using a bulb planter simplifies the process, making it faster and more efficient. This tool allows you to drop multiple bulbs at once, saving time and effort. Additionally, bulb planters often come with built-in depth markers, ensuring accurate placement of the bulb. However, this method may not be as precise as hand-planting, potentially leading to uneven spacing or incorrect planting depths.
Consider your specific needs and preferences when deciding between these two methods. If you’re planting a small number of bulbs or prioritizing precision, hand-planting might be the better choice. For larger plantings or time-sensitive projects, using a bulb planter can save you time and effort.
Post-Planting Care and Maintenance
Now that you’ve planted your fall bulbs, it’s essential to provide them with proper care to ensure they bloom beautifully next spring. This section will guide you through post-planting care and maintenance tips.
Watering and Mulching Techniques
When it comes to post-planting care and maintenance, proper watering and mulching techniques are crucial for supporting healthy bulb growth throughout the winter months. During this time, bulbs undergo a process called “cold stratification,” where they need consistent moisture and a cool temperature to break dormancy.
To ensure your bulbs receive adequate water, aim to provide about 1-2 inches of rainfall or supplemental irrigation per week. However, be cautious not to overwater, as this can lead to rot and other problems. One way to gauge the right amount of water is to check the soil moisture by inserting a finger into the soil up to the knuckle; if it feels dry, it’s time for watering.
For mulching, choose materials that retain moisture but also allow air circulation, such as wood chips or bark. Apply a 2-3 inch layer around the plants, keeping it several inches away from the bulb crowns. This will help regulate soil temperature and prevent weed growth, reducing the need for future maintenance.
How to Avoid Common Problems like Rot and Pest Infestations
As you plant your fall bulbs, it’s essential to keep an eye out for common problems that can ruin their beauty. One of the most significant issues is rot, which often occurs due to overwatering. To prevent this, make sure not to water your bulbs too frequently, especially after they’ve bloomed. Instead, wait until the soil feels dry to the touch before watering again.
To identify rot, look for soft, mushy stems or bulbs that are discolored and have a sour smell. If you notice these signs, stop watering immediately and remove any affected bulbs to prevent the problem from spreading. To correct the issue, repot the bulb in fresh, well-draining soil and reduce watering.
Pest infestations can also be a problem for fall bulbs. Common pests include rodents, deer, and insects like slugs and snails. To prevent these critters from damaging your bulbs, use physical barriers or repellents around the planting area. For example, you can wrap chicken wire around the bed or use commercial repellents containing predator scents.
When dealing with pest infestations, act quickly to minimize damage. Hand-pick pests like slugs and snails at night when they’re most active, or use organic baits like beer traps to capture rodents. Regularly inspect your bulbs for signs of pests, and take corrective action before it’s too late.
Forcing Bulbs Indoors: A Beginner’s Guide
Forcing bulbs indoors is a great way to enjoy your favorite flowers year-round, and it’s easier than you think – just follow these simple steps! With this guide, you’ll be blooming in no time.
Materials Needed for Indoor Forcing
To successfully force bulbs indoors, you’ll need to gather some specific materials. Start by selecting a pot that’s at least 6-8 inches deep and has good drainage holes. This will give the bulb’s roots enough room to grow without waterlogging.
Choose a high-quality potting mix specifically designed for indoor plants. Avoid regular garden soil, as it can compact and prevent proper drainage. You’ll also need a good grow light system, which can be either LED or fluorescent lights. Aim for at least 12-14 hours of light per day to simulate outdoor conditions.
In addition to these essentials, you’ll need some basic gardening tools like a trowel for planting, a watering can, and a thermometer. Monitor the temperature closely, as most bulbs require a period of cooler temperatures (around 40°F) followed by warmer ones (around 60-70°F).
Some popular bulb varieties that thrive indoors include tulips, daffodils, and hyacinths. Make sure to research specific requirements for each type you’re planning to force.
Step-by-Step Instructions for Forcing Bulbs Indoors
Forcing bulbs indoors is an excellent way to enjoy vibrant blooms during the dead of winter. To do this successfully, timing is crucial. Start by selecting bulbs that are specifically designed for indoor forcing, such as tulips, daffodils, or hyacinths. Plant them in a container using a well-draining potting mix and water thoroughly.
Next, place the container in a cool, dark location (around 40-50°F) for 12-14 weeks to simulate winter conditions. This period is known as “chilling” and will help break dormancy. After this time, move the container to a bright, sunny location with temperatures between 65-75°F. Water regularly, but avoid overwatering.
Monitor your bulbs’ progress by checking for signs of growth, such as green shoots emerging from the soil. Once they’re about 1/3 taller than the pot, you can start fertilizing them with a balanced fertilizer. Keep in mind that different varieties have varying chilling requirements, so be sure to research specific needs for the types of bulbs you’ve chosen.
Typically, it takes around 16-20 weeks from planting to blooming, but this timeframe may vary depending on factors like temperature and light exposure. With proper care and attention, your forced bulbs will reward you with stunning flowers in the middle of winter.
Seasonal Tips and Tricks for Fall Bulb Planting Success
As you prepare your garden for fall bulb planting, consider these essential seasonal tips to ensure a vibrant display of color in the spring. From soil preparation to selecting the right bulbs, we’ve got you covered.
When to Plant Fall Bulbs in Your Region
When to Plant Fall Bulbs in Your Region
Planting fall bulbs at the right time is crucial for their success. The ideal planting period varies depending on your region’s climate and frost dates. To determine when to plant, consider the following:
In areas with moderate winters (USDA Hardiness Zones 3-5), plant fall bulbs 6-8 weeks before the first frost date. This allows them to establish a strong root system before winter sets in. For example, if your area’s first frost date is October 15th, plant your bulbs around August 25th.
In warmer regions (USDA Hardiness Zones 6-9), fall bulb planting can take place 8-10 weeks before the first frost date. This gives the bulbs enough time to grow and establish themselves before winter. For instance, if your area’s first frost date is December 1st, plant your bulbs around September 25th.
In areas with very cold winters (USDA Hardiness Zones 0-2), it’s best to plant fall bulbs as soon as possible after the summer heat subsides, typically in late August or early September. This allows them to establish a strong root system before winter sets in and protects them from extreme temperatures.
Timing Your Planting for Optimal Bloom Time
When planting fall bulbs, timing is everything. The ideal time to plant depends on your location and the type of bulb you’re using. In general, most fall-blooming bulbs like tulips, daffodils, and hyacinths should be planted 6-8 weeks before the first frost date in your area. This allows the bulbs to establish a strong root system before winter sets in.
If you want to enjoy a prolonged blooming season, consider planting multiple varieties of bulbs that bloom at different times. For example, plant early-blooming tulips (Tulipa gesneriana) in late summer or early fall for a burst of color in late winter and early spring. Follow up with mid-season bloomers like daffodils (Narcissus pseudonarcissus) and hyacinths (Hyacinthus orientalis), which will bloom 4-6 weeks later.
Planting at the right time also ensures that your bulbs have a chance to establish themselves before winter. This increases their chances of blooming well in the following season.
Frequently Asked Questions
Can I plant fall bulbs in containers if I don’t have garden space?
You can definitely plant fall bulbs in containers, but make sure the container has good drainage holes to prevent waterlogged soil. Choose a container that is at least 6-8 inches deep and use a well-draining potting mix specifically designed for bulbs.
How do I know if my soil needs amending before planting fall bulbs?
Test your soil pH and nutrient levels to determine if it needs amending. Most bulbs prefer slightly acidic to neutral soil (pH 6.0-7.0). If your soil is too alkaline or lacks essential nutrients, add organic matter like compost or well-rotted manure to improve its structure and fertility.
What’s the best way to store leftover fall bulbs for next year?
Store leftover fall bulbs in a cool, dry place with good ventilation. Keep them away from direct sunlight and moisture. If you live in an area with extreme temperatures, consider storing them in a refrigerator or freezer to maintain their viability.
Can I plant fall bulbs in areas where other plants are already growing?
Yes, but make sure to choose bulbs that can thrive in shaded conditions if necessary. Plant the bulbs around existing plants, taking care not to damage any roots. Water well after planting and keep the area consistently moist during the first growing season.
How do I prevent pests like rodents and squirrels from eating my fall bulb flowers?
Use physical barriers or repellents to deter pests from reaching your bulbs. Consider using copper mesh or bird-repellent balloons around the plants, or apply a commercial squirrel deterrent according to the manufacturer’s instructions. Regularly inspect your plants for signs of pest damage and take action promptly if necessary.