If you’re looking for a low-maintenance way to add some drama and color to your home, then growing amaryllis bulbs is an excellent choice. These beautiful flowers are surprisingly easy to care for and can thrive in indoor conditions with minimal fuss. With so many varieties to choose from, selecting the right one for your space can be overwhelming. In this article, we’ll guide you through the process of choosing the perfect amaryllis variety, planting, caring for, and troubleshooting common issues that may arise. From potting mix to watering schedules, we’ll cover everything you need to know to grow stunning amaryllis flowers in your home. Whether you’re a seasoned gardener or a beginner, our comprehensive guide will help you achieve success with these gorgeous bulbs.
Choosing the Right Amaryllis Variety
When selecting an amaryllis variety, consider factors such as flower color, size, and growth habits to choose a bulb that suits your needs and preferences perfectly.
Understanding the Different Types of Amaryllis
When it comes to choosing the right amaryllis variety for your garden, understanding the different types of bulbs is crucial. Amaryllis bulbs come in a range of sizes, from miniature varieties like ‘Apple Blossom’ and ‘Saturnine’, which grow to about 6-8 inches tall, to larger ones like ‘Kermesiana’ and ‘Belladonna’, which can reach heights of up to 36 inches.
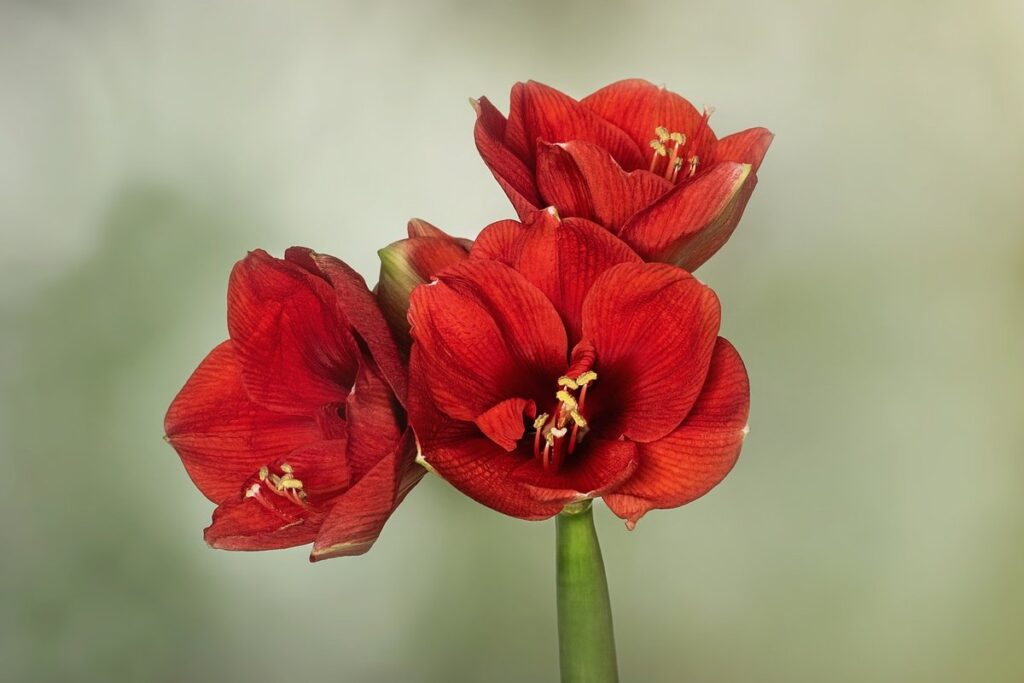
In terms of color, amaryllis bulbs boast a stunning array of hues, from classic reds and pinks to whites, yellows, oranges, and even bi-colored and tri-colored varieties. Some popular options include the vibrant ‘Cranberry Crush’ with its deep red petals, the soft pink ‘Sicilian Beauty’, and the elegant white ‘Alba’. Additionally, amaryllis bulbs differ in their growth habits – some are compact and well-suited for containers, while others prefer full sun and well-drained soil.
If you’re a beginner, consider starting with a smaller variety like ‘Apple Blossom’ to get a feel for growing amaryllis. As you gain experience, you can move on to larger varieties that require more care and attention.
Selecting Varieties for Beginner Gardeners
As a beginner gardener, selecting the right amaryllis variety can be overwhelming with so many options available. To simplify the process, let’s focus on varieties that are hardy, grow quickly, and require minimal care.
When it comes to hardiness, look for varieties that are resistant to cold temperatures and can thrive in a range of conditions. Some popular varieties that fit this criteria include ‘Red Lion’, ‘Apple Blossom’, and ‘Green Jacket’. These varieties can tolerate temperatures as low as 40°F (4°C) and require minimal protection during winter.
In terms of growth rate, choose varieties that bloom quickly, usually within 6-8 weeks after planting. This will give you the satisfaction of seeing your amaryllis flowers bloom rapidly. ‘Hollandia’ and ‘Samba’ are excellent choices for beginners as they produce vibrant blooms in a relatively short period.
Remember to also consider care requirements when selecting an amaryllis variety. Some varieties may require more frequent watering or fertilization, so make sure you’re comfortable with the level of maintenance required. With these factors in mind, you’ll be well on your way to growing beautiful and thriving amaryllis flowers.
Planting Amaryllis Bulbs: Step-by-Step Instructions
To successfully plant your Amaryllis bulbs, you’ll need to follow a specific sequence of steps that ensure optimal growth and flowering. Let’s dive into each step together!
Preparing the Soil for Planting
Preparing the soil correctly is crucial for amaryllis bulbs to thrive. Amaryllis bulbs prefer well-draining soil with a slightly acidic pH between 6.0 and 7.0. To check your soil’s pH, you can purchase a DIY testing kit or send a sample to a lab for analysis.
If your soil is heavy clay or prone to waterlogging, mix in some organic matter like compost or perlite to improve drainage. Amaryllis bulbs don’t require rich soil with high nutrient content, but they do benefit from a balanced fertilizer application after planting. Start by loosening the top 6-8 inches of soil and removing any debris or weeds.
To give your amaryllis bulbs a head start, consider adding a low-nitrogen, high-phosphorus fertilizer (e.g., 5-10-5 NPK) according to package instructions. This will encourage healthy root growth without promoting excessive leaf development at the expense of blooms.
Planting the Bulbs in the Right Location
When it comes to planting amaryllis bulbs, choosing the right location is crucial for their success. Amaryllis bulbs prefer well-draining soil and full sun to partial shade, so select a spot that receives at least 4-6 hours of direct sunlight per day.
Consider the temperature in your area as well. Amaryllis bulbs can tolerate some frost but will perform best in temperatures between 65°F to 70°F (18°C to 21°C). Avoid planting them in areas with standing water or where water tends to collect, as this can lead to rot and other problems.
To provide the right conditions for your amaryllis bulbs, look for a location that offers some protection from strong winds. A south-facing wall or a spot near a building can help shield the plants from harsh gusts. Also, avoid planting them in low-lying areas where cold air may collect, as this can damage the bulbs during winter.
In terms of soil quality, amaryllis bulbs prefer slightly acidic to neutral soil with good drainage. If your garden’s natural soil is heavy clay or sandy, consider mixing in some organic matter like compost to improve its structure and fertility.
Care and Maintenance for Optimal Growth
To ensure your Amaryllis bulbs thrive, proper care and maintenance are crucial. This includes regular watering, fertilization, and pruning to promote healthy growth and blooming.
Watering and Humidity Requirements
Watering and humidity are crucial for amaryllis bulbs to thrive. When it comes to watering, remember that these bulbs prefer well-draining soil to prevent root rot. Overwatering is the most common mistake people make when growing amaryllis. Check the moisture level by sticking your finger into the soil up to the first knuckle. Water only when the top inch of soil feels dry.
As a general rule, water your amaryllis bulb once a week during the spring and summer months when it’s actively growing. During the fall and winter months, reduce watering to once every 4-6 weeks. Avoid getting water on the leaves or flower buds to prevent spotting and other issues.
Maintaining a humidity level between 50-60% is ideal for amaryllis growth. You can achieve this by placing the pot on a tray filled with water and pebbles or using a humidifier nearby. Keep in mind that these bulbs are adapted to dry environments, so they’re relatively tolerant of average indoor humidity levels.
To ensure your amaryllis bulb is happy, check for signs of overwatering such as soft and mushy stems or yellowing leaves. If you notice any of these symptoms, adjust your watering schedule accordingly.
Fertilizing Amaryllis Bulbs: Timing and Types
Fertilizing your amaryllis bulbs is an essential step in their care and maintenance. This process provides them with the necessary nutrients to grow strong and healthy flowers. When it comes to fertilizing, timing and type are crucial.
Typically, you’ll want to start fertilizing your amaryllis bulbs as soon as they begin growing new leaves in late winter or early spring. At this stage, use a balanced, water-soluble fertilizer (20-20-20) according to the manufacturer’s instructions. You can also opt for an organic alternative like fish emulsion or compost tea.
As your amaryllis continues to grow and produce flowers, you may need to switch to a bloom-specific fertilizer that is higher in phosphorus (10-50-10). This will promote flowering and fruiting without over-stimulating the plant. Avoid using synthetic fertilizers during this stage as they can cause more harm than good.
Remember, amaryllis bulbs don’t require frequent fertilization, so apply it sparingly to avoid burning their roots. Stick to once a month for young plants or those in their dormant phase, and reduce frequency as they mature.
Troubleshooting Common Issues
Even experienced gardeners can encounter problems when growing amaryllis bulbs, but don’t worry, we’ve got you covered with solutions to common issues and troubleshooting tips.
Dealing with Pests and Diseases
Amaryllis bulbs are generally hardy and resistant to pests and diseases, but they can still be susceptible to certain issues. One common problem is the amaryllis beetle, which feeds on the leaves and flowers of the plant, causing damage and reducing its vigor. To prevent this pest, ensure that your amaryllis plants have good air circulation and are not too densely packed.
Another issue that may affect amaryllis bulbs is root rot, caused by overwatering or poor drainage. Symptoms include yellowing leaves and a soft, mushy base on the bulb. If you notice these signs, stop watering immediately and repot the plant in fresh, well-draining soil.
Diseases such as botrytis and leaf spot can also affect amaryllis plants, particularly if they are grown indoors where moisture levels may be high. To prevent these issues, ensure that your plants receive good air circulation and avoid getting water on the leaves or crown of the plant. If you do notice any signs of disease, treat the affected area with a fungicide and remove any infected parts to prevent further damage.
In terms of prevention, regular inspection of your amaryllis plants can go a long way in detecting potential issues early on. Check for signs of pests or diseases regularly, and take prompt action if you notice anything unusual. With proper care and attention, your amaryllis bulbs should remain healthy and thrive throughout the growing season.
Common Care Mistakes to Avoid
Amaryllis bulbs are relatively low-maintenance, but they can still be prone to common care mistakes that may harm or kill them. One of the most critical errors is overwatering. When you water your amaryllis bulb too frequently, it can cause the bulb to rot, leading to a decrease in blooms and potentially killing the plant altogether.
On the other hand, underwatering can also be detrimental to your amaryllis bulbs. This may result in weak stems, fewer flowers, or no blooms at all. To avoid this issue, ensure that you water your plants when the top inch of soil feels dry to the touch. However, be cautious not to let the water sit on the leaves, as this can cause leaf spot and other diseases.
Proper pruning is also crucial for maintaining a healthy amaryllis bulb. Remove dead or dying flowers after they have bloomed, but avoid cutting back foliage as it will allow the bulb to recharge for next year’s blooms. Also, do not divide your amaryllis bulbs unless you want to propagate new plants, as this can damage the bulb and reduce flowering.
Forcing Amaryllis Bulbs Indoors
To force Amaryllis bulbs indoors, you’ll need to create a cool and dark period after flowering, which can be achieved by placing them in an unheated room or garage. This will help stimulate reblooming.
Preparing the Bulbs for Indoor Growth
Before you can coax your Amaryllis bulbs into blooming indoors, they need some preparation. This is where repotting comes in – a crucial step to ensure the bulb receives enough nutrients and moisture for healthy growth. Start by gently removing any old potting mix from the bulb’s neck down, taking care not to damage the delicate tissue.
Next, choose a well-draining potting mix specifically designed for bulbs, as this will help prevent waterlogged soil that can lead to root rot. Plant the Amaryllis bulb in the new pot, making sure the top of the bulb is exposed and at least an inch above the pot’s rim. Firm the mix around the bulb to secure it in place.
Provide your Amaryllis bulbs with sufficient light – ideally bright, indirect sunlight or a sunny south-facing window. If you’re using grow lights, position them 12-18 inches above the plant, adjusting as needed to avoid scorching the leaves. Keep the soil consistently moist but not waterlogged, and fertilize sparingly until buds begin to form.
This preparation will give your Amaryllis bulb the best chance to thrive indoors, setting it up for a beautiful blooming season.
Tips for Encouraging Blooms Indoors
To encourage amaryllis bulbs to bloom indoors, you’ll want to provide them with the right conditions. Start by placing the bulb in a bright location with direct sunlight for at least 6 hours a day. South-facing windows are ideal, but east- or west-facing windows will also work. However, be cautious not to place the bulb too close to the windowpane, as this can cause it to dry out.
Temperature is another crucial factor. Amaryllis bulbs prefer daytime temperatures between 65-70°F (18-21°C) and nighttime temperatures around 55-60°F (13-15°C). Avoid placing the bulb near heating vents or radiators, as this can cause it to dry out quickly. Fertilization is also essential for indoor blooms. Use a balanced, water-soluble fertilizer once a month to promote healthy growth.
To encourage blooming, you can also try soaking the bulb in water for 24 hours before planting. This will help stimulate root development and increase the chances of flowering. Monitor your bulb’s progress closely, making adjustments as needed to provide optimal conditions for blooms.
Frequently Asked Questions
What is the ideal temperature range for amaryllis bulbs to thrive indoors?
The ideal temperature range for amaryllis bulbs is between 65-70°F (18-21°C) during the day and around 55-60°F (13-15°C) at night. Keep them away from direct sunlight, radiators, or heating vents to prevent damage.
Can I grow amaryllis bulbs in a container without drainage holes?
While it’s possible to plant amaryllis bulbs in containers without drainage holes, it’s not recommended. Make sure your pot has good drainage holes to prevent waterlogged soil and root rot.
How often should I fertilize my amaryllis bulb during the growing season?
Yes, fertilizing your amaryllis bulb regularly is essential for optimal growth. During the growing season (spring and summer), feed your plant with a balanced, water-soluble fertilizer (20-20-20) every 2-3 weeks.
What are some common signs of overwatering in amaryllis bulbs?
Common signs of overwatering in amaryllis bulbs include soft, mushy stems, yellowing leaves, and a foul odor from the roots. If you notice these symptoms, reduce watering immediately to prevent further damage.
Can I plant multiple amaryllis bulbs together in the same pot?
Yes, it’s possible to plant multiple amaryllis bulbs together in the same pot, but make sure they have enough space (about 6-8 inches apart) and don’t overcrowd each other. This will help prevent disease transmission and ensure proper air circulation.