Are you tired of relying on tap water to irrigate your garden, only to see your water bills soar? Creating a DIY rain barrel system is an easy and effective way to collect and conserve rainwater for your plants. Not only will this help reduce your household’s water expenses, but it’ll also improve the overall health of your soil by providing essential nutrients and beneficial microorganisms that come with rainwater.
In this article, we’ll show you how to create and install a functional rain barrel system for your garden, perfect for small or large spaces. We’ll cover everything from selecting the right materials and designing an efficient storage tank, to connecting it to a watering can or soaker hose for easy irrigation. By following our simple steps and DIY guide, you’ll be able to harvest rainwater like a pro and enjoy a lush, thriving garden without breaking the bank.
Benefits of Using a Rain Barrel
Now that you’ve learned how to build your very own rain barrel, let’s explore the advantages it can bring to your garden and the environment. By using a rain barrel system, you’ll reduce water waste and save money on your gardening expenses.
Conserving Water and Reducing Bills
Using a rain barrel is an effective way to conserve water and reduce your water bills. By harvesting rainwater for non-potable uses, such as watering plants, washing cars, or flushing toilets, you can significantly cut down on your potable water consumption. According to the US Environmental Protection Agency (EPA), collecting just one inch of rainfall from a 1,000 square foot roof can yield about 620 gallons of water.
In addition to saving money on your water bills, using a rain barrel also helps reduce stormwater runoff, which is a major environmental concern. When rainwater flows over surfaces and into storm drains, it can pick up pollutants and sediment, contributing to local water pollution and erosion. By harvesting this rainwater, you’re reducing the amount of stormwater that enters our waterways and minimizing the risk of flooding.
By installing a rain barrel in your garden, you’ll be able to save approximately 50-60 gallons of water per inch of rainfall. This may not seem like a lot, but over time it can add up, saving you around $10-20 per month on your water bill. Plus, with the money you save, you can invest in other eco-friendly projects for your garden!
Improving Water Quality and Soil Health
When you collect and store rainwater in a barrel, it not only reduces your tap water consumption but also creates an opportunity to improve both the quality of that stored water and the soil health where it’s used. For starters, by using collected rainwater for irrigation, you’re essentially reducing the amount of chemical-laden tap water that would otherwise be applied to your plants.
This stored rainwater can help improve soil health in several ways. First, when you use rainwater for irrigation, you’re avoiding the overuse of phosphorus-based fertilizers and other chemicals often found in tap water treatments. These additives can deplete the soil of its natural nutrients and microorganisms, ultimately affecting the overall fertility and biodiversity of your garden.
Over time, using collected rainwater instead of tap water can help rebalance the nutrient levels in your soil and encourage a more diverse ecosystem of beneficial microbes to thrive. This is especially important for plant growth as many plants prefer acidic conditions which are often found in soil that has been enriched by beneficial microorganisms.
Choosing the Right Rain Barrel
When it comes to setting up a rain barrel, selecting the right one is crucial. This decision will impact the performance and durability of your entire system.
Materials and Durability
When it comes to choosing a material for your DIY rain barrel, you’ll want to consider durability, maintenance requirements, and environmental impact. Let’s dive into the most common materials used: plastic, metal, and wood.
Plastic rain barrels are often inexpensive and easy to install, but they may not be the most durable option. They can crack or break in extreme temperatures, and some plastics contain chemicals that can leach into your garden water. On the other hand, they’re lightweight and require minimal maintenance. If you opt for plastic, look for food-grade materials like polypropylene or polyethylene.
Metal rain barrels, typically made from galvanized steel or aluminum, are durable and long-lasting. They can withstand harsh weather conditions and require less maintenance than wood or plastic. However, they may be more expensive upfront and can rust if not properly coated.
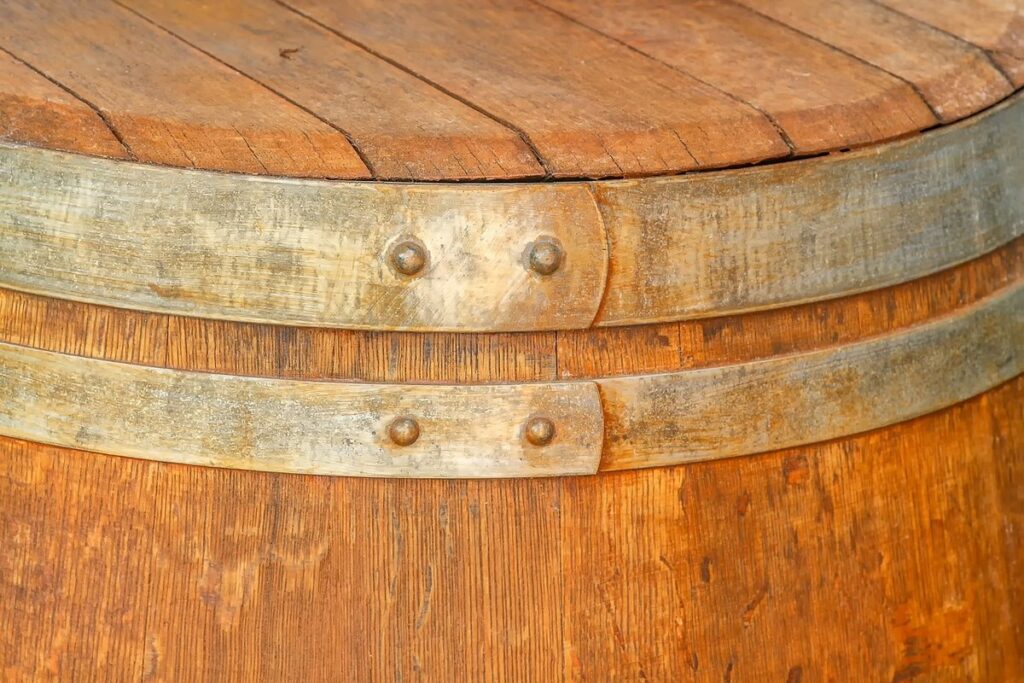
Wooden rain barrels are a popular choice for their rustic charm and eco-friendliness. They’re biodegradable and can blend seamlessly into your garden decor. However, they require regular maintenance to prevent rot and insect damage. Consider using cedar or redwood, which are naturally resistant to decay.
Size and Capacity Considerations
When selecting a rain barrel for your garden, it’s essential to consider the size and capacity of the system. A good rule of thumb is to choose a barrel that can hold at least 50-60 gallons of water, but this will depend on your specific needs.
For example, if you have a small garden with a few plants, a smaller barrel may suffice. However, if you have a larger garden or plan to use the harvested rainwater for irrigation and other purposes, you’ll need a larger capacity system. Consider the space constraints of your yard as well; make sure the barrel fits comfortably in its designated area without obstructing pathways or impeding access.
It’s also crucial to think about overflow management systems, which can help prevent damage from excessive water flow. Some rain barrels come equipped with built-in spigots and overflow valves that allow for controlled drainage. If your system doesn’t have these features, you may need to add a separate valve or install a diverter kit to manage excess water. When choosing your barrel, be sure to research the manufacturer’s recommendations for capacity and overflow management to ensure a proper fit for your garden’s unique needs.
Designing Your Rain Barrel System
To create a functional and efficient rain barrel system, you’ll need to consider factors such as location, size, and overflow management. This includes determining the optimal placement for your barrels and designing an effective overflow strategy.
Assessing Your Roof and Gutters
Before you start designing your rain barrel system, it’s essential to assess your roof and gutters to ensure they’re suitable for harvesting rainwater. Start by examining the material of your roofing. Asbestos, cedar shakes, or wood shingles can leach chemicals into the water, making it unsuitable for irrigation. On the other hand, metal roofs are generally okay, but make sure there’s no rust or debris accumulation.
Now, take a closer look at your gutters. Are they clogged with leaves, twigs, and debris? This will not only reduce the amount of water collected but also create an environment for mosquito breeding. Ensure that your gutters are clean and functioning properly to ensure maximum water flow into your rain barrel. Additionally, consider the slope and angle of your roof and gutters. A steeply pitched roof may lead to overflow issues, while a shallow pitch can reduce collection efficiency.
By evaluating these factors, you’ll be able to determine if your roof and gutters are suitable for a rainwater harvesting system.
Installing Downspout Diverter and First Flush Device
When it comes to installing downspout diverters and first flush devices, it’s essential to do it correctly to ensure clean rainwater enters your barrel. A downspout diverter redirects excess water from the downspout into the ground or a designated area, while allowing clean rainwater to flow towards the barrel. To install one, attach the diverter to the downspout using screws or clips provided with the product. Make sure it’s securely attached and doesn’t obstruct water flow.
A first flush device works similarly by diverting debris and contaminants from entering the barrel initially, only allowing clean rainwater to enter once the initial contaminated water has been flushed out. To install a first flush device, attach it directly to the downspout near where the diverter is installed. Ensure the device is positioned correctly to allow for efficient flushing and proper water flow into the barrel.
Regular maintenance of these devices is crucial to ensure they continue functioning effectively. Inspect them regularly for signs of wear or blockages and clean them as necessary.
Installation and Maintenance Tips
Now that you’ve built your rain barrel, let’s dive into the crucial next steps: installation and maintenance tips to ensure it lasts for years to come.
Placing Your Rain Barrel in the Right Spot
When selecting a location for your rain barrel, it’s essential to consider several factors that will impact its effectiveness and longevity. First and foremost, choose a spot that receives partial to full sunlight, as this will help prevent algae growth and promote water clarity. However, be mindful of direct sunlight, which can cause the water to heat up excessively.
Consider the accessibility of your rain barrel as well. Place it in an area where you can easily connect the downspout and attach any additional equipment, such as a first flush device or screen. Avoid locations with poor drainage, as this can lead to overflows and create an eyesore.
Some common mistakes to avoid when placing your rain barrel include positioning it too close to your garden’s water source or installing it in an area where it may be prone to freezing temperatures. By carefully selecting a suitable location, you’ll ensure your rain barrel is both functional and visually appealing.
Regular Maintenance Routine
To keep your DIY rain barrel functioning efficiently and effectively, it’s essential to establish a regular maintenance routine. Start by inspecting the barrel for leaks at least once a month. Check the connections between the downspout, hose, and overflow valve for any signs of water seeping out. Use a wrench to tighten loose connections if needed.
Clean or replace filters as necessary to prevent debris from accumulating in the barrel. This is usually every 2-3 months, depending on the amount of use and local weather conditions. Also, regularly check for algae growth or contamination by inspecting the water inside the barrel for signs of discoloration or unusual odors. If you notice any issues, add a few drops of household bleach to the water to prevent further growth.
Additionally, make sure to empty the barrel periodically to maintain its effectiveness and prevent mosquito breeding. Aim to drain the barrel every 2-3 months during peak usage periods. By incorporating these simple maintenance tasks into your routine, you’ll be able to enjoy the benefits of your DIY rain barrel for years to come.
Troubleshooting Common Issues
If you’re experiencing problems with your DIY rain barrel, don’t worry – we’ve got you covered. This section addresses common issues and provides solutions to get your system up and running smoothly again.
Leaks and Water Loss
Leaks can be a significant issue with rain barrels, especially when they’re filled to capacity. Cracks are one of the most common causes of leaks, often found at the bottom or near the spigot area where the water flows out. To detect cracks, inspect the barrel for any visible signs like hairline fractures or splits in the material. If you notice a crack, consider replacing the entire barrel rather than trying to repair it.
Loose connections can also lead to leaks. Regularly check the hose and spigot connection to ensure they’re securely attached. Worn-out seals are another culprit; inspect the area around the spigot and replace the seal if necessary. If you notice water pooling around the rain barrel, it’s likely due to a leak somewhere.
To fix these issues, tighten any loose connections and re-seal worn-out areas with a new seal. For cracks, apply a waterproof epoxy or consider patching with a specialized product designed for this purpose. Keep an eye out for signs of leaks during each use and perform regular maintenance checks to prevent water loss in the long run.
Contamination and Algae Growth
As you’re enjoying the benefits of collecting rainwater for your garden, it’s essential to keep your DIY rain barrel clean and free from contaminants. Algae growth can be a significant issue if left unattended, causing an unpleasant odor and potentially harming plants. To prevent this, make sure to store your rain barrel in a shaded area or under a tree with dense foliage. Direct sunlight can accelerate algae growth, so it’s crucial to provide some shade.
Regularly inspect your rain barrel for signs of contamination. Check the water level and appearance, looking for any discoloration or debris accumulation. If you notice any issues, test the water using a DIY water testing kit. You can also add a few drops of white vinegar or algae treatment products specifically designed for rain barrels to prevent growth.
To maintain clean and healthy rainwater, consider implementing a first flush device or installing a screen at the barrel’s intake to filter out debris and contaminants. Regularly cleaning your rain barrel with a soft brush and mild soap will also help keep it free from sediment and bacteria buildup. By following these simple steps, you’ll be able to enjoy fresh, clean water for your garden while minimizing the risk of contamination and algae growth.
Integrating Your Rain Barrel with Existing Garden Systems
Now that you’ve installed your rain barrel, let’s explore how to seamlessly integrate it into your existing garden systems for maximum efficiency and water conservation benefits. This is where things can get really clever!
Connecting to Irrigation Systems
When connecting your rain barrel to existing irrigation systems, it’s essential to consider the pump requirements. Most rain barrels have a limited capacity and height, so they can’t supply enough pressure for sprinkler systems or other high-demand applications. However, if you’re using a smaller system with low-flow emitters or drip irrigation, a rain barrel might be a suitable match.
To integrate your rain barrel, start by assessing the pump requirements of your existing irrigation system. You’ll need to determine if a submersible pump is necessary to elevate water from the barrel to your plants. If so, choose a pump that can handle the flow rate and pressure needed for your setup. Next, manage valve connections between the rain barrel and main irrigation lines. This ensures easy switching between using municipal water and harvested rainwater.
Some rain barrels come with built-in check valves, which allow you to easily switch between sources while preventing backflow into the rain barrel. If not, consider installing a separate check valve. Finally, explore automation options like sensors or timers that can control pump operation based on rain collection levels or specific schedules. This helps optimize water use and minimize labor requirements.
Composting and Fertilizer Use
When you’ve collected rainwater in your DIY barrel, it’s time to think about what to do with it. One of the best ways to use this valuable resource is through composting and fertilizer-making. Composting helps break down organic matter into a nutrient-rich soil amendment that can improve your garden’s overall health.
You can start by adding collected rainwater to your compost pile or bin. This will help speed up the decomposition process, making it easier for microorganisms to break down food scraps and yard waste. For every 10 parts of “brown” materials (dried leaves, straw), add one part of “green” materials (food scraps, grass clippings). Keep the compost moist by adding water as needed.
You can also use rainwater to create liquid fertilizer. Mix a gallon of collected water with a tablespoon of Epsom salt and a handful of dried coffee grounds or tea bags. This mixture is perfect for seedlings or houseplants that require extra nutrients.
Frequently Asked Questions
Can I use a rain barrel system with any type of roof?
Yes, but it’s essential to consider the material and pitch of your roof when designing your rain barrel system. For example, if you have an asphalt shingle roof, you may need to take extra precautions to prevent debris and sediment from entering the barrel.
How often should I inspect my rain barrel for maintenance and cleaning?
Regularly inspecting your rain barrel is crucial to maintaining its efficiency and preventing contamination. Aim to inspect and clean it every 2-3 months during the rainy season, or as needed depending on usage and local conditions.
Can I use a first flush device with any type of rain barrel size?
While first flush devices can be used with most rain barrels, the specific requirements for installation will depend on your barrel’s size, material, and intended use. It’s best to consult the manufacturer’s instructions or seek professional advice before installing a first flush device.
How do I ensure my rain barrel doesn’t become a breeding ground for mosquitoes and algae?
To prevent mosquito breeding and algae growth in your rain barrel, make sure to install a mosquito screen or netting around the overflow outlet. Regularly clean and disinfect the barrel, and consider adding an algae-control solution specifically designed for rainwater collection systems.
What’s the ideal location for placing my rain barrel to maximize water efficiency?
Place your rain barrel as close to the downspout as possible while still allowing for easy access and maintenance. Consider factors like sunlight exposure, wind direction, and proximity to irrigation systems when selecting a spot for optimal performance.