If you’re a backyard chicken enthusiast, you know that managing your flock’s waste can be a challenge. But did you also know that their manure is a goldmine for gardeners? It’s packed with nutrients like nitrogen and phosphorus, making it an ideal fertilizer to boost plant growth. However, raw manure can be too concentrated and even pose health risks if not handled properly. That’s where a compost bin for chicken manure comes in – a simple yet effective solution to turn waste into wealth.
In this article, we’ll take you through the process of setting up a compost bin specifically designed for chicken manure, from choosing the right type to ensuring it gets aerated and broken down correctly. We’ll also cover how to monitor progress, maintain optimal conditions, and ultimately harvest finished compost that’s safe to use in your garden. By following our comprehensive guide, you’ll be able to unlock the full potential of your flock’s waste and grow healthier plants with minimal effort.
Benefits of Composting Chicken Manure
Composting chicken manure is not only good for your garden, but it’s also a smart way to reduce waste and create a valuable resource. By learning its benefits, you’ll see why it’s a game-changer for any backyard flock owner.
Nutrient-Rich Fertilizer for Your Garden
Using composted chicken manure as a fertilizer offers numerous benefits for your garden. One of its most significant advantages is its high nutrient content. Composting breaks down the complex proteins and other compounds found in chicken waste, releasing essential nutrients like nitrogen, phosphorus, and potassium that plants need to grow.
These nutrients are readily available to your crops when you use composted chicken manure as a fertilizer. For example, adding it to your soil can boost tomato yields by 20-30% due to its high nitrogen content. Composted chicken manure also improves soil structure by increasing its water-holding capacity and aeration.
This is particularly beneficial for gardens with poor or sandy soils that struggle to retain moisture. By incorporating composted chicken manure into your fertilizer routine, you can create a more sustainable and fertile growing environment.
Reducing Waste and Environmental Impact
When you compost chicken manure, not only do you create a nutrient-rich fertilizer for your garden, but you also significantly reduce waste and minimize environmental impact. According to the Environmental Protection Agency (EPA), food waste sent to landfills accounts for around 14% of total U.S. greenhouse gas emissions, with methane being the primary contributor.
By diverting chicken manure from landfills and composting it instead, you’re reducing the production of this potent greenhouse gas. Composting also reduces the need for synthetic fertilizers, which can pollute waterways and harm aquatic ecosystems. In fact, a study by the University of California, Davis found that using composted chicken manure in place of synthetic fertilizer resulted in a 25% reduction in nitrate leaching into groundwater.
To get started with composting your chicken manure, make sure to set up a designated compost bin or pile and balance the carbon-to-nitrogen ratio by mixing it with “brown” materials like leaves or straw. Aim for a mix that’s roughly 2/3 brown materials to 1/3 chicken manure. Regularly turn the pile to maintain oxygen flow, and keep it moist but not soggy. With these simple steps, you’ll be well on your way to reducing waste, minimizing environmental impact, and creating a valuable resource for your garden.
Choosing the Right Compost Bin for Chicken Manure
When it comes to managing chicken manure, selecting the right compost bin is crucial. In this section, we’ll break down the key factors to consider in choosing a suitable composter for your flock’s waste.
Types of Compost Bins: A Review
When it comes to choosing the right compost bin for chicken manure, one of the most important decisions you’ll make is selecting a type that suits your needs and space constraints. There are several types of compost bins available on the market, each with its unique features, benefits, and drawbacks.
Tumblers, for instance, are a popular choice among backyard farmers. These rotating bins are designed to speed up the composting process by aerating the material as it’s turned. They come in various sizes, from compact models perfect for small spaces to large ones that can handle a significant amount of waste. Tumblers are ideal for chicken keepers with a moderate-sized flock.
Worm bins, on the other hand, use red wiggler worms to break down food scraps and manure into nutrient-rich compost. These bins are typically smaller than tumblers and are perfect for urban gardeners or those with limited space. Bokashi systems, which involve fermenting organic matter in an airtight container, offer another option for chicken keepers. They’re known for producing high-quality compost with minimal odor and mess.
When selecting a type of compost bin, consider factors such as size, material, ease of use, and maintenance requirements. With so many options available, it’s essential to choose one that suits your specific needs and preferences.
Considerations When Selecting a Compost Bin
When selecting a compost bin for chicken manure, it’s essential to consider several factors to ensure you choose the right one for your needs. First and foremost, think about the size of the bin. A larger bin may seem convenient, but if it’s too big, you might end up with a mess on your hands. On the other hand, a smaller bin may not be able to handle the volume of manure generated by your flock. Aim for a bin that’s at least 3-4 feet deep and has a capacity of around 1-2 cubic yards.
Another crucial factor is durability. Chicken manure can be quite acidic, so you’ll want a bin made from materials that can withstand these conditions. Look for bins made from heavy-duty plastic or metal, as they’re more resistant to wear and tear. Ease of use is also important – consider a bin with a lid that’s easy to open and close, and one that allows for good airflow to prevent the buildup of unpleasant odors.
In terms of cost-effectiveness, think about how often you’ll need to replace the bin. Some compost bins are designed to be more sustainable than others, using less energy or materials in their production process. Finally, consider the maintenance requirements of the bin – some may require regular cleaning or disinfecting, which can add to your workload.
Ultimately, the best compost bin for chicken manure is one that balances size, durability, ease of use, and cost-effectiveness with your specific needs and circumstances. By carefully weighing these factors, you can choose a bin that will make managing your flock’s waste a breeze.
Setting Up Your Compost Bin: Tips and Best Practices
To create a thriving compost bin for your chicken manure, start by selecting a well-ventilated location and considering the right size for your needs. This will ensure a healthy decomposition process.
Preparing the Area for Your Compost Bin
When setting up your compost bin for chicken manure, it’s essential to prepare the area carefully. First, select a location that is well-ventilated and accessible, yet out of reach from pets and children. Ideally, position your compost bin near your flock’s coop or run, making it easy to collect waste daily.
Before assembling your compost bin, prepare the site by clearing any debris and leveling the ground. If you’re using a pre-fabricated bin, follow the manufacturer’s instructions for assembly. Make sure all hardware is securely attached to prevent any structural issues.
Consider adding a bottom tray or liner to catch liquids and make maintenance easier. Also, position your compost bin on a slight incline to ensure excess moisture can drain away from the structure. Finally, place a layer of bedding material like straw or wood chips at the bottom of the bin to absorb odors and provide a carbon-rich base for decomposition.
Remember, proper setup is key to efficient composting and minimizing odors. By following these steps, you’ll be well on your way to creating a thriving compost ecosystem that effectively manages your flock’s waste.
Understanding the Composting Process
Creating an optimal environment for composting chicken manure is crucial to break down the waste efficiently and safely. One of the most critical factors to consider is the carbon-to-nitrogen ratio. Chicken manure is high in nitrogen, which can lead to a buildup of ammonia gas if not balanced with sufficient carbon-rich materials like straw or wood chips. Aim for a mix that contains 2/3 “brown” materials (carbon-rich) and 1/3 “green” materials (nitrogen-rich). For example, add 2-3 inches of straw on the bottom of your compost bin before adding chicken manure.
Maintaining adequate moisture levels is also essential. Chicken manure can be quite dry, so ensure it’s moist like a damp sponge throughout the composting process. Excessive water can lead to anaerobic conditions and unpleasant odors, but too little water will slow down decomposition. Aim for a mix that’s around 50-60% moisture.
Temperature control is also vital. Chicken manure can generate high temperatures during composting, often reaching 130°F or more. To manage this, ensure your compost bin has adequate ventilation to allow heat to escape and prevent it from building up inside the bin.
Managing Chicken Manure in Your Coop or Run
To minimize odors and keep your coop clean, it’s essential to collect and manage chicken manure properly. We’ll explore different methods for containing and disposing of waste.
Collecting and Storing Chicken Droppings
Collecting and storing chicken manure safely and efficiently is crucial to maintaining a clean and healthy coop environment. One effective strategy is to implement separate collection systems for wet and dry droppings. This can be achieved by using different containers or bins specifically designed for each type of waste.
For example, you can place a small bucket near the nesting box for wet droppings, while larger containers or dedicated compost bins can collect dry droppings from the coop floor. By separating these types of manure, you’ll prevent the buildup of ammonia and other toxic gases that can harm your flock.
Consider investing in dedicated compost bins specifically designed for chicken manure. These bins usually have features such as odor control, easy-turning mechanisms, and aeration systems to promote efficient decomposition. Some popular options include tumblers, worms composters, or bokashi bins. By using the right equipment, you can minimize labor, odors, and mess while ensuring that your chicken manure is converted into nutrient-rich compost for your garden.
Preventing Odor and Pests in Your Coop or Run
When it comes to managing chicken manure, two common issues are odors and pests. If left unmanaged, these problems can not only be unpleasant but also create health risks for both you and your flock.
Odors from chicken manure are usually caused by the breakdown of nitrogen-rich compounds in the manure. This process releases ammonia gas, which is responsible for the strong smell. To mitigate this issue, ensure good ventilation in your coop or run by installing windows or vents to allow fresh air to circulate. Regularly cleaning and disinfecting the area can also help reduce odor buildup.
Pests like rodents, flies, and mites are attracted to chicken manure due to its high nutrient content. To prevent pest infestations, keep the area around your coop or run clean and free of debris. Use a 6-inch layer of organic mulch or straw around the perimeter to deter pests from entering the area.
By implementing these simple measures, you can significantly reduce odors and pests in your coop or run, creating a healthier environment for both you and your flock. Regularly monitoring the area and making adjustments as needed will also help maintain a balanced ecosystem.
Troubleshooting Common Composting Issues
We’ve all been there: your compost bin is struggling, and you’re not sure why. In this section, we’ll tackle common issues that can arise when composting chicken manure.
Dealing with Unpleasant Odors or Pests
When dealing with chicken manure, it’s not uncommon to encounter unpleasant odors or pest infestations in your compost bin. Unpleasant odors can be caused by high nitrogen levels, inadequate aeration, or moisture imbalances. To mitigate this issue, ensure you’re maintaining proper carbon-to-nitrogen ratios and regular turning of the pile. This will help facilitate aerobic decomposition and reduce ammonia buildup.
Pests like rodents, raccoons, or flies may also be attracted to the nutrient-rich environment created by composting chicken manure. To prevent pest infestations, consider using rodent-proof materials for your compost bin, such as metal mesh or hardware cloth. Additionally, ensure you’re burying new additions deep within the pile and regularly inspecting for signs of pests.
Inadequate decomposition can also hinder the composting process. Monitor moisture levels closely – ideal conditions range from 50-60% humidity. Avoid overwatering, which can lead to anaerobic conditions favoring pest growth. Regularly inspect your pile for signs of decomposition, such as heat generation, carbon dioxide release, or presence of worms.
Addressing Overheating or Under-Aeration in Your Compost Bin
Overheating and under-aeration can significantly impact the composting process, especially when dealing with chicken manure. High nitrogen levels in manure can cause temperatures to soar, potentially reaching up to 160°F (71°C) or more. This extreme heat can kill off beneficial microorganisms, leading to reduced decomposition rates.
To address overheating issues, ensure your compost bin has adequate ventilation and oxygen flow. Regularly turning the pile will also help distribute heat evenly. If temperatures become too high, you may need to add bulking agents like straw or shredded newspaper to absorb excess moisture and promote airflow.
On the other hand, under-aeration can lead to anaerobic conditions, producing unpleasant odors and potentially creating pathways for disease-causing pathogens. Check your compost bin’s aeration system, ensuring it’s functioning correctly. Regularly inspecting the pile will help you identify any issues before they escalate.
Harvesting and Using Your Finished Compost
Now that you’ve got a rich batch of finished compost, it’s time to put it to good use! This section will walk you through how to harvest and utilize your newly created nutrient-rich soil amendment.
Determining When Your Compost is Ready to Use
Determining when your compost is ready to use can be just as important as setting up and maintaining your compost bin. After all, you want to make sure the nutrient-rich soil amendment is safe for your garden and plants.
One of the simplest ways to determine if your compost is finished is by looking at its texture. Finished compost should break apart easily and have a crumbly consistency. If it still feels wet or sticky, it’s not yet ready. A good rule of thumb is to check on your compost every week or two, turning it with a pitchfork as you go.
Another visual cue is the color and structure of the finished compost. It should be dark brown or black in color, with visible threads of earthworm castings and fungal growths. If it’s still a mix of brown and green materials or has an unpleasant odor, it’s not yet finished.
Finally, consider the nutrient availability of your compost. Finished compost is high in nitrogen, phosphorus, and potassium – essential for plant growth. You can test this with a soil pH kit or by performing a simple “bag test”: place a handful of finished compost in a plastic bag with some water, seal it, and let it sit for 24 hours. If the mixture turns into a nutrient-rich liquid, your compost is ready to use!
Applying Your Composted Chicken Manure in Your Garden
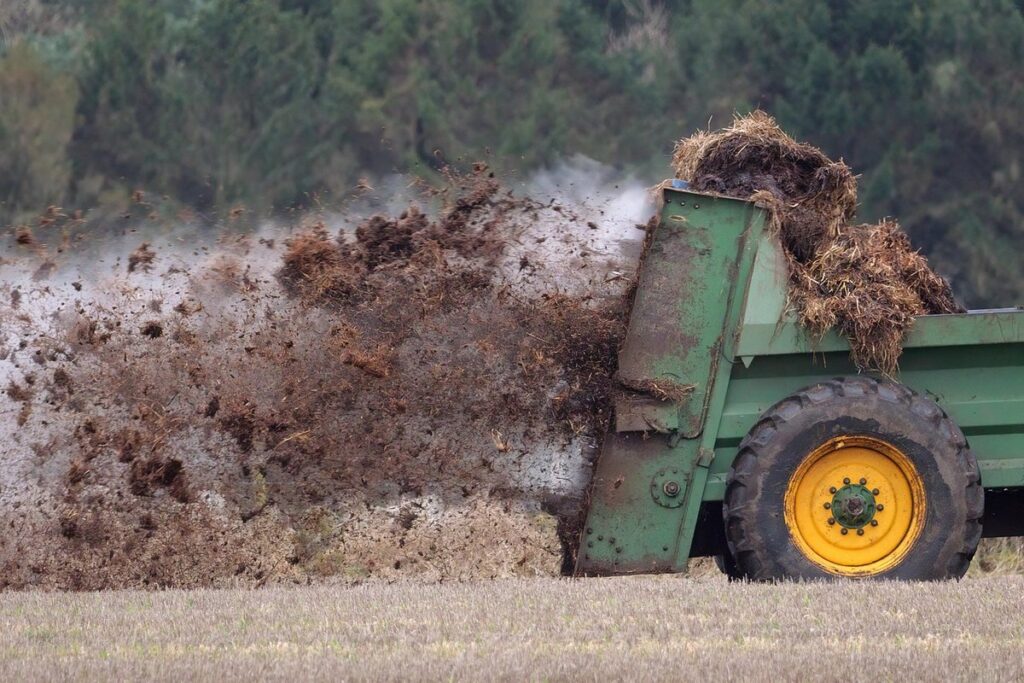
When it’s time to put your finished compost to work, timing is everything. The ideal application period for composted chicken manure depends on what you’re growing and the soil type. As a general rule of thumb, incorporate 2-3 inches (5-7.5 cm) of compost into the top 6-8 inches (15-20 cm) of soil in early spring or fall when plants are dormant.
For beds with heavy clay or sandy soils, start with smaller amounts and gradually increase as needed. Avoid applying fresh compost to newly planted seedlings, as this can cause nitrogen burn. Instead, mix it into the soil prior to planting or use as a side dressing after the crop has emerged.
Some crops, like tomatoes and peppers, are more sensitive to high nitrogen levels than others. Start with half the recommended application rate for these varieties and adjust based on soil testing results. When applying composted chicken manure, also consider companion planting principles – certain plants like marigolds and nasturtiums repel pests that target other vegetables.
Incorporating this nutrient-rich resource will not only enhance your garden’s fertility but also create a healthier ecosystem.
Frequently Asked Questions
How often should I turn or aerate the compost bin to ensure proper decomposition?
Turning or aerating your compost bin regularly is crucial for maintaining optimal conditions. Aim to do this every 7-10 days, especially during warmer months when bacteria thrive. This helps prevent overheating and ensures that microorganisms break down organic matter efficiently.
Can I add other materials like leaves or grass clippings to the compost bin along with chicken manure?
Yes, you can mix different organic materials like leaves, grass clippings, or shredded newspaper into your compost bin. However, it’s essential to maintain a balance of “green” (nitrogen-rich) and “brown” (carbon-rich) materials to avoid creating anaerobic conditions.
What if I notice unpleasant odors or pests in my coop or run despite using the compost bin?
If you’re experiencing odor or pest issues, check that your compost bin is properly ventilated and maintained. Ensure that the area around the bin is clear of debris and keep it at least 10-15 feet away from living spaces to prevent unwanted visitors.
How can I determine if my finished compost is safe for use in my garden?
Finished compost should be dark, crumbly, and have an earthy aroma. To check its stability, take a sample and mix it with water – if it doesn’t create any foam or unpleasant odors, it’s ready to use as fertilizer.
Can I use the compost bin year-round, regardless of temperature fluctuations?
While you can continue using your compost bin throughout the year, extreme temperatures (below 32°F or above 100°F) may slow down decomposition. In such cases, monitor your bin more closely and be prepared to add extra materials or aerate it more frequently to maintain optimal conditions.