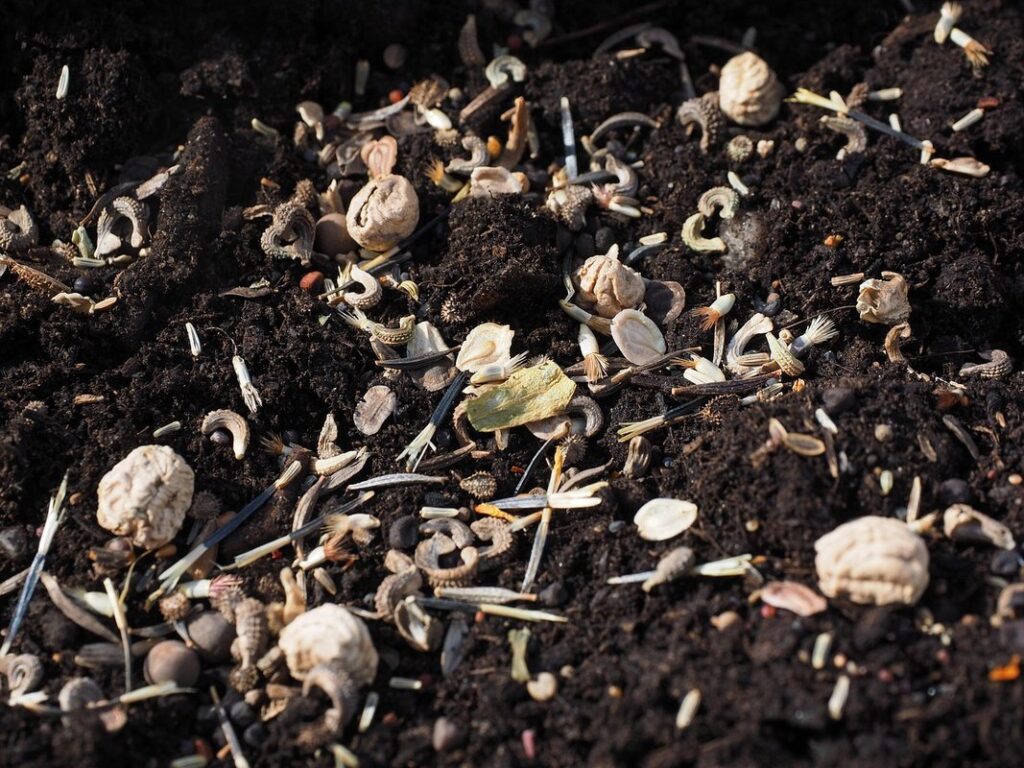
Starting seeds indoors can be an exciting way to get a head start on your garden, but the right soil mix is crucial for success. When you’re using indoor seed starting mixes, you want to make sure it’s the perfect blend of organic matter, moisture-holding capacity, and nutrients that will help those tiny seeds grow into strong and healthy seedlings.
Whether you prefer an all-organic or synthetic approach, understanding the different types of seed starting soils is essential. In this article, we’ll explore the key components and various types of indoor seed starting soils available in the market. We’ll also share expert tips on how to create your own customized mix at home using readily available ingredients, so you can have complete control over what goes into it. By the end of this guide, you’ll be equipped with the knowledge to choose or create the best indoor seed starting soil mix for your specific needs and preferences.
Understanding Seed Starting Soil Requirements
When it comes to indoor seed starting, choosing the right soil mix is crucial for healthy germination and growth. Let’s dive into the key requirements your seed starting soil needs to thrive.
Importance of Seed Starting Soils
When it comes to growing plants indoors from seeds, the type of soil you use is crucial for their success. Seed starting soils are specifically designed to provide young seedlings with the right environment to grow and develop healthy roots. Unlike regular potting soils, which can be too dense and may contain contaminants that can harm your plants, seed starting soils are formulated to be lighter, fluffier, and more sterile.
Using a high-quality seed starting soil is essential for several reasons. For one, it helps prevent overwatering, which is a common mistake many indoor gardeners make when starting seeds from scratch. Seed starting soils have the right water-holding capacity to keep the roots moist without being too soggy. This ensures that your seedlings don’t rot or develop root bound conditions. Additionally, seed starting soils often contain beneficial microorganisms and fertilizers that promote healthy growth and establishment.
In fact, research has shown that using a specialized seed starting soil can improve germination rates by up to 20% compared to regular potting soils. By investing in a good-quality seed starting soil mix, you’re giving your seeds the best possible chance of success from day one.
Key Components of a Good Seed Starting Mix
A high-quality seed starting mix is essential for promoting healthy germination and root development in your seedlings. While it’s tempting to grab a generic potting soil, these mixes are often too dense for young roots and can harbor diseases that can spread to your precious seeds.
A good seed starting mix should contain the right balance of ingredients to provide excellent drainage, aeration, and water retention. Key components include peat moss or coconut coir, which help retain moisture and suppress fungal growth. Vermiculite is another essential additive, offering excellent air porosity and water-holding capacity. Perlite, on the other hand, improves drainage and prevents waterlogging.
Other beneficial ingredients may include worm castings for added nutrients, gypsum to regulate pH, or even microorganisms that promote beneficial soil biota. When selecting a seed starting mix, look for a blend with at least 30% organic matter, as this will help support healthy microbial activity in your young plants. Avoid mixes containing high levels of recycled materials or fillers, which can harm seedlings over time.
Types of Indoor Seed Starting Soils
When it comes to growing healthy seedlings, selecting the right indoor seed starting soil mix is crucial. In this next part of our guide, we’ll break down the main types of soils used for indoor seed starting.
Organic vs. Synthetic Seed Starting Soils
When it comes to choosing an indoor seed starting soil mix, one of the most important decisions is whether to go with organic or synthetic options. Both types have their benefits and drawbacks, which we’ll explore below.
Organic seed starting soils are made from natural ingredients such as peat moss, coconut coir, and worm castings. These soils tend to be more eco-friendly and gentle on plants’ roots. They can also improve soil structure and fertility over time with regular use. However, organic soils may not retain moisture as well as synthetic options and can be more prone to compacting.
Synthetic seed starting soils, on the other hand, are often made from a mixture of perlite, vermiculite, and peat moss, but they also contain additives like fertilizers and wetting agents. These soils tend to retain moisture better than organic options but can leach nutrients out of the soil over time.
For gardeners concerned about environmental impact, consider choosing an organic seed starting soil that is specifically labeled as “eco-friendly” or “sustainably sourced.” This will help minimize your carbon footprint and promote healthier plant growth.
Recycled and Repurposed Materials in Seed Starting Mixes
When it comes to indoor seed starting mixes, many gardeners are now exploring innovative ways to reduce waste and create more sustainable growing environments. One exciting development is the use of recycled materials like coconut coir, worm castings, and compost tea.
Coconut coir, a byproduct of coconut husk processing, has become increasingly popular in seed starting mixes due to its excellent water retention properties and ability to improve soil structure. You can find coconut coir at most gardening stores or online, often sold as a peat moss alternative. To incorporate it into your mix, simply blend 10-20% coconut coir with other ingredients like perlite, vermiculite, and compost.
Worm castings, on the other hand, are nutrient-rich materials produced by worms as they break down organic matter. These “worm poop” can be an excellent addition to seed starting mixes, providing beneficial microbes that support healthy plant growth. You can purchase worm castings online or create your own at home with a worm composting bin.
Compost tea is another valuable resource for indoor seed starting mixes. This liquid solution is made by steeping compost in water, which infuses the mixture with beneficial microorganisms and nutrients. To make compost tea, simply add 1-2 cups of compost to a bucket of water, let it steep for 24 hours, then strain before using.
By incorporating these recycled materials into your indoor seed starting mixes, you’ll not only be reducing waste but also creating a more balanced and diverse soil ecosystem that will support the healthy growth of your plants.
Popular Indoor Seed Starting Soil Mix Ingredients
When selecting a high-quality indoor seed starting soil mix, it’s essential to know what ingredients make up a good formula and how they’ll support your seeds’ growth. Let’s take a closer look at some of the most popular mix components.
Peat Moss: The Traditional Choice
Peat moss has been a staple in seed starting mixes for decades, and for good reason. It’s an excellent water-holding agent, capable of retaining up to 20 times its weight in water. This makes it ideal for seedlings, which often require consistent moisture levels during the early stages of growth. However, peat moss also has some significant drawbacks.
One major concern is its carbon footprint. Peat bogs can take hundreds or even thousands of years to form, and harvesting peat moss disrupts this delicate ecosystem. This has led many gardeners to seek out more sustainable alternatives. Additionally, peat moss can be quite acidic, which may not be suitable for all plants.
If you still want to use peat moss in your seed starting mix, make sure to choose a high-quality product that’s specifically designed for indoor gardening. Mix it with other ingredients like perlite or vermiculite to improve drainage and structure. A general rule of thumb is to combine 1 part peat moss with 2-3 parts of these other ingredients. By using peat moss in moderation, you can still reap its benefits while minimizing its environmental impact.
Perlite and Vermiculite: Lightening the Load
When it comes to indoor seed starting, a well-balanced soil mix is essential for healthy seedling growth. Two ingredients that play a crucial role in this balance are perlite and vermiculite. These lightweight, porous materials improve drainage, aeration, and moisture retention in the soil, creating an ideal environment for seeds to germinate and grow.
Perlite, a volcanic glass that’s been heated to extremely high temperatures, helps to break up clay particles and prevent waterlogging. This is especially important in seed starting mixes, where excess moisture can lead to root rot and other problems. By incorporating perlite into your mix, you’ll be able to keep the soil consistently moist but not waterlogged.
Vermiculite, on the other hand, has a unique ability to absorb and retain moisture while still allowing for good airflow. This makes it an excellent addition to seed starting mixes, as it helps to prevent overwatering and promote healthy root development. A general rule of thumb is to mix perlite and vermiculite at a ratio of 1:2 or 1:3 (one part perlite to two or three parts vermiculite). This will give you the perfect balance between drainage, aeration, and moisture retention for your seedlings.
DIY Seed Starting Soil Mix Recipes
Want to craft your own custom seed starting soil mix without breaking the bank? We’ll share three easy recipes that you can tailor to your specific needs.
Customizing Your Mix for Specific Needs
Creating a customized seed starting soil mix recipe is crucial for optimal germination and growth. Different plants have varying needs, and understanding these requirements will help you tailor the mix to suit their specific needs. For example, seeds that require high humidity like African Violets or Begonias thrive in a mix with a higher peat moss content, which retains moisture better.
On the other hand, seeds that prefer well-draining conditions such as Cucumbers and Tomatoes do well in a mix with perlite or vermiculite. Climate also plays a significant role in determining the ideal mix composition. For instance, if you live in an area with extremely hot summers, a mix with added organic matter like coconut coir can help retain moisture without becoming waterlogged.
To create your customized seed starting soil mix recipe, consider the following factors:
• Plant type and its specific needs
• Climate and regional conditions
• Desired outcomes such as improved drainage or increased moisture retention
By taking these factors into account, you can craft a unique blend that addresses the specific requirements of your seeds.
Tips for Avoiding Common Mistakes
When making your own indoor seed starting soil mix, it’s easy to get carried away with enthusiasm and end up with a concoction that’s more detrimental than beneficial. To avoid this pitfall, let’s tackle two critical mistakes: incorrect ratios and contamination risks.
Incorrect ratios can lead to an unbalanced mix, causing seeds to struggle or even die. A general rule of thumb is to use 2-3 parts peat moss or coconut coir to one part perlite or vermiculite. However, this ratio may vary depending on the specific needs of your seeds and growing conditions. For example, cacti and succulents thrive in a more gritty mix with higher sand content, while seedlings prefer a more organic-rich blend.
To ensure you’re not sacrificing the health of your seeds for an Instagram-worthy DIY project, always use clean equipment and workspace when preparing your mix. Sterilize your containers by soaking them in hot water or using a 3% bleach solution. Keep your hands clean, and avoid cross-contamination from other gardening materials or pets that may have wandered into the area.
Maintaining proper cleanliness is especially crucial when working with seeds, as even minor contamination can lead to disease or pest issues down the line.
Testing and Evaluating Your Seed Starting Soil Mix
To ensure you’ve selected a high-quality seed starting mix, it’s essential to test its pH level and water retention capacity before using it in your indoor gardening project.
Laboratory Tests: What Do the Numbers Mean?
Laboratory tests can be a valuable tool for assessing the quality of your homemade or store-bought seed starting soil mixes. These tests can help you understand various aspects of your mix’s composition, including pH levels, nutrient content, and more.
pH level is one critical factor that laboratory tests can reveal. An optimal pH range for seed starting is between 5.5 and 6.5, although some plants may require slightly acidic or alkaline conditions. Testing the pH of your soil mix will help you determine whether it’s suitable for the specific plants you’re growing.
Nutrient content is another essential aspect that laboratory tests can evaluate. Soil mixes often contain a mix of macronutrients (nitrogen, phosphorus, potassium) and micronutrients (calcium, magnesium, sulfur). Testing the nutrient levels will help you identify any imbalances or deficiencies in your soil mix. This information can guide you to make informed decisions about amendments or adjustments to achieve optimal growing conditions for your seedlings.
Field Trials: Putting Your Soil Mix to the Test
Conducting field trials is an essential step in evaluating your seed starting soil mix’s performance under real-world conditions. By putting your mix to the test, you can determine its efficacy and identify areas for improvement. Field trials allow you to see how your soil mix behaves when exposed to various environmental factors such as temperature fluctuations, humidity levels, and light exposure.
When conducting field trials, start by creating small-scale versions of your mix using the same ingredients and ratios used in your original blend. Plant seeds in these trial mixes and observe their growth over time. Take note of any differences in germination rates, seedling vigor, and overall health compared to control groups using a standard or commercial soil mix.
Some key metrics to monitor during field trials include water-holding capacity, pH stability, and nutrient retention. By tracking these factors, you can refine your mix to optimize its performance for specific plant species and growing conditions. This hands-on approach will give you confidence in the quality of your indoor seed starting soil mix and help you make informed decisions about future blends.
Frequently Asked Questions
How do I know if my DIY seed starting soil mix is suitable for sensitive plants?
If you’re creating your own customized mix, it’s essential to consider the needs of your specific plants. Research their requirements and ensure your mix doesn’t contain ingredients that might harm them. For example, if you’re growing ferns or African violets, avoid using perlite as it can cause root damage.
Can I reuse my indoor seed starting soil after multiple uses?
While you can reuse some components of your seed starting soil, such as vermiculite and perlite, it’s not recommended to reuse the entire mix. Seed starting soils are designed for young seedlings and may become depleted or contaminated with pathogens from previous uses.
How do I prevent overwatering when using indoor seed starting soils?
To avoid overwatering, ensure your seed starting soil has good drainage properties. Look for mixes containing ingredients like perlite or vermiculite that help excess water escape. Additionally, monitor the moisture levels in your seedlings’ potting mix and adjust watering schedules accordingly.
Can I use a general-purpose potting soil for indoor seed starting?
While general-purpose potting soils may work in a pinch, they often lack the specific characteristics required for successful indoor seed starting. Seed starting soils are designed to provide optimal germination rates and strong root development, making them a better choice for achieving healthy seedlings.
How do I troubleshoot issues with my seedling’s growth when using an indoor seed starting soil?
If you notice issues like slow growth or weak roots, inspect your seed starting mix for potential problems. Check the pH level, moisture levels, and ingredient balance to identify any underlying causes. Make adjustments as needed, and consider consulting online resources or gardening experts for personalized advice.