Are you tired of seeing your climbing plants struggle to find support in your garden? Do you want to add a beautiful and functional touch to your outdoor space? Building a trellis is a great way to achieve this, but where do you start? With so many materials and design options available, it can be overwhelming to decide on the perfect trellis for your needs. In this comprehensive guide, we’ll walk you through everything you need to know to create a stunning trellis that will support your plants and enhance your garden’s aesthetic. We’ll cover the essential materials, provide expert tips on design and construction, and share maintenance advice to ensure your trellis remains strong and beautiful for years to come.
Choosing the Right Materials
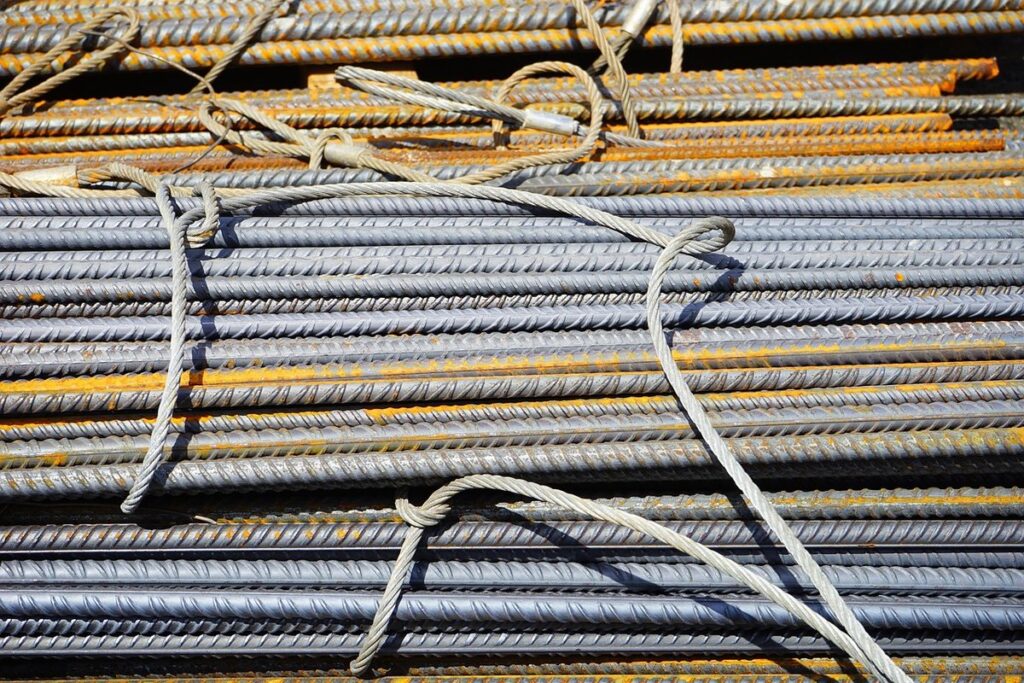
When it comes to building a sturdy and attractive trellis, selecting the right materials is crucial. Let’s discuss the best options for wood, metal, and other materials that will hold your plants in style.
Type of Wood for Your Trellis
When it comes to building a trellis, selecting the right type of wood is crucial for its durability and longevity. Among the many options available, pressure-treated pine, cedar, and redwood are popular choices for their unique benefits.
Pressure-treated pine is an affordable option that’s resistant to rot and insects. However, it may not be suitable for projects where appearance matters, as it can warp or split over time. Cedar, on the other hand, is a durable and naturally resistant wood that repels moisture and insects. It’s also aesthetically pleasing, making it a popular choice for garden features like trellises.
Redwood, another option, offers excellent durability and resistance to rot. Its distinctive color and grain pattern add visual appeal to any project. When choosing between these options, consider your budget, desired appearance, and the level of maintenance you’re willing to commit to. If budget is a concern, pressure-treated pine may be the way to go. However, if you prioritize durability and aesthetics, cedar or redwood might be a better investment.
Remember to always check local building codes and regulations before making a final decision.
Measuring and Cutting Lumber
Measuring lumber accurately is crucial to ensure your trellis design turns out as planned. Take precise measurements of each piece required for your project, and double-check the dimensions against your plans to avoid errors. When measuring long pieces of lumber, use a tape measure with feet and inches marked clearly, making it easier to read the measurements.
To cut lumber accurately, use a miter saw or circular saw, depending on the type of cut needed. For straight cuts, a circular saw is usually sufficient, while a miter saw provides more precise angled cuts. Always wear safety goggles when operating power tools and keep loose clothing tied back to avoid accidents.
When handling wood, be mindful of splinters and sharp edges. Wear gloves to protect your hands from the rough surface, and use clamps or cauls to prevent the wood from moving while cutting. Keep a first-aid kit nearby in case of emergencies. If you’re new to working with power tools, consider practicing on scrap wood before starting your actual project.
Designing Your Trellis
When designing your trellis, the first step is choosing a style that complements your garden’s aesthetic and provides adequate support for climbing plants. Let’s explore some popular trellis designs to get you started!
Common Trellis Designs
When it comes to designing a trellis for your garden or yard, you’ll find that there are countless options to choose from. Here are some of the most popular and stylish designs that will give you inspiration and help you decide on the perfect look for your space.
Simple rectangular trellises are a great choice for those who want a clean and minimalist aesthetic. They’re easy to make and can be built using a variety of materials such as wood, metal, or even reclaimed pallets. This design is perfect for a small garden or patio, where you can train climbing plants like clematis or roses to grow up the trellis.
Decorative latticework trellises add an extra layer of charm and sophistication to your outdoor space. These intricate designs feature interlocking patterns that provide support for climbing plants while adding visual interest to the area. You can choose from a range of materials, including metal, wood, or bamboo, and customize the design to fit your personal style.
Arbor-style trellises are perfect for creating a sense of grandeur and drama in your garden or yard. These intricate designs feature curved lines, arches, and ornate details that add an extra layer of beauty to the space. Whether you choose to make one from wood, metal, or another material, arbor-style trellises will create a stunning focal point for your outdoor area.
Whether you’re building a simple rectangular trellis or an intricate arbor, there are countless ways to customize and personalize your design. Consider adding decorative details like flowers, herbs, or other plants to add visual interest and make your trellis truly unique.
Considerations for Your Garden Space
When choosing a trellis design for your garden, it’s essential to consider its placement and integration with existing features. Take stock of your garden’s layout and style before selecting a trellis that will complement it.
Think about the flow of traffic through your garden and how you want plants to be displayed. A trellis can be strategically placed to create visual interest or divide different sections of the garden. For example, if you have a large area with multiple paths, consider placing a trellis near an entrance or at a corner to guide visitors through.
Integrate the trellis with existing features like plants and walkways by choosing materials that match your garden’s aesthetic. If your garden is formal, opt for a more structured trellis design; if it’s more relaxed, a freestanding or whimsical design will fit right in. Don’t forget to consider the mature size of your plants when placing the trellis – you’ll want to leave enough space for them to grow.
Some popular trellis designs that work well with existing garden features include:
* A freestanding trellis near a seating area or walkway
* A vertical trellis against a fence or wall
* A pergola-style trellis over a pathway
Building the Frame
Now that you have a plan, it’s time to start building your trellis frame. This is where you’ll create the foundation for your trellis, choosing between vertical and horizontal designs.
Assembling the Trellis Base
To assemble the trellis base, start by preparing the lumber for use. Cut four pieces of 2×4 wood to the desired length for the base frame, usually around 8-10 feet long. These will be the vertical supports that provide stability and structure to the trellis.
Next, lay out the pieces on a flat surface, ensuring they are even and parallel to each other. Use screws or nails to secure the corners together, starting with the top two pieces and working your way down. Make sure to predrill pilot holes for the screws to avoid splitting the wood.
As you attach the vertical supports, use additional horizontal pieces to create a stable base frame. These can be attached using screws or nails at 12-16 inch intervals. This will help distribute the weight of the trellis evenly and prevent it from toppling over in windy conditions.
Adding Vertical Supports
When it comes to building a sturdy trellis, adding vertical supports is a crucial step that ensures the structure can withstand wind and weight. To install these supports, start by determining their spacing. A general rule of thumb is to space them about 2-3 feet apart, depending on the height of your trellis and the type of plants it will be supporting. This allows for even weight distribution and prevents the structure from bowing or sagging.
To secure the vertical supports to the base frame, use sturdy screws or nails that can handle the weight of the trellis. Make sure they are driven in at an angle, about 1-2 inches from the top of each support, to create a strong bond between the two pieces. You can also use brackets or corner connectors for added stability. As you add each support, check the frame’s integrity by gently tugging on it to ensure everything is securely in place.
Adding Crossbeams and Panels
Now that you have a sturdy base, it’s time to add some structure and visual interest by installing crossbeams and panels to support your climbing plants. Let’s get started with this essential step in creating a beautiful trellis.
Installing Crossbeams
To ensure a sturdy and visually appealing trellis, it’s crucial to attach crossbeams to the vertical supports properly. Start by measuring evenly between each post to determine where the crossbeams will be placed. Use a level to double-check that the marks are straight and even. Once you’ve made your marks, use screws or nails to secure the crossbeams in place.
For added stability, consider using diagonal bracing between crossbeams for larger trellises. This is particularly important if you’re building a trellis with multiple levels of panels or plan on attaching heavy plant material. When cutting the crossbeams, be sure to make precise angled cuts at the ends that will sit against the posts.
Finally, double-check your measurements and tighten all screws before moving on to adding panels or other decorative elements. If you’re using wood glue in addition to screws, apply it liberally to ensure a strong bond between the crossbeams and posts. By following these steps, you’ll be able to create sturdy crossbeams that will support your trellis for years to come.
Choosing Trellis Panel Options
When it comes to choosing trellis panel options, you’ve got several exciting choices that cater to different styles and requirements. Let’s dive into the benefits and drawbacks of each popular option.
Netting is an excellent choice for a DIY trellis, as it’s easy to install and provides great airflow for plants. However, it may not be suitable for heavy loads or large vines. Wire mesh is another versatile option that allows for good air circulation but can rust over time if exposed to moisture. Wooden slats are a classic look, offering excellent durability and aesthetic appeal. They’re also relatively easy to replace if damaged.
Consider the type of plants you’ll be supporting when selecting your panel material. For delicate flowers or vegetables, netting may be the best choice. If you have large, heavy vines like wisteria or grapevines, wire mesh or wooden slats would be more suitable. You can also mix and match different materials for a unique look. Be sure to choose panels with a sturdy frame that can support their weight and withstand various weather conditions.
Before making your final decision, assess the durability, maintenance requirements, and cost of each option to ensure it fits within your budget and meets your expectations.
Finishing Touches
Now that you’ve built and secured your trellis, it’s time to add some finishing touches to make it look its absolute best. Let’s talk about the final details!
Adding Decorative Elements
Now that you have your trellis built and sturdy, it’s time to add some decorative elements to give it a unique personality. Think of this as the final touch that sets your trellis apart from a plain, functional structure.
One way to enhance the aesthetic appeal is by adding trim or molding around the edges or corners. This not only adds visual interest but also helps protect the wood from weathering and wear. You can use materials like cedar, pine, or even recycled plastic for a more sustainable option.
Another option is to incorporate carvings or patterns into your trellis design. This could be in the form of intricate cuts, geometric shapes, or even a simple yet elegant scrollwork. Not only do these add visual flair but also create a sense of depth and texture. Consider using a jigsaw or a coping saw for more complex designs.
When choosing decorative elements, remember to balance your trellis’s style with its surroundings. You don’t want it to clash with the architecture of your garden or home. With a little creativity, you can turn an ordinary trellis into a stunning focal point that adds character to your outdoor space.
Protecting Your Trellis from the Elements
A trellis can be a beautiful and functional addition to your garden, but it’s not invincible. To ensure it withstands the elements and remains sturdy over time, it’s essential to protect it from weather-related damage.
When building or purchasing a trellis, consider applying a waterproof finish to its wooden components. You can use a water-resistant stain, sealant, or paint specifically designed for outdoor use. Apply the finish according to the manufacturer’s instructions, making sure to cover all surfaces evenly. This will help prevent warping and rotting caused by exposure to rain, snow, and direct sunlight.
Regular maintenance is also crucial in preserving your trellis’ integrity. Inspect it regularly for signs of damage or wear, such as loose screws or faded finishes. Make repairs promptly to prevent further deterioration. Additionally, consider applying a protective coating every few years to maintain the finish and extend its lifespan. By taking these simple precautions, you can enjoy your trellis for many seasons to come.
Troubleshooting and Maintenance
If you’ve encountered any issues while building your trellis, don’t worry – we’ll walk through common problems and solutions to get you back on track. We’ll also share some essential maintenance tips to keep it sturdy for years to come.
Common Issues and Solutions
One common issue that may arise when building a trellis is warping wood. This can be caused by using low-quality materials or not allowing the wood to dry properly before construction. To prevent this, make sure to choose kiln-dried lumber and allow it to sit for at least 24 hours after cutting to let any moisture escape.
Another potential problem is loose joints. This can happen if the screws or nails are not driven in correctly or if the wood is not properly aligned. To fix a trellis with loose joints, try tightening the fasteners again and ensuring that all corners are securely attached.
If your trellis develops cracks over time, you can repair it by applying a waterproof sealant to the affected area. You can also reinforce the structure with additional support beams or brackets. In extreme cases, it may be necessary to disassemble and rebuild the trellis from scratch.
By being aware of these common issues and taking steps to prevent them, you can ensure that your trellis lasts for many seasons to come. Regular maintenance tasks like tightening loose screws and applying a fresh coat of sealant will also help keep your trellis in good condition.
Regular Maintenance for Longevity
Regular maintenance is key to extending the lifespan of your trellis. Over time, weather conditions, pest infestations, and general wear and tear can cause damage that may go unnoticed until it’s too late. To prevent this, schedule regular inspections to ensure your trellis remains sturdy and secure.
Start by visually inspecting the structure from a distance to identify any obvious signs of damage or weakness. Look for loose boards, rotten wood, or worn-out screws and nails. Check if any branches or leaves are touching the structure, as these can cause scratches or even break off if they become too heavy.
When inspecting your trellis, also pay attention to the connections between the different components, such as joints, corners, and bolts. Make sure all fasteners are tightened securely, but avoid over-tightening, which can damage the wood. Consider using weather-resistant screws or nails for added durability.
To maintain your trellis’ structural integrity, check and replace any rotten or damaged boards promptly. Sanding down rough spots can also help prevent further decay. Remember to inspect your trellis’s supporting structures, such as posts or beams, for any signs of rot or weakening. Regular maintenance tasks like these will help ensure your trellis remains a stable support system for your climbing plants.
A good rule of thumb is to schedule an annual inspection and maintenance session for your trellis. Set aside some time each year to inspect the structure, tighten loose screws, and make any necessary repairs. This proactive approach will save you from costly replacements down the line and keep your trellis looking its best.
Frequently Asked Questions
What if I’m short on time or don’t have prior carpentry experience? Can I still build a trellis?
Yes, with some patience and attention to detail, anyone can build a trellis even without prior experience. Start by following the instructions carefully, and consider enlisting help for more complex tasks like assembling the base or installing crossbeams. Remember to measure twice and cut once to avoid errors.
How do I ensure my trellis is stable and secure in windy conditions?
To prevent your trellis from toppling over, make sure it’s anchored firmly into the ground using sturdy stakes or a concrete footing. You can also consider adding additional supports or weights for extra stability. Regularly inspect your trellis to check for any signs of wear or damage.
Can I reuse old materials like pallets or fencing to build my trellis?
Yes, repurposing old materials is a creative and eco-friendly way to create a trellis. However, ensure that the materials are sturdy enough to support the weight of your plants and withstand outdoor weather conditions. Clean and disinfect any reused materials before assembling them into your trellis.
How do I choose the right location for my trellis in my garden?
When selecting a spot for your trellis, consider factors like sunlight exposure, soil quality, and accessibility. Ensure that your trellis is positioned near a water source and won’t obstruct paths or views. Also, take into account the mature size of your plants to avoid overcrowding.
What are some common mistakes to avoid when building a trellis?
Some common mistakes to watch out for include using low-quality materials, improper measurements, and inadequate support structures. Regularly inspect your trellis for signs of damage or wear, and address any issues promptly to prevent costly repairs or replacements.