If you’re short on space but eager to grow your own fruits, vegetables, or herbs, building a raised bed with corrugated metal is an excellent solution. This eco-friendly and cost-effective option is perfect for small gardens and urban spaces where traditional gardening may not be feasible.
With a little creativity and some basic DIY skills, you can create a sturdy and durable metal raised bed that will provide years of service in your garden. But before you start hammering away, it’s essential to plan and design your project carefully. That’s why we’ve put together this step-by-step guide on building a raised bed with corrugated metal.
In the following article, we’ll take you through each stage of planning, designing, and assembling your metal raised bed garden, from choosing the right materials to ensuring stability and drainage. By the end of this tutorial, you’ll be well-equipped to create a thriving urban oasis in even the smallest of spaces.
Planning and Designing Your Raised Bed
Before you start hammering away, take some time to plan and design your raised bed to ensure it’s functional, efficient, and meets your gardening needs perfectly. Consider factors like size, layout, and drainage.
Choosing the Perfect Location
When selecting a location for your raised bed, it’s essential to consider three key factors: sunlight, drainage, and accessibility. You want to place your raised bed in an area that receives the right amount of sunlight for the plants you’ll be growing.
Start by observing the sun’s path throughout the day. Most vegetables and fruits require at least six hours of direct sunlight per day, so choose a spot that gets plenty of sunlight during these hours. Avoid areas with dense tree coverage or structures that might block sunlight.
Drainage is also crucial when it comes to raised bed placement. You’ll want your bed to sit on well-draining soil to prevent waterlogged roots and root rot. If you have a heavy clay soil, consider installing French drains or adding organic matter like compost to improve drainage.
Lastly, make sure the location you choose is easily accessible for maintenance and harvesting. Consider placing it near a water source and within reach of your garden’s primary path. A spot that’s too far away might lead to neglect, which can negatively impact plant growth and overall success.
Measuring and Marking Out the Bed Frame
Before you start building your raised bed with corrugated metal, it’s essential to measure and mark out the area accurately. This will save you time and effort in the long run. To begin, walk around the designated space where you want to build your raised bed. Measure the length and width of the area using a tape measure or a measuring wheel.
Next, use string lines and stakes to mark out the boundaries of your raised bed. Start by driving stakes into the ground at each corner of the measured area. Then, tie a piece of twine or string between each pair of stakes to create a straight line. This will give you an idea of where your raised bed will sit.
Check your measurements and make any necessary adjustments before proceeding with building your raised bed. It’s better to double-check now than to realize later that your structure is slightly off-kilter. By taking the time to measure and mark out the area carefully, you’ll ensure a sturdy and even foundation for your corrugated metal raised bed.
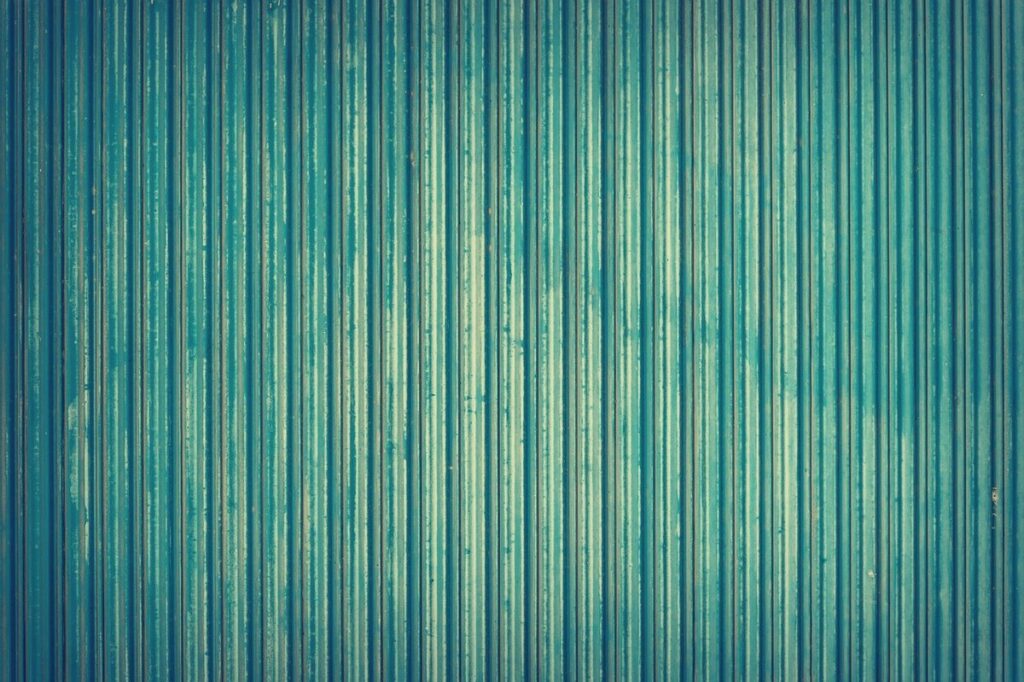
Selecting Corrugated Metal for Your Raised Bed
When selecting corrugated metal for your raised bed, there are several factors to consider. First and foremost, think about durability. You want a material that can withstand the elements, including rain, sun, and extreme temperatures. Look for galvanized steel or aluminum sheets with a durable coating to protect against rust and corrosion.
Consider the thickness of the corrugated metal as well. Thicker materials are more robust and less prone to damage from pests or weathering. Aim for a minimum thickness of 0.55mm for galvanized steel and 1.5mm for aluminum. You’ll also want to think about the profile of the corrugation. A deeper profile provides better drainage, but may be more expensive.
Another important consideration is the weight of the material. Corrugated metal can be heavy, so ensure that your raised bed design accounts for this and consider using a reinforced base or foundation to support the structure. Finally, look for materials with a smooth, even surface to prevent scratches and damage during assembly and use.
When choosing corrugated metal sheets, it’s also essential to check local building codes and regulations regarding the use of metal in gardening projects. Some areas may have specific requirements for labeling or treatment of metal used in raised beds. Be sure to research these requirements before making a final decision.
Preparing the Site and Building the Frame
Before you start building, it’s essential to prepare your site by clearing any debris and leveling the ground. This will provide a solid foundation for your raised bed frame.
Preparing the Soil and Removing Debris
Preparing the soil and removing debris is an essential step in building a raised bed with corrugated metal. Before you start laying down your metal sheets, you need to ensure that the area is clean and level. Begin by clearing the site of any debris, such as rocks, twigs, or old plant material. Use a rake or shovel to remove any weeds or roots that may be present. Be thorough in this process, as these can hinder drainage and root growth.
To create a level surface, use a spirit level to ensure that the area is even. If necessary, add or remove soil to achieve the desired levelness. Once you’ve completed this step, inspect the area for any remaining debris or obstructions. A clean slate will provide a solid foundation for your raised bed and corrugated metal sheets.
Consider using a sheet of landscape fabric to suppress weeds and improve drainage before adding soil. This extra precaution will save you time and effort in the long run.
Assembling the Frame Using Wood or Steel Posts
When building a raised bed with corrugated metal, assembling the frame using wood or steel posts is a crucial step. To do this, you’ll need to determine the type of material you want to use for your frame and gather the necessary tools and hardware.
If you’re using wooden posts, start by placing them in their designated corners, making sure they are level and securely positioned. Use screws to attach the corrugated metal panels to the top of each post, leaving a 1/4 inch gap between each panel for water drainage. To add extra stability, consider using steel brackets to secure the posts together.
Alternatively, you can use steel posts which provide excellent durability and support. Simply place them in the corners, and attach the corrugated metal panels directly to the top of each post. This method eliminates the need for additional screws or brackets.
Installing Corrugated Metal Panels
Now that you have all the necessary materials, let’s dive into installing those corrugated metal panels, which is a crucial step in building your raised bed. We’ll cover the essential steps to get this done safely and effectively.
Cutting and Preparing the Corrugated Metal Sheets
When it’s time to cut and prepare your corrugated metal sheets for installation, you’ll want to choose the right tool for the job. A circular saw can be used with a metal-cutting blade, but keep in mind that this method will create a lot of dust. Alternatively, consider investing in a metal cutter specifically designed for cutting through corrugated metal – it’s a more efficient and less messy option.
Before you start cutting, make sure to measure your sheets carefully and mark the areas where they’ll be cut using a marker or pencil. This will help prevent any mistakes during the cutting process.
To minimize waste, try to cut multiple pieces at once if possible. You can also use a level to ensure that your cuts are straight and even. When handling the metal, wear protective gloves to avoid injury from sharp edges.
When preparing the sheets for installation, inspect each piece carefully for any dents or creases that may affect its performance. You can use a hammer and some gentle persuasion to flatten out any areas with minor imperfections.
Securing the Metal Sheets Using Brackets or Screws
Now that you’ve assembled and cut to size the corrugated metal sheets for your raised bed frame, it’s time to secure them into place. This is a crucial step to ensure the durability and stability of your structure.
To attach the metal sheets to the frame, you’ll need to use either brackets or screws. Brackets are often preferred for their ease of installation and ability to distribute weight evenly. You can choose from various types of brackets specifically designed for corrugated metal panels, such as L-brackets, corner brackets, or edge brackets.
When using screws, make sure they’re long enough to penetrate the metal sheet and secure it firmly to the frame. It’s also essential to drill pilot holes to avoid damaging the metal. Use a drill bit that matches the screw size for smooth drilling.
For a raised bed with corrugated metal, it’s common to use 1-2 inches long screws, spaced about 12-16 inches apart along the edges and corners of each panel. This spacing ensures maximum support while allowing for expansion and contraction due to temperature changes.
Finishing Touches and Planting Your Garden
Now that your raised bed is built, it’s time to add some finishing touches and bring your garden to life by planting a variety of colorful flowers and delicious vegetables.
Installing Drainage and Irrigation Systems (Optional)
When building a raised bed with corrugated metal, installing drainage and irrigation systems can be a game-changer for maintaining healthy plants. While not essential, incorporating these features can ensure optimal growth and reduce the risk of waterlogged soil.
To install drainage, you’ll need to add perforated pipes or corrugated tubing to your design. Choose materials that are compatible with your metal bed’s dimensions and ensure they’re positioned at a slight slope to allow for efficient water flow. You can bury these pipes near the bottom of your raised bed, ensuring good soil-to-pipe contact.
For irrigation systems, consider installing a soaker hose or dripline. These will deliver water directly to the roots of your plants, reducing evaporation and runoff. Make sure to choose a system that suits your garden’s specific needs and incorporate a timer for automated watering schedules.
When selecting materials, prioritize durability and corrosion resistance. Consider using PVC pipes or irrigation tubing with built-in filters to maintain water quality. With proper installation, these systems will make a significant difference in your raised bed’s overall performance.
Adding a Layer of Mulch or Compost
Now that you’ve built and lined your raised bed with corrugated metal, it’s time to add a layer of mulch or compost to retain moisture and suppress weeds. This is a crucial step in maintaining a healthy garden.
Mulch and compost serve multiple purposes: they help retain moisture in the soil, regulate soil temperature, and suppress weed growth. Organic mulches like wood chips, bark, or leaves can be applied 2-3 inches thick around the plants, keeping them hydrated and cool during hot summer months. You can also use a combination of both mulch and compost to create a rich, nutrient-dense layer.
To add compost, spread it evenly over the soil surface at a depth of about 1-2 inches. This will help retain moisture, suppress weeds, and provide essential nutrients for your plants to grow. Make sure not to overdo it – excessive compost can cause anaerobic conditions that harm roots. As you apply mulch or compost, also consider aerating the soil lightly with a fork to prevent compacting.
Some popular options for mulch include wood chips, straw, and grass clippings. When choosing mulch, keep in mind its pH level – some types can alter your garden’s acidity or alkalinity.
Planting Your Garden: Tips and Tricks for Success
Now that you’ve built your raised bed with corrugated metal, it’s time to plant it! This is where the real magic happens. To ensure a thriving garden, follow these essential steps.
First and foremost, choose plants that are compatible with each other and suitable for your climate. Consider factors like sunlight, soil type, and moisture levels when selecting varieties. For instance, if you have a shady raised bed, opt for plants like ferns or hostas that prefer partial shade. Research different plant combinations to create a harmonious balance.
Proper spacing is also crucial to prevent overcrowding and promote healthy growth. Leave enough space between each plant for easy maintenance and air circulation. Aim for a minimum of 12-18 inches between larger plants, and up to 6-8 inches for smaller ones. Remember, it’s better to err on the side of caution than risk overwhelming your bed.
Keep in mind that raised beds can dry out quickly due to their shallow depth and metal construction. Be sure to water regularly, but avoid overwatering, which can lead to root rot and other issues. With a little planning and attention, you’ll be enjoying a bountiful harvest from your corrugated metal raised bed in no time!
Frequently Asked Questions
What are the benefits of using corrugated metal for a raised bed, compared to traditional wood?
Corrugated metal is an eco-friendly option that’s resistant to rot, insects, and weather damage, making it a durable choice for your garden. It also requires minimal maintenance and can withstand extreme temperatures.
How do I ensure proper drainage in my metal raised bed?
To prevent waterlogged soil, make sure the corrugated metal sheets have holes or gaps for drainage. You can also install a French drain system or use a waterproofing membrane to direct excess water away from your plants.
Can I use recycled corrugated metal for my raised bed, and is it safe for gardening?
Yes, using recycled corrugated metal is an excellent eco-friendly choice. Ensure the metal sheets are free of contaminants and have been properly cleaned before using them in your garden. You can also consider coating the metal with a non-toxic sealant to prevent rust.
What’s the ideal size for my raised bed, considering space constraints and accessibility?
Consider the mature size of your plants and leave enough space between beds for easy access. A typical size range is 4×8 feet or 6×12 feet, but you can adjust it according to your specific needs and available space.
Can I use a combination of metal and wood for my raised bed design?
Yes, combining metal and wood can create a unique and functional design. You can use wood for the frame and metal for the top surface or vice versa, depending on your desired aesthetic and functionality. Just ensure proper joinery and sealing to prevent moisture damage.