Are you tired of watching your beloved houseplants wither away due to overwatering? Bottom watering is a game-changer for plant enthusiasts who want to give their green friends the best care. By understanding how to bottom water, you’ll be able to provide your plants with just the right amount of moisture, leading to healthier and more vibrant growth.
In this guide, we’ll dive into the world of bottom watering, exploring its benefits and showing you exactly how to implement it in your plant care routine. We’ll cover everything from choosing the right pot and soil mix to troubleshooting common issues that may arise. By following our expert advice, you’ll be well on your way to becoming a top-notch houseplant parent. So, let’s get started on this journey to better plant care!
Understanding the Benefits of Bottom Watering
When done correctly, bottom watering can have a significant impact on your houseplants’ health and longevity. This approach allows for more precise control over moisture levels in the soil.
What is Bottom Watering and Its Importance
Bottom watering is a technique that’s gaining popularity among plant enthusiasts, and for good reason. By watering plants from the bottom up, rather than pouring water directly onto the leaves, you can prevent common problems like leaf spotting, fungal diseases, and mineral buildup.
This method works by allowing the roots to absorb water as needed, promoting healthy growth and development. When water is poured directly onto the leaves, it can create a humid microclimate that fosters the growth of fungi and bacteria. In contrast, bottom watering helps to prevent these issues by keeping the leaves dry and reducing the risk of overwatering.
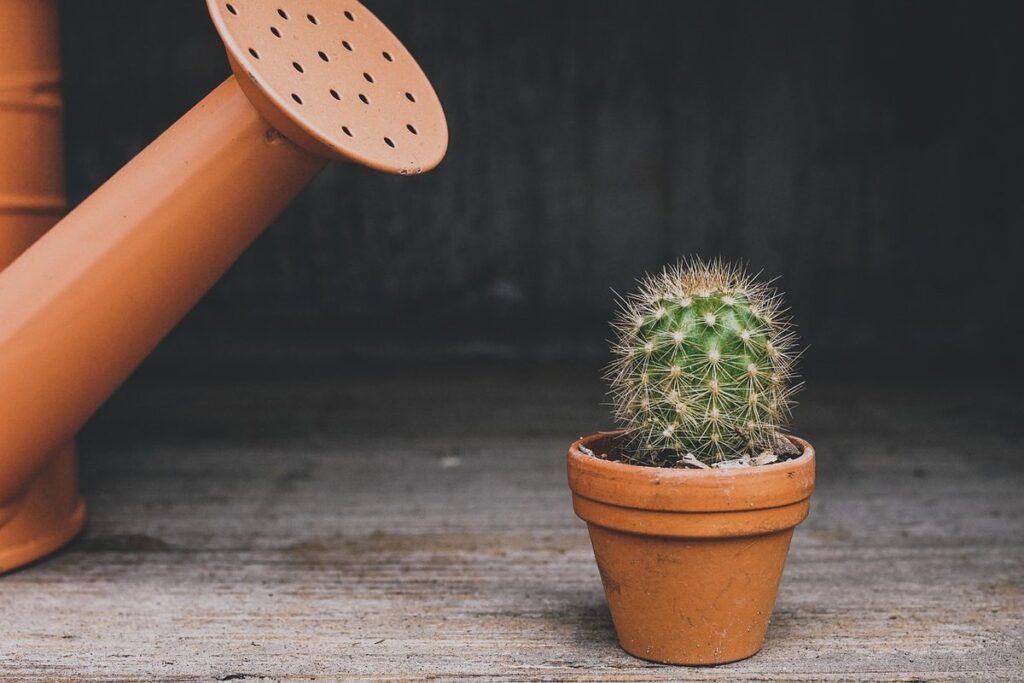
To implement this technique, simply place the pot in a saucer or tray filled with water, allowing the plant to absorb what it needs. This approach can be particularly beneficial for plants like peace lilies and spider plants that are prone to root rot when watered incorrectly. By adopting bottom watering, you’ll be taking a crucial step towards creating a healthy environment for your houseplants to thrive in.
Why Traditional Watering Methods Can Harm Your Plants
When you water your plants using traditional methods, such as pouring water over their leaves, it’s easy to assume that this is the best way to give them what they need. However, the truth is that these methods can actually cause more harm than good to your plants.
For instance, when you pour water directly onto the leaves, it can lead to overwatering and subsequent root rot. This happens because excess moisture on the leaves promotes fungal growth, which can spread quickly through the plant’s system if left unchecked. Moreover, traditional watering methods can also cause leaf scorch, a condition where the leaves turn yellow or develop brown tips due to water burning them.
In addition, using a watering can or cup can lead to soil compaction and erosion of the plant’s roots as water rushes through the pot. This disrupts the delicate balance between the roots and the surrounding soil, causing your plants to become stressed and more vulnerable to pests and diseases. By switching to bottom watering methods, you can avoid these common mistakes and give your plants a healthier way to thrive.
Preparing Your Houseplants for Bottom Watering
Before diving into bottom watering, it’s essential to prepare your houseplants by checking their potting mix and making sure the soil is moist but not waterlogged. This step ensures a smooth transition for your plants.
Choosing the Right Pot and Drainage System
When it comes to bottom watering your houseplants, selecting the right pot is more than just a matter of aesthetics – it’s a crucial factor in ensuring that your plants receive the right amount of water. A well-draining pot with proper drainage holes is essential for preventing waterlogged soil and root rot.
You’ll want to look for pots made from materials like ceramic or terra cotta, which are designed to allow excess moisture to escape through their porous surfaces. Avoid using pots made from plastic or resin, as these can trap water inside the pot and cause more harm than good. When shopping for a new pot, be sure to inspect it carefully for drainage holes – at least one hole is recommended per 1-2 square inches of soil surface.
In addition to selecting a well-draining pot, you’ll also want to consider the size and shape of your plant’s root system when choosing a pot. A pot that is too small can cause the roots to become waterlogged, while a pot that is too large may require more frequent watering.
Selecting the Right Soil Mix for Bottom Watering
When it comes to bottom watering your houseplants, selecting the right soil mix is crucial for effective water absorption. A good soil mix should have the following characteristics: high porosity, low nutrient retention, and good aeration.
High porosity allows excess water to drain quickly, preventing waterlogged roots and root rot. Look for potting mixes containing perlite, vermiculite, or sand, which increase water penetration while reducing water retention. On the other hand, some soil mixes may contain ingredients like coconut coir or compost that hold onto too much moisture.
A low nutrient retention property ensures that fertilizers are not locked in the soil, allowing your plants to receive the necessary nutrients through their leaves during bottom watering. A mix with a balanced pH level (around 6.0-7.0) will also help prevent nutrient deficiencies.
Some popular potting mixes suitable for bottom watering include E.B. Stone Organics Orchid Mix and Pro-Mix Moisture Control Potting Mix. Experimenting with different blends can help you find the perfect mix for your plants, taking into account their specific needs, environment, and growth stage.
Implementing the Bottom Watering Technique
Now that you’ve mastered the basics of bottom watering, let’s dive into the practical application: implementing the technique successfully in your home. This is where you’ll learn to put it all into action.
Step-by-Step Guide to Bottom Watering Your Plants
To implement bottom watering effectively, start by choosing a container that allows excess water to drain from the roots. This is crucial to prevent root rot and ensure healthy water intake for your plants. Next, fill a saucer or tray with enough water to cover the base of the pot.
Now it’s time to water your plant. Gently place the pot into the saucer or tray filled with water, making sure not to get any excess water on the leaves or stem. Allow the plant to absorb the water through its roots for 15-20 minutes before carefully removing it from the container.
Check the moisture level of the soil by sticking your finger into it up to the first knuckle. If the soil feels dry, repeat the process until the desired level is achieved. Monitor your plants closely and adjust the frequency of bottom watering based on their specific needs.
Keep in mind that overwatering can be just as detrimental as underwatering. Be patient and observe your plant’s response to determine the optimal schedule for bottom watering. By following these simple steps, you’ll be well on your way to mastering this efficient and effective technique for keeping your houseplants happy and thriving.
Tips for Avoiding Overwatering and Underwatering
When implementing the bottom watering technique, it’s essential to be mindful of two common pitfalls: overwatering and underwatering. Overwatering can lead to root rot, while underwatering causes stress to the plant. To avoid these mistakes, start by observing your plants’ water needs. Check the soil moisture by sticking your finger into the pot about an inch deep. If it’s dry, it’s time to water.
A good rule of thumb is to water when the top 1-2 inches of soil feels dry. Be cautious not to get water on the leaves or crown to prevent fungal diseases. Underwatering can also be detrimental, so make sure to provide enough moisture for your plants’ growth. Aim to water every 7-10 days during the spring and summer months when plants are actively growing.
To strike a balance, monitor your plants’ responses to watering. If you notice yellowing leaves or slow growth, it may indicate overwatering. Conversely, if the leaves start to wilt or turn brown, underwatering is likely the issue. Adjust your watering schedule accordingly to find what works best for each plant species and environment.
Troubleshooting Common Issues with Bottom Watering
If you’re experiencing issues with bottom watering, such as waterlogged soil or root rot, we’ll walk you through common problems and their solutions to get your plants back on track. Let’s troubleshoot together!
Identifying Signs of Underwatering or Overwatering
When bottom watering houseplants, it’s essential to recognize the warning signs that indicate your plants may be underwatered or overwatered. Underwatering can cause visible stress on your plant, such as:
• Yellowing leaves: As the plant struggles to absorb moisture from the soil, its leaves will start to turn yellow and wilt.
• Leaf drop: If the plant is not receiving enough water, it may drop its leaves in an attempt to conserve energy.
On the other hand, overwatering can lead to a range of issues, including:
• Soft, mushy stems: When roots are consistently saturated with water, they start to rot, causing the stems to become soft and weak.
• Root bound: Overwatered plants may also develop root bound conditions, where the roots grow in a circle around the inside of the pot instead of expanding outwards.
To avoid these issues, monitor your plant’s watering needs by checking its soil moisture regularly. You can do this by gently sticking your finger into the soil or using a moisture meter to determine when it’s time for another round of bottom watering.
Solutions for Common Problems Encountered During Bottom Watering
One of the most significant challenges when bottom watering houseplants is dealing with waterlogged soil. This can lead to root rot, a common problem that often results from excess moisture in the potting mix. To combat this issue, it’s essential to monitor your plant’s watering schedule closely and avoid overwatering.
Root rot occurs when roots sit for extended periods in waterlogged conditions, causing them to decay and eventually kill the plant. To prevent root rot when bottom watering, make sure the tray or saucer is not filled with water, as this can cause the potting mix to become saturated. Instead, use a shallow amount of water in the tray, allowing it to absorb slowly into the soil.
If you do encounter root rot, act quickly by repotting your plant in fresh, well-draining potting mix and providing good air circulation around the roots. It’s also crucial to inspect your plant regularly for signs of overwatering, such as yellow leaves or soft stems.
Maintaining Healthy Houseplants Through Bottom Watering
When it comes to bottom watering, knowing how to prevent root rot and promote healthy growth is crucial. This next part of our guide will show you the importance of proper care during this process.
Scheduling Regular Watering Sessions
When it comes to bottom watering houseplants, consistency is key when it comes to maintaining healthy plants. Scheduling regular watering sessions ensures that your plants receive the right amount of moisture they need to thrive.
To start, identify a specific day and time each week for your watering session. It could be early morning or evening, whenever you have some free time. Stick to this schedule as much as possible to develop a routine that works for you and your plants.
Consider using a calendar or planner to mark down the date and time of your next watering session. This will help you stay on track and ensure that you don’t forget to water your plants. You can also set reminders on your phone or computer to alert you when it’s time to water.
In addition to scheduling, pay attention to the signs that indicate your plant needs water. Check the soil moisture by inserting a chopstick or pencil into the pot – if the stick comes out dry, it’s likely time for another watering session.
Monitoring Plant Health and Adjusting Your Technique as Needed
As you’ve started bottom watering your houseplants, it’s essential to monitor their health and adjust your technique accordingly. This is crucial for preventing over- or underwatering, which can lead to root rot, leaf drop, or other problems.
Check your plants’ leaves regularly for signs of stress, such as yellowing, droopy, or curled leaves. If you notice any of these symptoms, it may indicate that the plant is receiving too much or too little water. Adjust the frequency and amount of bottom watering based on your observations.
Keep an eye on the soil moisture by inserting a finger into the soil up to the first knuckle. If the soil feels dry, it’s time for another round of bottom watering. On the other hand, if the soil is already moist, wait a day or two before checking again.
Remember that every plant is different and may require unique adjustments. Be patient and flexible with your technique as you get to know your plants’ specific needs.
Advanced Techniques for Mastering Bottom Watering
Now that you’re comfortable with the basics, it’s time to take your bottom watering skills to the next level by mastering some advanced techniques. We’ll explore expert methods for perfecting this technique.
Experimenting with Different Water Temperatures and pH Levels
When experimenting with different water temperatures and pH levels for bottom watering, it’s essential to understand their impact on nutrient uptake. Water temperature affects plant growth by influencing the rate of photosynthesis and respiration. Research suggests that optimal water temperature for most houseplants ranges between 65°F (18°C) and 75°F (24°C). Avoid using cold or hot water, as this can shock the roots.
To experiment with different pH levels, you’ll need a pH meter to measure your tap water’s acidity or alkalinity. A pH range of 5.5-6.5 is suitable for most houseplants. However, some plants like African Violets and Begonias prefer slightly acidic conditions, while others like Cacti and Succulents can tolerate more alkaline levels.
When adjusting your watering schedule based on water temperature or pH level, keep in mind that even minor changes can impact nutrient uptake. For example, if you’re using warmer water (above 75°F), consider reducing the frequency of bottom watering to prevent root burn. Conversely, cooler water may require longer intervals between waterings to ensure adequate moisture is absorbed by the roots.
Using a Watering Tray or Reservoir for Enhanced Effectiveness
When it comes to bottom watering, using a watering tray or reservoir can take your technique to the next level. This approach allows for more efficient and targeted water delivery to your plants’ roots, reducing waste and promoting healthier growth.
A watering tray is essentially a shallow dish or container that holds excess water under the pot, allowing your plant to absorb only what it needs. To set up a tray system, place the pot on the tray, making sure the saucer doesn’t touch the water’s surface. Add water to the tray as needed, and avoid overfilling – you want the water level to be just below the pot’s base.
Using a reservoir is similar but often more contained. This can be a dedicated container or even a converted plastic bottle with drainage holes drilled into it. Fill the reservoir with water, then place your pot on top. As the plant absorbs what it needs, the excess will flow out through the drainage holes, keeping the roots moist and preventing root rot.
For both methods, monitor your plants closely to ensure they’re not getting too much or too little water.
Frequently Asked Questions
What if I have a plant that’s sensitive to overwatering, but I’m new to bottom watering?
Start by monitoring your plant’s response to the new technique. If you notice any signs of overwatering, adjust the frequency and amount of water accordingly. It’s also essential to choose a pot with good drainage holes to prevent waterlogged soil.
Can I use bottom watering for all types of plants, or are some more suitable than others?
While bottom watering is beneficial for most houseplants, it’s not suitable for plants that require high humidity, such as ferns and peace lilies. For these plants, traditional watering methods may be more effective. However, you can still experiment with bottom watering to see if it works for your specific plant.
How often should I water my plants using the bottom watering method?
The frequency of watering depends on the plant’s species, pot size, and environmental conditions. As a general rule, water your plants when the top 1-2 inches of soil feel dry to the touch. You can also observe your plant’s response to determine the optimal watering schedule.
What if I accidentally overwater my plant using bottom watering?
If you notice signs of overwatering, such as yellowing leaves or soft stems, adjust your watering schedule immediately. Check the pot for proper drainage and consider repotting with a well-draining mix to prevent waterlogged soil in the future. Regularly monitoring your plant’s health will help you avoid this issue.
Can I use bottom watering for plants in small pots or containers?
Yes, bottom watering is effective for plants in small pots or containers as long as they have proper drainage holes. This technique helps prevent water from accumulating at the base of the pot and promotes healthy root growth. Just be sure to adjust your watering schedule according to the plant’s specific needs and environment.