Are you tired of relying on synthetic fertilizers to keep your garden thriving? Do you want to tap into a natural, sustainable source of nutrients that will give your plants an extra boost? Look no further than chicken manure composting for your garden! This simple yet powerful process converts raw waste into a rich, odor-free compost that’s teeming with beneficial microorganisms and essential minerals. Not only does it save you money on store-bought fertilizers, but it also reduces waste and promotes eco-friendly gardening practices. In this comprehensive guide, we’ll walk you through the entire process of turning chicken manure into nutrient-rich compost for your garden, from collecting to finished product. By following our step-by-step instructions and tips, you’ll be well on your way to growing a healthier, more productive garden with minimal effort required!
Benefits of Using Chicken Manure in Compost
One of the biggest advantages of using chicken manure compost is its ability to improve soil structure and fertility, making it a game-changer for your garden’s growth. Let’s explore these benefits in more detail below.
Advantages of Chicken Manure as a Natural Fertilizer
Chicken manure is an exceptionally rich source of essential nutrients for plants. It’s abundant in nitrogen, phosphorus, and potassium – three key elements that play a crucial role in promoting healthy plant growth. Nitrogen helps with leafy green development, while phosphorus aids in root formation and overall development. Potassium strengthens plant resistance to diseases and enhances water absorption.
One reason chicken manure stands out as an ideal natural fertilizer is its high nitrogen content. On average, it contains about 4-5% nitrogen by weight – a higher concentration than most other organic fertilizers. This makes it particularly effective for improving soil fertility, especially in areas where plants are struggling to grow due to depleted nutrient levels.
To utilize chicken manure as an effective fertilizer, make sure to mix it well with other compost materials or add it directly to your garden beds in moderation. Be cautious not to over-fertilize, as excessive nitrogen can harm your plants.
How to Balance pH Levels with Chicken Manure
When you’re working with chicken manure to enrich your compost pile, it’s essential to consider its impact on your garden soil‘s pH levels. A balanced pH is crucial for healthy plant growth and nutrient uptake.
Chicken manure, being high in nitrogen and acidity, can tip the scales towards a more acidic environment if not managed properly. If your garden’s native pH is already on the lower side (around 6.0-6.5), using too much chicken manure can push it even further into acidic territory. Conversely, if you’re working with alkaline soils (pH above 7.0), adding high amounts of chicken manure might not be enough to bring it back in balance.
To adjust acidity or alkalinity using chicken manure, start by incorporating it in moderation – about 10-20% of the total compost mix. Monitor your soil’s pH levels regularly and adjust the amount of manure accordingly. You can also try mixing in other materials like dolomitic limestone to raise the pH or peat moss to lower it.
Be aware that over-correcting can be just as detrimental as under-correcting. Aim for a slow, gradual adjustment to allow your soil’s ecosystem to adapt and thrive.
Understanding Chicken Manure Composting Process
To successfully compost chicken manure, you’ll first need to understand the process and how it works, which we’ll break down in detail below. This step is crucial for creating nutrient-rich fertilizer for your garden.
What is Composting and Why It’s Essential for Gardeners
Composting is an essential process for gardeners to understand and implement in their gardening practices. Simply put, composting involves breaking down organic materials like food waste, leaves, and grass clippings into a nutrient-rich soil amendment that promotes healthy plant growth. This natural process occurs when microorganisms like bacteria and fungi feed on the decomposing matter, releasing essential nutrients back into the soil.
Composting is crucial for gardeners because it reduces waste sent to landfills, conserves water by improving soil’s ability to retain moisture, and increases crop yields by providing plants with vital nutrients. By composting, you can create a sustainable and efficient way to manage your organic waste while producing a valuable resource for your garden. For instance, adding just 2-3 inches of compost to your soil can improve its structure, increase its water-holding capacity, and support beneficial microbial life.
When done correctly, composting can be an incredibly rewarding process that benefits both your garden and the environment.
Stages of Composting: Aerobic vs. Anaerobic Processes
When it comes to composting chicken manure, understanding the different stages of decomposition is crucial for creating a rich and nutrient-dense compost. Composting occurs through two primary processes: aerobic and anaerobic.
Aerobic composting involves microorganisms that break down organic matter in the presence of oxygen. This process is slower than anaerobic decomposition but results in a higher-quality compost. Aerobic microorganisms, such as bacteria and fungi, feed on the carbon-rich compounds in chicken manure, releasing heat and carbon dioxide as byproducts. A well-ventilated compost pile with adequate oxygen levels will favor aerobic processes.
Anaerobic decomposition occurs when there’s insufficient oxygen to support aerobic microorganisms. This process is faster but produces a lower-quality compost due to the presence of volatile organic compounds (VOCs). Anaerobic conditions can lead to unpleasant odors and potentially hazardous emissions, making it crucial to maintain adequate airflow in your compost pile.
To maximize aerobic decomposition and minimize anaerobic processes, ensure your compost pile has enough oxygen by adding materials like straw or shredded newspaper. This will help microorganisms break down chicken manure efficiently, producing a nutrient-rich compost for your garden.
Preparing Chicken Manure for Composting
To get started with composting chicken manure, it’s essential to properly prepare and balance your pile to avoid any issues. This process is crucial in creating a healthy and thriving garden ecosystem.
Collecting and Sorting Chicken Droppings
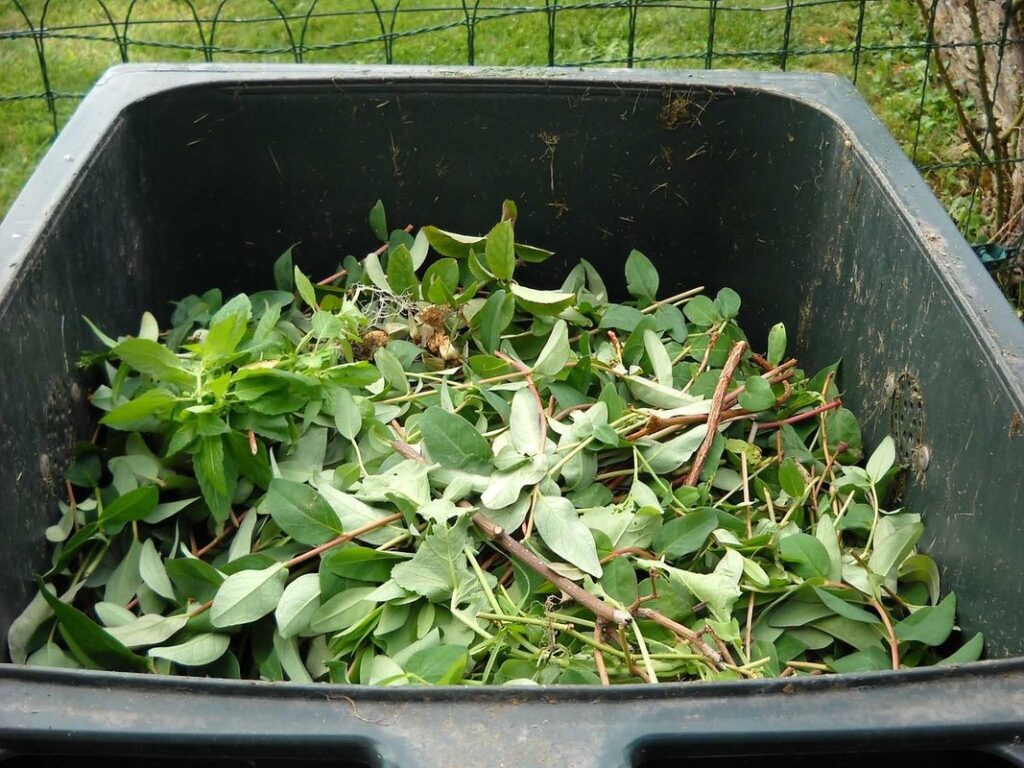
Collecting and sorting chicken manure is an essential step in preparing it for composting. To maintain a clean environment, it’s crucial to establish a system that collects the droppings without mixing them with other materials. You can start by placing a layer of wood shavings or straw at the bottom of the coop to absorb excess moisture and make cleanup easier.
Next, line the coop with a tray or a gutter system specifically designed for collecting chicken manure. This will prevent any spilled material from contaminating the surrounding area. Regularly empty the trays into a designated storage container to keep the collection process manageable. Sort through the collected droppings, separating solid and liquid waste. Liquid waste can be used as a fertilizer or repurposed in other ways.
When sorting, consider categorizing the droppings into different piles based on their composition. For example, you might separate fresh droppings from aged material to create a more balanced compost mix. This step may seem tedious, but it ensures your final compost product is nutrient-rich and free of contaminants. By maintaining this diligence in collecting and sorting chicken manure, you’ll be well-prepared for the next stage of the composting process.
Dealing with Odors and Pathogens
When working with raw chicken manure for composting, it’s essential to minimize odors and pathogens to ensure a safe and efficient composting process. One of the primary concerns is the high nitrogen content in chicken manure, which can lead to ammonia production and unpleasant odors.
To mitigate this issue, mix the chicken manure with carbon-rich materials like straw or shredded newspaper to create an optimal C:N ratio (around 25:1). This balance helps to break down the nitrogen compounds, reducing odor-causing ammonia levels. Regular turning of the compost pile is also crucial, allowing oxygen to penetrate and promoting healthy microbial activity.
It’s also vital to note that raw chicken manure can contain pathogens like Salmonella and E. coli, which can be transferred to plants through contaminated compost. To minimize this risk, ensure the chicken manure has been properly aged for at least six months before using it in your compost pile. This allows time for natural pathogens to break down or become deactivated by heat generated during the composting process.
When working with raw chicken manure, always handle it safely and hygienically to avoid cross-contamination. Wear gloves, and wash your hands thoroughly after handling the material.
Creating a Compost Pile for Chicken Manure
To create a successful compost pile for chicken manure, you’ll need to balance nitrogen-rich waste with carbon-rich materials and maintain adequate moisture. This section will walk you through those key steps.
Choosing the Right Location and Equipment
When it comes to creating a compost pile for chicken manure, choosing the right location is crucial. First and foremost, consider accessibility. You’ll want to place the compost pile near a water source and preferably on level ground to make it easy to turn and monitor moisture levels. Avoid areas with standing water or where water tends to collect, as this can lead to anaerobic conditions that hinder decomposition.
Another factor to keep in mind is sunlight exposure. A location that receives partial shade will help regulate temperature fluctuations within the compost pile. If your area experiences extreme temperatures, consider providing some shading using a tarp or other cover material.
In terms of equipment, you’ll need some basic tools like a shovel, pitchfork, and wheelbarrow for turning and transporting materials. Consider investing in a compost aerator to make this process easier and more efficient. Lastly, don’t forget to have a nearby storage space for finished compost – you’ll want easy access to use it as fertilizer when the time comes.
Building a Compost Pile: Layering and Monitoring Materials
Building a compost pile using layering principles is crucial for effective chicken manure composting. Start by gathering materials from various sources, such as kitchen scraps, leaves, and shredded newspaper. A general rule of thumb is to maintain a 2/3 “brown” materials (e.g., dry leaves) to 1/3 “green” materials (e.g., chicken manure, kitchen scraps) ratio.
To build the pile, begin with a 4-6 inch layer of brown materials at the bottom. Add a 2-3 inch layer of green materials on top of this, followed by another 2-3 inch layer of brown materials. Continue alternating layers in this manner until you reach the desired height. As you add materials, make sure to mix them gently but thoroughly.
It’s also essential to monitor temperature and carbon-to-nitrogen ratios throughout the composting process. Aim for a temperature between 130°F to 140°F (54°C to 60°C), which indicates optimal decomposition. Regularly check the pile by inserting a thermometer or using your hands to gauge its heat.
Tips for Successful Chicken Manure Composting at Home
To ensure your chicken manure composting project is a success, follow these essential tips that will guide you through the process and prevent common mistakes. Let’s dive in!
Common Challenges and Solutions in Home Composting
Composting chicken manure can be a bit tricky, especially when you’re just starting out. One of the most common challenges is dealing with odors and pests. When not managed properly, the high nitrogen content in chicken manure can lead to ammonia emissions and attract unwanted critters like rodents, flies, and even raccoons.
To tackle this issue, make sure to balance your compost pile’s carbon-to-nitrogen ratio by adding materials like straw or shredded newspaper. Regular turning of the pile is also essential to ensure adequate oxygen flow and prevent anaerobic conditions that foster pest attraction.
Another challenge you might face is pathogen contamination. Chicken manure can harbor harmful bacteria, such as E. coli and Salmonella. To minimize this risk, it’s crucial to heat your compost pile to a temperature of at least 131°F (55°C) for several days. This will kill off pathogens and render the compost safe for use in your garden.
By being mindful of these potential challenges and taking proactive steps, you can create a nutrient-rich compost that will take your garden to the next level.
Maintenance Schedule and Monitoring Compost Quality
Regular maintenance is crucial to ensure that your chicken manure composting process runs smoothly and efficiently. To start with, set aside a specific time slot each day or week for routine checks on the pile’s moisture, temperature, and aeration. Aim to turn the pile every 2-3 days during the active decomposition phase (7-14 days) to maintain optimal oxygen levels.
Monitoring compost quality is just as important as maintaining the process itself. Check the pile’s moisture level by sticking your hand into it up to the elbow; if it feels dry, add some water, and if it’s too wet, let it sit for a day or two. Regularly inspect the temperature using an infrared thermometer; it should reach 130-140°F (54-60°C) within 24-48 hours of adding new materials.
To evaluate compost quality, look out for signs like a dark brown color, earthy aroma, and crumbly texture. If your pile has not achieved these characteristics after several weeks, re-evaluate your mix ratio or carbon-to-nitrogen balance to make adjustments accordingly.
Using Composted Chicken Manure in the Garden
Now that you have your compost pile churning out nutrient-rich goodness, it’s time to put it to work in your garden. Let’s explore how to use this valuable resource effectively.
Applying Finished Compost: Timing and Rates
When it’s time to apply your finished compost, you’ll want to consider both timing and rates. Compost can be a powerful tool for enriching the soil, but overapplication can actually do more harm than good.
Timing is crucial. For most garden beds, spring or fall are ideal times to add compost, when plants are less active and don’t need a lot of nutrients. Avoid adding fresh compost during peak growing seasons, as this can lead to an overabundance of nutrients that can scald plant roots.
In terms of rates, it’s generally recommended to use 2-4 inches (5-10 cm) of finished compost per bed, spread evenly throughout the soil. For specific crops like tomatoes and peppers, you may want to aim for a slightly higher rate – around 6-8 inches (15-20 cm) – as these plants are heavy feeders.
Some plants also have special considerations when it comes to compost application. For instance, seedlings don’t need much compost at all; instead, focus on mixing some into the top layer of soil near established plants. Similarly, root vegetables like carrots and beets prefer their soil more aerated, so mix in a bit less compost than you would for other crops.
Keep in mind that these are general guidelines – your specific garden’s needs may vary depending on factors like climate, soil type, and crop selection. As always, it’s better to err on the side of caution and start with smaller amounts, gradually increasing as needed based on plant response.
Tips for Effective Fertilizer Use with Chicken Manure
When using chicken manure as fertilizer, it’s essential to apply it correctly to avoid over-fertilizing your garden. Over-application can lead to nutrient imbalances and even damage to plants. To use chicken manure effectively, follow these tips:
Firstly, ensure you’ve composted the manure properly to kill off pathogens and break down the nutrients into a usable form. This process typically takes several months, but it’s crucial for creating a safe and effective fertilizer.
When applying the composted manure, start with small amounts (about 1-2 pounds per 100 square feet) and gradually increase as needed. It’s better to err on the side of caution, especially if you’re new to using chicken manure in your garden.
You can also mix the manure compost with other natural fertilizers like peat moss or wood ash to create a balanced fertilizer blend. This approach helps prevent over-fertilization and ensures that your plants receive the right amount of nutrients.
Regular soil tests will help you determine if additional fertilizers are needed.
Frequently Asked Questions
Can I use chicken manure composting if I don’t have a large garden or space?
Yes, you can still benefit from chicken manure composting even with limited space. Consider vermicomposting, which involves using worms to break down the compost in a compact, indoor setup. This method is ideal for small spaces and can be done on a smaller scale.
How do I deal with pathogens and odors during the composting process?
Pathogens and odors are common concerns when working with chicken manure. To minimize these issues, ensure you follow proper temperature monitoring (aim for 131°F to kill off pathogens) and mixing techniques to maintain adequate oxygen levels. Regularly turning the pile will also help manage odors.
What if I notice a slow decomposition rate or mold growth in my compost pile?
Don’t worry! Slow decomposition rates can be caused by factors like inadequate carbon-to-nitrogen ratios, insufficient moisture, or poor airflow. To speed up decomposition, add more brown materials (high in carbon), ensure adequate watering, and aerate the pile regularly.
Can I use chicken manure from other sources, such as commercial farms or backyard chickens with health issues?
It’s generally recommended to source chicken manure from healthy, disease-free birds whenever possible. If using manure from commercial farms or sick animals, make sure to follow proper safety protocols and testing procedures to minimize the risk of pathogens.
How do I store my finished compost before applying it to the garden?
Store your finished compost in a dry, well-ventilated area to maintain its quality and prevent moisture-related issues. You can also consider storing it in containers or bags for easier application later on.