Cultivating mealworms is an increasingly popular practice, especially among gardeners and small-scale farmers. These tiny insects are a nutritious and sustainable food source for various animals, from chickens to reptiles. However, successfully breeding them requires careful planning and attention to detail.
If you’re new to cultivating mealworms or want to improve your current setup, this article is for you. We’ll cover everything you need to know, from setting up the right equipment to providing optimal nutrition and breeding conditions. You’ll learn how to identify common mistakes that can ruin a batch of mealworms and expert tips on how to avoid them. By the end of this guide, you’ll be well-equipped to start or improve your own mealworm cultivation process, ensuring a steady supply of these valuable insects for years to come.
Choosing the Right Equipment
When it comes to raising healthy mealworms, having the right equipment is essential. Here’s what you need to know before selecting your gear.
Setting Up Your Mealworm Colony
To set up a thriving mealworm colony, you’ll need to create an environment that mimics their natural habitat. Start by selecting a suitable container, such as a plastic bin or aquarium, with adequate ventilation to prevent moisture buildup. Next, add a substrate like wood shavings or coconut fiber to a depth of about 1-2 inches. This will provide a comfortable surface for the mealworms to move around on.
Hiding places are essential for the health and well-being of your colony. You can create hiding spots by adding small rocks, twigs, or pieces of bark to the substrate. These areas will allow the mealworms to feel secure and reduce stress levels. When preparing the environment, it’s crucial to maintain optimal breeding conditions.
For example, a temperature range of 70-80°F (21-27°C) and humidity level between 50-60% is ideal for mealworm cultivation. To achieve this, you can use a heat source like a heat mat or a warm light bulb, and maintain the desired humidity level using a spray bottle to mist the substrate regularly. By following these guidelines, you’ll be well on your way to establishing a healthy and thriving mealworm colony.
Selecting a Suitable Location
When it comes to cultivating mealworms, selecting a suitable location within your home or indoor space is crucial for their survival and growth. Mealworms thrive in environments with specific temperature and humidity levels, which can vary depending on the region you’re in.
To begin, consider the temperature requirements for your mealworm colony. A consistent temperature range of 70°F to 80°F (21°C to 27°C) is ideal, as it allows for optimal growth and development. Avoid placing their enclosure near drafty windows or air conditioning vents, as extreme temperature fluctuations can harm the worms.
Humidity also plays a significant role in mealworm cultivation. Aim for a relative humidity of 50-60% by placing the enclosure on top of a shallow water tray or using a humidifier. This will maintain a stable environment and prevent moisture buildup.
Lastly, choose a location that provides easy accessibility for feeding, cleaning, and monitoring your mealworm colony. A nearby shelf or countertop is ideal, as it allows you to frequently inspect and care for the worms without disturbing them.
Acquiring Mealworms and Starting Your Colony
To start a successful mealworm colony, you’ll first need to acquire some healthy foundation stock, which involves obtaining high-quality mealworms. This section covers the best ways to source your initial population.
Obtaining High-Quality Starter Mealworms
When it comes to starting your mealworm colony, obtaining high-quality starter mealworms is crucial for their health and well-being. You can source mealworms from pet stores that specialize in insects, online suppliers, or even reputable breeders. When selecting a supplier, research their reputation, read reviews, and ask about the age and health of the mealworms.
Inspecting the mealworms before purchasing is also essential to ensure you’re getting healthy starter worms. Look for mealworms with smooth, intact exoskeletons, active movement, and no signs of mold or fungal growth. Avoid mealworms that appear lethargic, deformed, or have visible wounds.
When receiving your starter mealworms, check the packaging for any damage or moisture accumulation, which can lead to contamination. If you’re purchasing from a pet store, ask the staff about their sourcing and care procedures to ensure you’re getting healthy worms.
To further reduce the risk of disease, quarantine new mealworms in a separate enclosure before introducing them to your main colony. Monitor their health closely during this period, and be prepared to take action if you notice any signs of illness or stress.
Initial Setup and Population Management
When setting up your mealworm colony for the first time, it’s essential to get it right from the start. A good rule of thumb is to begin with a small initial population size of around 100-200 mealworms. This will allow you to manage and monitor their growth without overwhelming yourself.
As you introduce your mealworms to their new environment, make sure to provide a balanced diet that includes a mix of vegetables, fruits, and grains. A good starting point is to offer a 2:1 or 3:1 ratio of hay to food waste. For example, if you’re providing a cup of food waste, use 2-3 cups of hay. This will help maintain optimal moisture levels and prevent mold growth.
To monitor your colony’s progress, keep track of temperature fluctuations (around 70-80°F is ideal), humidity levels (50-60% is suitable), and feeding schedules. You can start by feeding them every other day, gradually increasing or decreasing the frequency based on their growth rate. Regularly inspect your colony for signs of pests, mold, or disease, and take corrective action if needed. By following these guidelines, you’ll be well on your way to establishing a thriving mealworm colony.
Mealworm Diet and Nutrition
When it comes to raising healthy mealworms, providing a balanced diet is crucial. This section will cover the essential nutritional needs of your mealworms and how to ensure they’re getting everything they need.
Understanding Mealworm Dietary Requirements
When it comes to meeting the dietary needs of mealworms, understanding their requirements is crucial for optimal growth and health. Mealworms are high-protein insects that thrive on a diet rich in carbohydrates and fiber. As a general rule, mealworms require a balanced diet consisting of at least 50% protein sources, 20-30% carbohydrate-rich foods, and 10-20% fiber sources.
Good protein sources for mealworms include commercial insect meals, soybean powder, and brewer’s yeast. Carbohydrate-rich foods such as oats, wheat bran, and cornmeal are also essential components of their diet. Fresh fruits like apples, bananas, and grapes can be used as a supplement to provide additional fiber and nutrients.
When selecting food items for your mealworms, make sure to choose items that are nutrient-dense and free from additives or preservatives. A simple way to feed your mealworms is by creating a mixed diet that includes a combination of protein sources, carbohydrate-rich foods, and fresh fruits. For example, you can mix 1 part commercial insect meal with 2 parts oats and add some chopped apples on top. This will provide your mealworms with the necessary nutrients for optimal growth and health.
Food Preparation and Presentation
When it comes to preparing nutritious meals for your mealworms, you’ll want to focus on creating a balanced and varied diet. This means chopping food items into small pieces to ensure easy digestion. You can use a food processor or blender to chop fruits, vegetables, and grains like oats and wheat bran.
For soaking, you’ll want to reconstitute dried ingredients by mixing them with water or a nutrient-rich liquid. For example, if using dry mealworm food, soak it in water for about 30 minutes before serving. This will help prevent digestive issues and ensure your worms get the nutrients they need.
When serving, place the chopped and soaked food items into a clean container specifically designed for feeding your mealworms. Avoid overcrowding the feeder to prevent competition for resources and reduce stress on your worms. Offer a mix of fresh foods like fruits, vegetables, and grains to keep their diet interesting and varied.
Housing and Environmental Conditions
When it comes to housing and environmental conditions, you’ll want to create a space that’s specifically tailored to your mealworms’ needs. This includes temperature control, humidity management, and optimal ventilation.
Creating Optimal Temperature and Humidity Levels
Maintaining the right temperature and humidity levels is crucial for optimal mealworm growth. The ideal range for both temperature and humidity is between 75-80°F (24-27°C) and 50-60% respectively. These conditions mimic their natural habitat, promoting healthy development and preventing stress.
To achieve this balance, it’s essential to avoid common pitfalls. For instance, temperatures above 85°F can cause mealworms to become sluggish, reducing their lifespan. On the other hand, temperatures below 65°F can slow down their growth rate significantly.
Humidity levels also play a significant role in maintaining optimal conditions. Excessive moisture can lead to mold and fungal growth, which can be detrimental to your mealworm colony. Conversely, extremely dry environments can cause desiccation, causing mealworms to dehydrate rapidly.
To ensure you’re providing the right environment for your mealworms, consider investing in a thermometer and hygrometer to monitor temperature and humidity levels regularly. By maintaining a consistent balance of 75-80°F and 50-60% humidity, you’ll be well on your way to cultivating a thriving and healthy mealworm colony. Regular checks will help you identify any potential issues before they become problematic.
Monitoring and Maintaining Cleanliness
Monitoring and maintaining cleanliness within the mealworm colony is crucial for their health and well-being. A clean environment helps prevent disease outbreaks, reduces odors, and ensures optimal growth rates.
Regular substrate changes are essential to keep the colony healthy. We recommend changing the substrate (e.g., wood shavings or coconut fiber) completely every 2-3 weeks. This frequency may vary depending on factors like temperature, humidity, and mealworm population size. To change the substrate, remove any uneaten food and dead insects, then transfer the mealworms to a temporary container with fresh air circulation.
Proper waste management is also vital. Remove any dead or dying mealworms daily, as well as uneaten food particles and debris. You can use a small shovel or spoon for this task. Additionally, maintain good ventilation in your colony enclosure by providing adequate airflow through mesh panels or vents.
To disinfect the enclosure, mix 1 part white vinegar with 9 parts water. Spray this solution on all surfaces, then rinse thoroughly with clean water. Allow the enclosure to dry completely before reintroducing the mealworms. This cleaning schedule will help maintain a healthy and thriving colony.
Reproduction and Life Cycle Management
When it comes to cultivating mealworms, managing their reproduction and life cycle is crucial for a healthy and thriving colony. We’ll walk you through essential steps in this section.
Understanding Mealworm Mating Habits
Mealworm mating habits can be a fascinating aspect of cultivating these insects. Mealworms, being hermaphroditic, have both male and female reproductive organs, but they still require a partner to mate. When it’s time for mealworms to reproduce, you’ll notice some distinct signs.
One of the earliest indicators is the increase in insect activity. You might observe more frequent movement around the enclosure or on the surface of food. This heightened activity usually precedes courtship behavior. Look out for specific body language cues, such as mealworms rubbing their bodies together or displaying an unusual interest in each other’s pheromones.
Successful breeding requires a suitable environment and proper nutrition. A temperature range between 22-28°C (72-82°F) and humidity levels of around 60-70% are ideal for optimal mating. Ensure your enclosure is clean, well-ventilated, and has ample space for mealworms to roam freely. Maintain a diet rich in fiber to promote overall health.
When breeding, it’s essential to separate male from female mealworms to avoid overcrowding. Provide each sex with its own compartment or enclosure, allowing them to mate when they’re ready. This approach ensures successful reproduction and reduces competition for resources among the insects.
Managing Life Cycles for Efficient Growth
Managing life cycles is crucial for efficient growth when cultivating mealworms. To begin with, it’s essential to recognize the different stages of their life cycle: egg, larva (or hatchling), pupa, and adult. As a mealworm breeder, you’ll want to keep an eye out for these distinct phases, which can range from 2-4 weeks in duration.
Identifying potential problems is equally important. Common issues include inadequate nutrition, overcrowding, and unsanitary conditions. For instance, if your hatchlings are failing to develop properly, it may be due to a lack of calcium or protein in their diet. Similarly, if you notice an unusual number of dead pupae, it could indicate poor ventilation or inadequate space for the insects.
To implement solutions, monitor your mealworms closely and make adjustments as needed. This might involve upgrading their feeding schedule, introducing additional hiding places to reduce stress, or ensuring proper air circulation in your breeding enclosure. By staying attuned to these factors and making timely interventions, you can optimize growth rates and maximize your mealworm harvest.
Harvesting and Marketing Your Mealworms
Now that you’ve successfully raised your mealworm colony, it’s time to reap the rewards by harvesting them for sale or use in recipes. This next step covers key considerations for a successful harvest and marketing strategy.
Identifying the Right Harvest Time
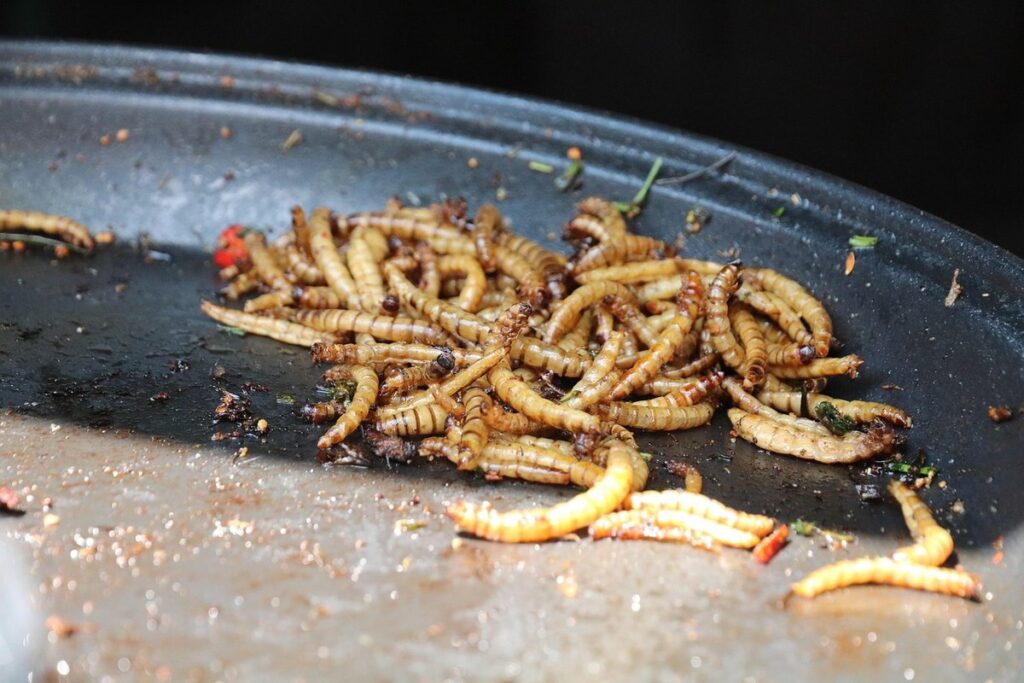
When it comes to harvesting mealworms, determining the right time is crucial to ensure they are at their optimal size and quality. A good rule of thumb is to harvest mealworms when they have reached 1-2 cm in length. This stage typically occurs after 30-40 days of feeding them a nutrient-rich diet. To check for readiness, simply measure the length of several worms or use a ruler to gauge their overall size.
However, don’t just rely on physical measurements alone. Also consider the color and texture changes that occur as mealworms mature. A healthy harvest is characterized by plump, well-fed insects with no signs of disease or injury. Inspect your colony regularly to identify any stressors or issues that may impact quality. To minimize stress during harvesting, perform this task gently, ideally in the morning when worms are most active.
For larger operations, consider using a sorting system or a vibrating screen to separate mealworms from other insects and debris.
Exploring Marketing Opportunities
When it’s time to sell your harvested mealworms, you’ll want to explore various marketing channels to reach potential customers. Let’s start with online marketplaces like Amazon and eBay. These platforms are ideal for reaching a wide audience, but be aware that competition can be fierce. To succeed, focus on offering competitive pricing, excellent customer service, and high-quality products.
Pet stores are another viable option for selling your mealworms. Many pet owners prefer to purchase live food for their reptiles or insects from specialty stores rather than online. To get your product in front of these customers, consider reaching out to local pet store owners or attending industry trade shows. You can also explore niche sales platforms like BugFarm or Insect Sales, which cater specifically to insect enthusiasts and collectors.
When marketing your mealworms, remember to emphasize their nutritional benefits, ease of care, and environmental sustainability. Highlighting these unique selling points will help you stand out from the competition and attract customers who are looking for a premium product. By diversifying your sales channels and focusing on the right messaging, you’ll be well on your way to successfully marketing your harvested mealworms.
Common Challenges and Troubleshooting
As you start cultivating mealworms, you may encounter some common issues that can be frustrating to deal with. This section will help you troubleshoot these problems and get your colony back on track.
Identifying and Addressing Common Problems
One of the most common challenges you may face when cultivating mealworms is mold growth. This can be caused by excessive moisture, poor ventilation, or inadequate feeding habits. To prevent mold from taking over your colony, ensure that you are maintaining a consistent humidity level between 50-70%. You should also regularly inspect your containers for any signs of mold and take corrective action immediately.
Another issue that may arise is temperature fluctuations. Mealworms thrive in temperatures between 22-28°C (72-82°F). If the temperature drops below this range, growth will slow down, while prolonged exposure to high temperatures can be fatal. To maintain a stable environment, invest in a heat source or move your containers to a location with consistent temperatures.
Lastly, poor feeding habits can also lead to problems. Mealworms require a diet rich in fiber and protein. Avoid overfeeding, as this can cause the worms to produce excess frass (waste). Monitor their food intake and provide them with a balanced diet that includes high-quality commercial mealworm food or a mix of vegetables and fruits.
Regularly inspecting your colony, adjusting temperature and humidity levels, and maintaining a balanced feeding schedule will help you address common issues and ensure the health and well-being of your mealworms.
Best Practices for Preventing Issues
When it comes to maintaining a healthy and thriving mealworm colony, following best practices is crucial. To prevent issues, start by handling mealworms gently but firmly with clean hands or tweezers. Avoid touching the worms’ bodies excessively, as oils from your skin can cause them stress.
Proper sanitation protocols are also vital. Ensure that your breeding containers are cleaned regularly with a mild detergent and rinsed thoroughly to remove any residual soap residue. Replace food and water sources frequently to prevent contamination. This includes disposing of any uneaten food to maintain a clean environment for the mealworms.
Regular monitoring is another essential aspect of maintaining a healthy colony. Check on the mealworms daily, making sure they have access to adequate food, water, and oxygen. Monitor temperature and humidity levels, aiming for an ideal range between 20-30°C (68-86°F) with moderate humidity. By following these best practices, you can prevent common issues such as overcrowding, disease outbreaks, or even the mealworms escaping from their enclosure.
By incorporating these simple yet effective strategies into your routine, you’ll be well on your way to creating a thriving and healthy mealworm colony.
Frequently Asked Questions
What are the best substrates for mealworms, and how often should I replace them?
Mealworms thrive on a variety of substrates, including wood shavings, coconut fiber, and even leaf litter. However, it’s essential to replace them regularly (every 1-2 months) to prevent moisture buildup and maintain optimal hygiene. Fresh substrates will also help prevent bacterial and fungal growth that can harm your mealworm colony.
How do I ensure optimal temperature and humidity levels for my mealworms?
To create an ideal environment, aim for a temperature range of 75°F (24°C) to 85°F (29°C) and maintain relative humidity between 50% and 60%. Monitor temperature and humidity levels closely using digital thermometers and hygrometers. This will help prevent stress and promote healthy growth in your mealworm colony.
What are some common mistakes that can ruin a batch of mealworms, and how do I avoid them?
Common mistakes include overpopulation, inadequate nutrition, and poor hygiene. To avoid these issues, monitor your mealworm’s food supply regularly, maintain optimal environmental conditions, and ensure proper cleaning and sanitation procedures. Regularly inspecting your colony will also help you identify any potential problems early on.
Can I use a single container for multiple life cycles of mealworms, or should I start fresh with each cycle?
While it might be tempting to reuse containers, doing so can lead to contamination and reduced efficiency. It’s best to dedicate separate containers for each life cycle to maintain optimal hygiene and prevent the spread of diseases.
How do I manage mealworm waste and prevent it from becoming a nuisance in my home or facility?
Mealworm waste is relatively minimal compared to other livestock, but it still requires proper management. Store waste in sealed containers and dispose of it regularly (about once a week). This will help maintain cleanliness and prevent any unpleasant odors or pests attracted to decaying matter.