Growing your own sage plant can be a game-changer for any home cook or herbal enthusiast. Not only is sage a staple herb in many cuisines, but its soothing properties and medicinal benefits make it a valuable addition to your garden and kitchen. However, growing sage can be a bit finicky, which is why we’ve put together this comprehensive guide on how to grow, care for, and harvest sage plants.
In this article, you’ll learn the ins and outs of selecting the right variety for your needs, from ornamental to culinary-grade sage. We’ll cover the best methods for propagation, pruning, and training your plant to thrive year-round. Plus, we’ll share expert tips on how to care for your sage during the winter months when it’s most vulnerable. Whether you’re a seasoned gardener or just starting out, this guide will have you growing and harvesting your own sage in no time.
Choosing the Right Sage Variety
When it comes to growing a thriving sage plant, selecting the right variety is crucial. This section will guide you through the key factors to consider when choosing the perfect sage for your garden or kitchen.
Understanding Sage Varieties
When it comes to choosing the right sage variety for your garden, you’ll be spoiled for choice. With numerous types of sage plants available, each with its unique characteristics and uses, selecting the perfect one can seem daunting.
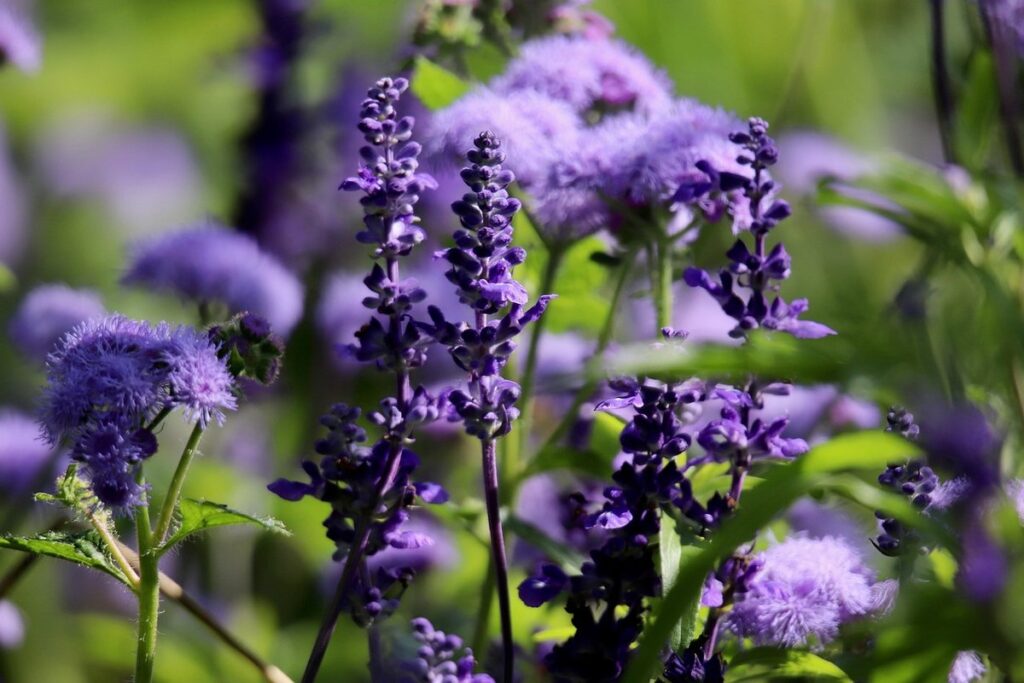
Let’s start with some popular varieties. Common sage (Salvia officinalis) is a classic choice and the most widely grown species. It has bright green leaves and produces small blue flowers in summer. This variety is perfect for culinary purposes, as it has a more pronounced flavor than other types of sage. On the other hand, purple sage (Salvia officinalis ‘Purpurea’) boasts deep reddish-purple foliage, adding a beautiful pop of color to your garden. Its leaves are also slightly sweeter and less bitter than common sage.
Another variety worth mentioning is silver sage (Salvia argentea), which has silvery-gray leaves that give it a stunning appearance. This drought-tolerant plant is perfect for xeriscaping and can thrive in areas with low rainfall. When selecting a sage variety, consider your garden’s specific needs, climate, and desired uses for the plant.
Selecting a Variety for Your Climate
When selecting a sage variety for your garden, it’s essential to consider the climate and region you live in. This might seem obvious, but many gardeners overlook this crucial factor when choosing their plants.
Not all sage varieties are created equal when it comes to tolerating extreme temperatures or humidity levels. For example, some popular varieties like ‘Tri-Color’ and ‘Pineapple’ can handle warmer temperatures up to 90°F (32°C), while others like ‘Berggarten’ and ‘Fuzzy Foliage’ prefer cooler climates with temperatures ranging from 60°F to 70°F (15°C to 21°C). If you live in a hot and dry climate, look for varieties that are drought-tolerant or have thick leaves to reduce water loss.
In addition to temperature tolerance, consider the humidity levels in your area. Sage plants prefer well-draining soil and can be susceptible to root rot if the soil is too wet. In humid climates, choose a variety with good air circulation to prevent fungal diseases. Finally, don’t forget about sunlight requirements – some sage varieties prefer full sun while others thrive in partial shade.
Planting Sage from Seed or Cuttings
If you’re ready to start growing your very own sage plant, we’ll walk you through planting from both seed and cuttings in the following steps. Let’s dive into the process!
Sowing Sage Seeds Indoors
Sowing sage seeds indoors 6-8 weeks before the last frost date in your area is an excellent way to get a head start on growing this popular herb. To begin, you’ll need some high-quality seed starting mix and a container with good drainage.
Fill the container with the seed starting mix, leaving about 1/4 inch of space at the top. Place one or two sage seeds in the soil, depending on their size, and cover them lightly with a thin layer of soil. Water gently but thoroughly to settle the soil around the seeds.
Provide your sage seeds with adequate light exposure for optimal germination. A south-facing windowsill or grow lights placed about 6-8 inches above the soil surface work well. Keep the soil consistently moist but not waterlogged, as this can lead to fungal diseases and poor germination rates. It’s also essential to maintain a temperature between 65°F to 75°F (18°C to 24°C) during the day and around 55°F (13°C) at night.
This will create an ideal environment for your sage seeds to germinate within 7-14 days.
Propagating Sage through Stem Cuttings
To propagate sage plants using stem cuttings is a reliable method for creating new seedlings. Begin by selecting healthy stems from mature sage plants with a minimum of four nodes. Cut the chosen stems under running water, ideally just above a node, to minimize the risk of decay.
Next, prepare rooting hormone powder or liquid according to the product’s instructions and apply it evenly to the cut end of each stem cutting. This stimulates root growth and increases the chances of successful propagation.
Once treated with rooting hormone, plant the stem cuttings in a well-draining potting mix within small pots or cell trays. Water thoroughly and provide a humid environment by covering the container with a clear plastic bag or a cloche. Place the setup in a location with bright, indirect light but avoid direct sunlight. Roots should develop within four to six weeks.
Caring for Your Sage Plant
To keep your sage plant thriving, it’s essential to provide it with proper care and attention. This section will cover the must-know tips for maintaining a healthy and happy sage plant at home.
Watering and Soil Requirements
Watering and soil requirements are crucial for your sage plant’s health. Sage is a Mediterranean native that thrives in dry conditions, but it still needs adequate moisture to survive. Overwatering is the most common mistake people make when caring for sage plants. Water your sage only when the top 1-2 inches of soil feel dry to the touch. Check the soil by inserting your finger into the potting mix up to the first knuckle.
A good rule of thumb is to water your sage plant in the morning, so the leaves have the entire day to dry out. This will help prevent fungal diseases that thrive in moist conditions. Fertilize your sage plant regularly during the growing season with a balanced fertilizer. Dilute the fertilizer to half the recommended strength to avoid burning the roots.
To promote a robust root system, prune your sage plant back by one-third after it finishes flowering. This will encourage new growth and help the plant focus its energy on developing a strong root system. Prune your sage regularly throughout the growing season to maintain its shape and promote healthy growth. By following these simple watering and soil care tips, you’ll be well on your way to growing a thriving and resilient sage plant.
Pest and Disease Management
Sage plants are susceptible to various pests and diseases that can severely impact their growth and health. One of the most common pests affecting sage is the aphid. These small, soft-bodied insects feed on plant sap, causing curled or distorted leaves and stunted growth. Whiteflies are another pest to watch out for; they lay eggs on the underside of leaves, which hatch into tiny nymphs that suck the plant’s nutrients.
Powdery mildew is a common fungal disease affecting sage plants. It appears as a white powdery coating on the leaves, causing them to become distorted and discolored. To manage pests like aphids and whiteflies, use neem oil or insecticidal soap as a spray to repel them. For fungicides, opt for organic options such as copper-based or sulfur-based products.
To prevent powdery mildew from taking hold, ensure good air circulation around your sage plant by pruning nearby plants and providing adequate space between them. Regularly inspect your plant’s leaves for any signs of infection and remove affected areas immediately to prevent the spread.
Pruning and Harvesting Sage
When it’s time to prune and harvest your sage plant, you’ll want to do so at the right moments to ensure optimal growth and flavor. Learn when and how to trim back your sage for a bountiful harvest.
When to Prune Your Sage Plant
When to Prune Your Sage Plant
Pruning is an essential part of sage plant care, and timing is crucial for maintaining its health and promoting new growth. The ideal times to prune your sage plant are before the new growth begins in spring and after harvesting leaves or flowers in summer.
In early spring, just as the weather starts to warm up, prune back your sage plant by about one-third to encourage bushy growth and prevent it from becoming leggy. This will also help remove any dead or damaged branches that may have developed over winter. Make sure to cut back the stems to a node, as this is where new growth will emerge.
After harvesting leaves or flowers in summer, prune your sage plant again to maintain its shape and encourage more growth. Cut off the spent flower stalks and trim back the foliage by about half to promote new leaf growth. By pruning regularly, you’ll be able to enjoy a healthy, robust sage plant that produces plenty of fragrant leaves and colorful flowers throughout the growing season.
Tips for Harvesting Fresh Sage Leaves
Harvesting fresh sage leaves at their peak flavor and aroma is crucial to get the most out of your plant. Timing is key; typically, you’ll want to harvest individual leaves or sprigs as needed, but for larger quantities, it’s best to do so when the plant is in full growth phase, usually during mid-to-late summer. To avoid weakening the plant, take no more than one-third to half of the foliage at any given time.
When cutting, use sharp scissors or pinch off individual leaves with your fingers to prevent bruising and promote healthy regrowth. Avoid using a single cut from the center stem, as this can lead to disease entry points. Instead, work along the stems, making multiple cuts about an inch apart.
Proper storage is equally important; tie sprigs in small bunches and hang upside down in a cool, dry place or wrap them loosely in paper towels and refrigerate for up to 5-7 days. This will help preserve the delicate oils that give sage its distinctive flavor and aroma.
Overwintering and Winter Care
As winter approaches, it’s time to think about protecting your sage plant from frost and extreme cold. This section covers essential tips for overwintering and winter care to keep your sage healthy and thriving.
Preparing Your Sage Plant for Winter
As winter approaches, it’s essential to prepare your sage plant for the colder months ahead. One of the most critical tasks is pruning back stems to a manageable size. This will not only help prevent damage from heavy snow and ice but also encourage new growth come spring.
To prune your sage plant, simply cut back the stems to about one-third to one-half their original height. Make clean cuts just above a node (where a leaf meets the stem) using sharp, sterile pruning shears or scissors. Remove any dead or damaged leaves to prevent the spread of disease and encourage healthy growth.
Another crucial step is mulching around the base of your sage plant. A layer of organic mulch, such as straw or bark chips, will help insulate the roots from extreme temperatures and retain moisture in the soil. Aim for a depth of about 2-3 inches and keep it a few inches away from the stem to prevent rot.
Finally, take steps to protect your sage plant from frost damage. Bring potted plants indoors if possible or cover them with a breathable cloth or tarp to shield them from harsh winds and freezing temperatures. If you’re unable to bring your plant inside, create a cold frame using wooden boards and clear plastic sheeting to provide additional protection.
Bringing Indoor or Under Cover
When winter sets in and outdoor temperatures drop, it’s time to consider overwintering your sage plant. Bringing it indoors or under a protective cover is an excellent way to keep your sage healthy during the cold months. To start, choose a location with bright, indirect light for your indoor sage plant. This can be a sunny window or a spot near grow lights. South-facing windows are ideal as they provide warmth and gentle light.
Keep in mind that sage prefers temperatures between 40°F to 70°F (4°C to 21°C). To maintain this range indoors, place the pot on a tray filled with water and pebbles to create a microclimate or use a space heater. Fertilize sparingly during winter months as growth slows down. Water your sage plant when the top inch of soil feels dry to the touch.
Consider using a cloche or greenhouse for plants under cover, which provides protection from wind, frost, and extreme temperatures. These structures also help maintain humidity and retain heat around the plants. For example, you can use row covers or cold frames for larger outdoor spaces.
Common Problems and Solutions
We’ve all been there – wondering why our sage plant isn’t thriving, despite our best efforts. Let’s tackle some common issues and find solutions to get your sage back on track!
Identifying Issues with Your Sage Plant
If you notice that your sage plant is struggling, it’s essential to identify the issue and take corrective action. One common problem is yellow leaves, which can be caused by overwatering, underwatering, or nutrient deficiencies. Check if the soil feels soggy or dry to the touch – if it’s too wet, let the plant drain excess water for a day or two before resuming regular care.
Another issue you might encounter is weak growth, characterized by spindly stems and small leaves. This can be due to inadequate light, low temperatures, or insufficient fertilization. Make sure your sage plant receives at least 4-6 hours of direct sunlight daily and maintain a temperature between 60-70°F (15-21°C). You can also feed it with a balanced fertilizer during the growing season.
Pests like spider mites, mealybugs, or aphids can also infest your sage plant. Look for fine webbing on the leaves or stems, sticky substance on the leaves, or actual insects crawling on the plant. To get rid of pests, gently spray the plant with water to dislodge them, then use neem oil or insecticidal soap according to package instructions.
By addressing these common issues promptly, you can save your sage plant from further damage and promote healthy growth. Regular monitoring and quick action will help prevent problems from escalating into more severe ones.
Troubleshooting Tips and Advice
If you’re experiencing problems with your sage plant, don’t worry – it’s more common than you think. One of the most common issues is over-watering, which can lead to root rot and a nasty moldy smell. To fix this, stop watering your sage immediately and repot it in fresh soil. Make sure the pot has good drainage holes to prevent waterlogged soil.
Another issue that might arise is lack of sunlight. Sage needs at least four hours of direct sunlight per day to thrive. If you live in a cloudy area or have limited natural light, consider moving your sage plant to a sunnier spot or investing in grow lights.
Pests can also be a problem – check for any signs of aphids, whiteflies, or spider mites on the underside of leaves and stems. To get rid of these pesky critters, use neem oil or insecticidal soap according to package instructions.
If your sage plant is struggling with pests or disease, prune it back by about one-third to promote new growth and prevent further damage.
Conclusion: Enjoy Your Homegrown Sage
Now that you’ve successfully grown your own sage plant, it’s time to reap the rewards. Harvesting your homegrown sage is a thrilling experience, and the benefits don’t stop there. Use fresh leaves in cooking, as a garnish or add them to soups and stews for a burst of flavor. You can also dry or freeze the leaves for year-round use. Sage is not only delicious but also packed with antioxidants and other nutrients, making it a great addition to your diet.
As you continue to tend to your sage plant, remember that regular pruning will keep it bushy and healthy. With proper care, your sage plant should thrive and provide you with an abundance of fresh leaves for years to come. So go ahead, get creative in the kitchen, and enjoy the fruits of your labor – literally!
Frequently Asked Questions
Can I grow sage indoors year-round with proper care?
Yes, you can grow sage indoors year-round with the right conditions. To do so, provide your sage plant with a bright location with direct sunlight (at least 4-6 hours a day), maintain temperatures between 65°F to 75°F (18°C to 24°C), and ensure it receives adequate humidity.
How often should I water my sage plant during the winter months?
During the winter, when sage plants are dormant, reduce watering frequency. Water your sage plant only when the top inch of soil feels dry to the touch. This will help prevent root rot and other issues associated with overwatering during this period.
Can I use store-bought potting mix for my sage plant?
No, it’s recommended to use a well-draining potting mix specifically designed for herbs like sage. Regular potting mixes can retain too much water, leading to root rot and other problems common in sage plants. Use a high-quality mix that contains perlite or vermiculite to ensure optimal drainage.
How do I propagate my existing sage plant using stem cuttings?
Propagate your sage plant by taking 4-6 inch (10-15 cm) stem cuttings, removing lower leaves, and planting them in a well-draining potting mix. Water thoroughly and maintain temperatures around 70°F to 80°F (21°C to 27°C). Roots should develop within 1-2 weeks.
What are some common pests that can affect my sage plant?
Common pests affecting sage plants include aphids, spider mites, and mealybugs. Regularly inspect your plant for signs of infestation, such as white powdery patches or tiny eggs on the underside of leaves. Use neem oil or insecticidal soap to treat minor infestations before they spread.