As you water your garden or wash your car, have you ever stopped to think about where all that water comes from? Chances are, it’s not just from the tap. Did you know that collecting rainwater can make a big difference in reducing your water bills and conserving this precious resource? By setting up a simple rain barrel system, you can harvest rainwater right from your rooftop and use it for various household needs. Not only will this help lower your environmental footprint, but it’s also a great way to save money on your water bill. In this article, we’ll guide you through the process of setting up a rain barrel system, including choosing the right equipment, installing it correctly, and maintaining it effectively.
Benefits of Rain Barrel Setup
By setting up a rain barrel, you’ll not only be reducing your water bill but also contributing to a more sustainable and environmentally friendly lifestyle for years to come.
Reducing Water Bills and Environmental Impact
Setting up a rain barrel system not only helps conserve water but also significantly reduces your water bills. According to the United States Environmental Protection Agency (EPA), households can save up to 30 gallons of water per day by using rain barrels, which translates to an annual savings of over $100.
One of the primary reasons for reduced water bills is that rainwater collected from rain barrels can be used for non-potable purposes such as watering plants, washing cars, and even flushing toilets. By utilizing this free resource, you can minimize your reliance on municipal water supplies and subsequently lower your monthly water bills.
In addition to financial benefits, using rain barrels also has a positive impact on the environment. The process of collecting and reusing rainwater reduces stormwater runoff, which helps prevent erosion and minimizes the amount of pollutants that enter local waterways. This not only maintains healthy aquatic ecosystems but also supports biodiversity within your community.
To maximize the financial benefits of rain barrel setup, it’s essential to consider factors such as the size of your system, the number of collection points, and the types of uses for which you’ll be utilizing the collected rainwater.
Understanding the Importance of Water Conservation
Water is one of our most precious resources, yet it’s often taken for granted until we face droughts or water scarcity issues. In areas prone to these challenges, conserving every drop becomes crucial. Rain barrel setup plays a vital role in this effort by collecting and storing rainwater for later use.
By harvesting rainwater, you not only reduce your reliance on municipal supplies but also minimize the strain on local water sources. This is particularly important during dry spells when demand outstrips supply. For instance, consider the 2015 drought that affected California, leaving millions of gallons of untreated water going to waste due to over-pumping from aquifers.
Collecting rainwater through a barrel setup allows you to store this valuable resource for irrigation, washing cars, or even flushing toilets. In fact, according to the EPA, using rain barrels can save homeowners up to 2,100 gallons of water per year. This translates into significant water savings and reduced pressure on local supplies.
To maximize the benefits, ensure your rain barrel setup is designed to handle seasonal fluctuations in rainfall. Regular maintenance will also help prevent mosquito breeding and contamination risks associated with standing water. By taking these steps, you can enjoy a reliable source of clean water while supporting sustainable water management practices.
Choosing the Right Rain Barrel System
When selecting a rain barrel system, consider factors like material durability, size capacity, and installation requirements to ensure it suits your specific needs. This will also help you get the most out of your setup.
Types of Rain Barrels: Plastic, Metal, and Wood
When it comes to choosing a rain barrel system, one of the most critical decisions is selecting the right type of barrel. Fortunately, you have several options to consider, each with its unique benefits and drawbacks.
Plastic rain barrels are among the most affordable and widely available choices. Made from durable, UV-resistant materials, they can withstand harsh outdoor conditions and come in a range of sizes. However, they may not be as aesthetically pleasing as other options and may harbor algae growth over time. Additionally, some plastic barrels may leach chemicals into your collected rainwater.
Metal rain barrels, on the other hand, offer a more durable and long-lasting solution. Typically made from galvanized steel or aluminum, they are resistant to rust and can withstand heavy rainfall. However, metal barrels can be heavier and more expensive than their plastic counterparts. Some metal options may also require additional maintenance to prevent corrosion.
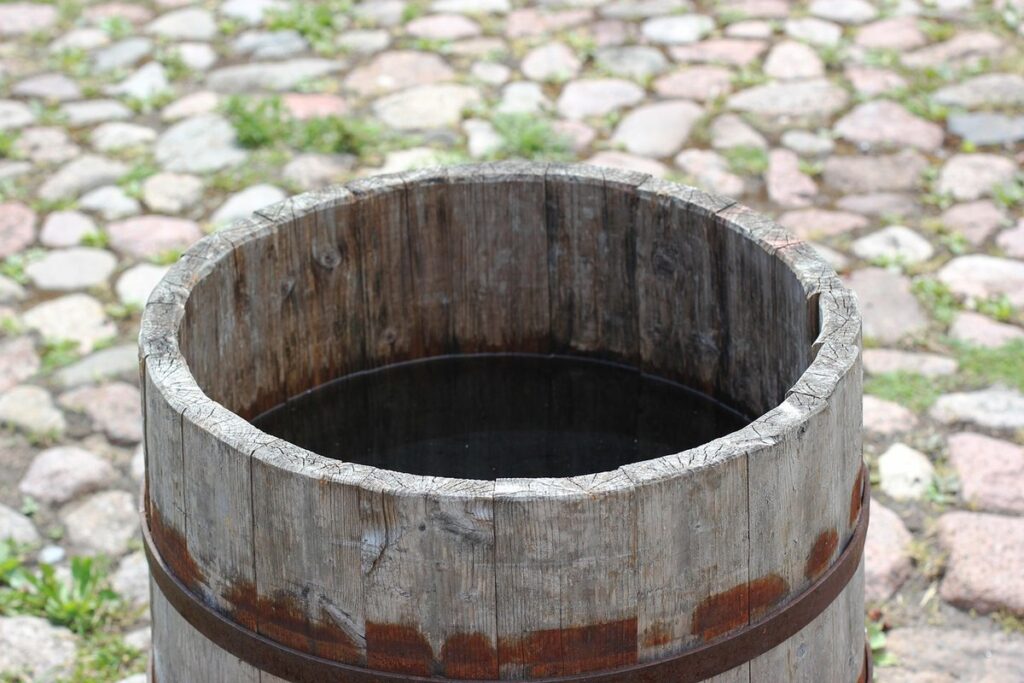
Wooden rain barrels provide a natural, eco-friendly alternative. Made from sustainably sourced wood, they offer a unique aesthetic appeal and can blend seamlessly with garden decor. However, wooden barrels may be more prone to rotting or warping if not properly treated, and can harbor bacteria in their water collection systems. Ultimately, the right choice will depend on your specific needs, budget, and environmental concerns.
Selecting the Correct Size for Your Needs
When selecting a rain barrel system, choosing the right size is crucial to ensure it meets your specific needs. A larger barrel may not be necessary if you have a small roof and low water usage, while a smaller one might not provide enough storage for households with bigger roofs or gardens.
To determine the correct size, start by measuring your roof area in square feet. A general rule of thumb is to allocate 1-2 gallons of rainwater per square foot of roof space. For example, if you have a 1,000 sq ft roof, aim for a barrel that can hold at least 1,000 – 2,000 gallons.
Consider your water usage as well. If you have a large garden or lawn, you’ll need more storage capacity to accommodate the water needs of your plants. A good starting point is to estimate how much water you use in a typical day and multiply that by 10-15% for emergencies and overflow. Don’t forget to leave some extra space for maintenance and potential expansion.
Installation Considerations
Before you start setting up your rain barrel, there are a few important installation considerations to keep in mind to ensure a safe and effective system. Let’s take a look at these crucial factors now.
Preparing the Site for Installation
Before you start installing your rain barrel, it’s essential to prepare the site properly. This will ensure that your system functions smoothly and efficiently. First, choose a level surface for your rain barrel. You don’t want your barrel tipping over or sagging due to uneven ground. To check if the surface is level, place a spirit level against the side of the barrel. Make any necessary adjustments to create a stable base.
Next, locate the downspout and ensure it’s easily accessible. You’ll need this spot to install the diverter or first flush device, which allows excess debris and water to flow away from your rain barrel while letting clean water in. Choose a downspout that’s at least 1-2 feet above the ground for easy installation and maintenance.
Also, consider the proximity of nearby plants and any potential obstacles that might hinder access. Clearing the area around the site can make the installation process much simpler and ensure your rain barrel is installed correctly. Remember to inspect the downspout regularly for blockages and clean it out as needed to maintain optimal performance.
Installing the First Flush Device (FFD)
When installing a rain barrel system, it’s crucial to include a First Flush Device (FFD) to prevent debris and contaminants from entering the rainwater system. The FFD is designed to divert the first flow of water from the downspout into a separate area, allowing any dirt, leaves, or other pollutants to be washed away before clean rainwater enters the barrel.
Think of it like washing your hands – you want to rinse off the soap and grime before getting clean water on them. Similarly, with an FFD in place, the first flush of water carries any debris that may have accumulated on the roof or in the downspout away from the clean rainwater that will be collected in the barrel.
To install an FFD, you’ll typically need a small diverter valve and some flexible tubing to connect it to your downspout. The valve allows you to control the flow of water, diverting it into a separate area until the initial flush is complete. This ensures that clean rainwater enters the barrel, reducing maintenance needs and preventing contamination issues downstream.
Connecting the Rain Barrel to Your Downspout
To successfully collect and conserve rainwater, it’s essential that you connect your rain barrel directly to your downspout. This involves a few simple steps, which we’ll walk you through next.
Accessing and Preparing the Downspout
Before connecting your rain barrel to the downspout, you need to access and prepare it for connection. Start by locating the downspout that will be used to collect rainwater from your roof. Typically, this is found near the corner of a house or building where water tends to accumulate.
You’ll need a few basic tools to make the process easier: a ladder (sturdy and tall enough to reach the downspout), a wrench or pliers (for loosening any existing downspout extensions), and a hose clamp or strap (to secure the rain barrel’s intake hose).
Once you have these tools, remove any debris, leaves, or other obstructions from the downspout that could affect water flow. Next, inspect the downspout for any damage, such as holes or rust spots, which would compromise its ability to channel water effectively.
Make sure the downspout is clear of any existing gutters and downspout extensions. You may need to remove them temporarily using your wrench or pliers to make space for the rain barrel’s intake hose. Finally, clean the area around the downspout with a hose to ensure easy connection and minimize any potential blockages.
Securing the Downspout Connector
To ensure that your rain barrel system functions efficiently and safely, it’s essential to secure the downspout connector properly. This is often an overlooked step, but a loose connection can lead to leaks, clogs, and even damage to your home’s foundation.
When attaching the downspout connector to the rain barrel, start by ensuring that both components are clean and free of debris. Next, align the connector with the barrel’s inlet, making sure it’s securely seated. To create a watertight seal, apply a thin layer of silicone-based caulk or weatherstrip around the edges of the connector.
Now, use the provided hardware to tighten the connection. This typically involves screws or clips that need to be tightened firmly but avoid over-tightening, which can damage the barrel or connector. Double-check the connection by pouring water into the downspout and verifying it flows freely into the barrel. With these simple steps, you’ll have a secure and leak-free downspout connector that will help maximize your rainwater collection.
Maintenance and Troubleshooting
Now that you’ve set up your rain barrel, let’s talk maintenance and troubleshooting: what to do when things go wrong and how to keep your system running smoothly.
Regular Cleaning and Inspection
Regular cleaning and inspection are crucial to maintaining the health of your rain barrel system. Over time, debris and contaminants can accumulate inside the barrel, reducing its effectiveness and potentially harming the environment. To prevent this, make it a habit to inspect your rain barrel every 2-3 months.
Start by checking for any signs of blockages or clogs in the downspout and spigot areas. Use a garden hose to flush out debris and ensure proper water flow. Next, visually inspect the interior of the barrel for signs of mold, mildew, or algae growth. If you notice any of these issues, mix one cup of white vinegar with water and pour it into the barrel to help break down and eliminate the contaminants.
Regularly cleaning your rain barrel will not only extend its lifespan but also ensure that the collected rainwater remains safe for use in irrigation and other household purposes.
Common Issues and Solutions
Leaks and blockages are common issues that may arise with rain barrel setup. If you notice water leaking from the barrel or a slow flow rate, check the connections for loose fittings or worn-out parts. Tighten all screws and replace damaged parts promptly to prevent further damage.
If your rain barrel is clogged due to debris accumulation, use a gentle hose to flush out any blockages. Be cautious not to dislodge any debris that’s accumulated at the bottom of the barrel. You can also use a cleaning brush to clear out stubborn debris.
Another issue you may encounter is mosquito breeding in standing water. To prevent this, ensure your rain barrel has a secure lid and consider adding a mosquito-killing device or larva-eating fish. Regularly inspect your system for any signs of damage or wear and tear, and address them promptly to maintain the health and effectiveness of your rainwater collection system.
Additionally, check local regulations regarding rainwater harvesting systems in your area, as some may require specific maintenance schedules or certifications.
Frequently Asked Questions
Can I use rainwater for drinking purposes with a rain barrel setup?
No, it’s essential to note that collected rainwater is not safe for human consumption without proper treatment. It may contain contaminants like debris, bacteria, and other pollutants. Use treated rainwater for non-potable purposes such as watering plants or washing cars.
How often should I inspect my rain barrel system for potential issues?
Regular inspection of your rain barrel system is crucial to ensure it’s functioning correctly. Inspect the system every 6-12 months, checking for signs of wear and tear, cracks in the barrel, or clogs in the downspout. This will help prevent common issues like overflow, contamination, or damage.
Can I use a rain barrel setup with multiple-story buildings or complex rooftops?
Yes, you can set up a rain barrel system on multi-story buildings or complex rooftops, but it may require additional equipment and considerations. For example, you might need to install a larger barrel or add a pump to ensure adequate water pressure. Consult with a professional if your building’s design complicates the setup process.
How do I handle overflow during heavy rainfall with my rain barrel system?
To prevent overflow, make sure your rain barrel is at least 1-2% of the roof’s total surface area. During heavy rainfall, consider adding an extra barrel or connecting multiple barrels in series to increase storage capacity. If overflow occurs, install a spillway or redirect excess water away from your home.
Are there any local regulations or permits required for installing a rain barrel system?
Check with your local government or homeowners association to determine if any permits or regulations apply to your area. Some cities may have specific requirements for rainwater harvesting systems, so it’s essential to comply with these regulations to avoid fines or system removal.