Are you ready to unlock the power of natural light and grow your favorite fruits and veggies year-round? A passive solar greenhouse kit is an incredible way to do just that, using the sun’s energy to keep your plants warm and happy. But before you can start enjoying the benefits of a DIY passive solar greenhouse, you need to know how to design and build it correctly.
In this article, we’ll take you through every step of the process, from choosing the right materials to understanding the importance of proper orientation and layout. We’ll also cover common issues that may arise during construction or after completion, so you can troubleshoot and fix problems as they come up. By the end of this guide, you’ll be well on your way to creating a thriving passive solar greenhouse kit that will provide you with fresh produce for years to come.
Understanding the Basics of Passive Solar Design
Passive solar design is a crucial concept when building a passive solar greenhouse kit, so let’s break down its fundamental principles and how they apply to your project. It all starts with understanding the sun’s movement.
Benefits of Passive Solar Design in Greenhouses
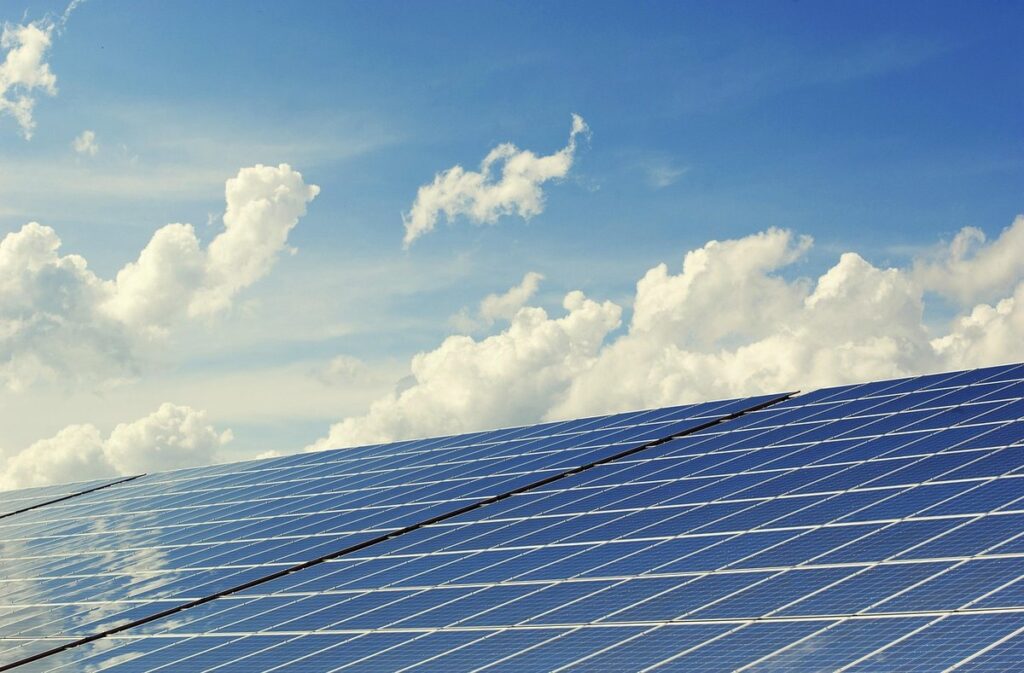
Implementing passive solar design principles in greenhouses can have numerous benefits that enhance the overall efficiency and sustainability of your growing space. One of the most significant advantages is energy efficiency. By maximizing natural light and heat, you reduce the need for artificial lighting and heating systems, which not only saves on operating costs but also minimizes carbon emissions.
Passive solar design also offers cost-effectiveness. Since it relies on natural processes rather than technology-driven solutions, you can create a functional greenhouse without breaking the bank. Consider using materials like recycled glass or low-e coatings to optimize heat retention and minimize energy consumption. Furthermore, passive solar design allows for better control over temperature fluctuations, reducing the risk of extreme temperatures that can damage plants.
Not only does passive solar design benefit your wallet but also the environment. By utilizing natural resources, you reduce reliance on non-renewable energy sources and minimize your greenhouse’s carbon footprint.
Key Components of a Passive Solar Greenhouse
A passive solar greenhouse relies on carefully selected components to capture and retain heat. Glazing materials are crucial as they allow sunlight to enter while minimizing heat loss during winter nights. Double-glazed glass or polycarbonate panels are popular choices due to their high light transmission rates and low costs. Consider using triple glazing for improved insulation in colder climates.
Insulation is another vital component, with options including foam board, spray foam, and reflective radiant barrier systems. Ensure a tight seal around doors and windows to prevent heat from escaping. Thermal mass materials like concrete, brick, or ceramic can absorb and release heat slowly, regulating the greenhouse environment. Place them near south-facing glazing for optimal effect.
When selecting components, consider factors such as climate, budget, and desired level of temperature control. For example, a region with extreme temperatures may require more insulation and thermal mass to maintain a stable microclimate.
Choosing the Right Materials for Your Greenhouse
When selecting materials for your greenhouse, consider factors like durability, insulation, and UV resistance to ensure a long-lasting and efficient structure.
You’ll want to choose materials that will maintain internal temperatures, reduce heat loss, and withstand various environmental conditions.
Selecting Optimal Glazing Materials
When it comes to selecting optimal glazing materials for your passive solar greenhouse kit, there are several options available. Glass is a popular choice due to its durability and ability to transmit natural light. However, it can be heavy and expensive. Polycarbonate sheets, on the other hand, offer excellent impact resistance and UV protection while being more affordable than glass.
Acrylic glazing materials are another viable option, providing a high level of transparency and allowing for maximum sunlight penetration. They also tend to be lighter in weight compared to glass. However, they can be prone to scratches and may not perform as well in extreme weather conditions.
Consider the climate and environmental conditions in your area when selecting glazing materials. For example, if you live in an area with high winds or hail, polycarbonate sheets might be a better choice due to their impact resistance. Ultimately, it’s essential to weigh the pros and cons of each material to determine which one best suits your specific needs and budget.
In terms of installation, consider using double-glazed panels for improved thermal performance and reduced heat loss. Additionally, ensure proper sealing around edges and joints to prevent water ingress and maintain airtightness within your greenhouse.
Insulation Options for Energy Efficiency
When it comes to building an efficient passive solar greenhouse kit, insulation is a crucial aspect that often gets overlooked. However, proper insulation can make a significant difference in maintaining a stable and optimal internal climate within the greenhouse.
There are several types of insulation options available for greenhouses, each with its own set of benefits and drawbacks. One popular option is foam board insulation, which provides excellent thermal performance and is relatively inexpensive. It’s also lightweight and easy to install, making it an ideal choice for DIY projects.
Another option is fiberglass insulation, which offers good thermal resistance at a lower cost than foam board. However, it can be more difficult to work with due to its crumbly texture and potential for health risks if inhaled.
A radiant barrier, on the other hand, reflects heat rather than absorbing it, making it an effective choice for hot climates. It’s typically installed on the roof or walls of the greenhouse to minimize heat gain during summer months.
When selecting insulation for your passive solar greenhouse kit, consider factors such as climate, budget, and ease of installation. It’s also essential to follow manufacturer instructions and take necessary safety precautions when handling insulation materials.
Designing Your Greenhouse for Optimal Performance
To get the most out of your passive solar greenhouse kit, let’s dive into designing the space to maximize natural light and heat retention. This is where careful planning comes in.
Factors to Consider in Greenhouse Orientation
When designing your passive solar greenhouse kit, one of the most critical factors to consider is its orientation. This decision will have a significant impact on your greenhouse’s performance and ability to harness natural light. The primary consideration for orientation is latitude. In general, greenhouses built near the equator (0-30° latitude) should be oriented north-south to maximize solar gain during winter months.
For locations farther from the equator (31-52° latitude), east-west orientation is often preferred. This design allows for optimal sunlight exposure in both summer and winter. However, it’s essential to take into account your local climate as well. For regions with intense sun exposure, a south-facing wall can be beneficial during colder months but detrimental during warmer months.
Understanding the solar path is also crucial when determining your greenhouse’s orientation. This refers to the sun’s daily movement across the sky. In temperate climates, the sun appears at an angle of approximately 40° in winter and 80° in summer. By considering these factors, you can optimize your greenhouse’s design for efficient energy harvesting and a thriving crop yield.
How to Maximize Natural Light in Your Greenhouse
When designing your passive solar greenhouse kit, maximizing natural light is crucial for optimal performance. To achieve this, consider the size and placement of windows carefully. Larger windows allow more sunlight to enter, but may also lead to heat loss during cooler months. A good rule of thumb is to use multiple smaller windows instead of one large one, which can be adjusted or covered as needed.
Window placement is also vital. Ideally, windows should face south to capture the most direct sunlight throughout the day. However, if your greenhouse has a unique orientation, you can still maximize natural light by using reflective materials on adjacent walls to bounce light towards plant areas.
Don’t forget about shading devices! These can be as simple as installing adjustable awnings or louvers above windows to filter intense midday sun. Be mindful of the type and quality of materials used for these devices, as some may compromise ventilation or obstruct views.
Building Your Passive Solar Greenhouse Kit
Now that you have a solid understanding of passive solar principles, let’s dive into building your kit by gathering essential components and materials.
Preparing the Site and Foundation
Before you start assembling your greenhouse kit, it’s essential to prepare the site and foundation properly. This will ensure a stable and secure structure that can withstand various weather conditions.
First, choose a flat area with good sunlight exposure. If the site is sloped or uneven, consider levelling it using a combination of sand, gravel, and soil. A level ground not only helps maintain structural integrity but also facilitates easy movement within the greenhouse.
Next, grade the site to ensure proper water drainage. This involves creating a slight slope away from the foundation, allowing excess water to flow out rather than accumulating around the base. Adequate drainage prevents waterlogged soil, which can lead to root rot and other plant diseases.
To prevent water accumulation and erosion, consider installing a French drain or a perforated pipe along the perimeter of your greenhouse. This will direct water away from the foundation, ensuring a dry and stable environment for your plants.
By taking these steps, you’ll create a solid base for your passive solar greenhouse kit, allowing it to function optimally and provide years of trouble-free service.
Assembling and Installing Components
Assembling and installing the various components of your passive solar greenhouse kit is a crucial step in bringing your project to life. To ensure a smooth and successful assembly process, follow these steps:
Start by unpacking and organizing all the components, including the frame, glazing materials, doors, and irrigation system. This will help you visualize the overall layout and identify any potential issues before proceeding.
Next, begin by assembling the frame, using the provided instructions or consulting online resources if needed. Make sure to tighten all bolts and screws securely to maintain structural integrity.
Install the glazing materials, typically polycarbonate or glass panels, following the manufacturer’s recommendations for spacing and sealing. Ensure a snug fit between panels to minimize heat loss and prevent air leaks.
Once the frame and glazing are in place, install the doors, taking care to align them properly with the frame. Finally, connect the irrigation system, setting up the necessary water reservoirs and tubing according to your specific design requirements.
Remember to double-check all connections and seals to prevent any potential issues down the line.
Troubleshooting Common Issues
We’ve anticipated some common issues that might arise during your greenhouse building process, and we’re here to help you troubleshoot them efficiently. Let’s tackle these challenges together!
Addressing Condensation and Ventilation Problems
When building a passive solar greenhouse kit, it’s essential to address common issues that may arise, particularly condensation and ventilation problems. These problems can be detrimental to your plants’ health and the overall performance of your greenhouse.
Condensation occurs when warm air meets cooler surfaces, causing water vapor to condense into droplets. In a passive solar greenhouse, this can happen due to temperature fluctuations between day and night or from seasonal changes. To mitigate condensation, ensure proper ventilation by installing windows or vents that allow for airflow exchange. You can also use dehumidifiers or misting systems to regulate the humidity levels.
Proper ventilation is equally crucial in a passive solar greenhouse kit. Without adequate air circulation, temperature differences can lead to condensation and even structural damage. To address this issue, consider incorporating a shading system or overhangs to reduce direct sunlight exposure during peak hours. This will help maintain a consistent interior temperature and prevent overheating.
A well-designed ventilation system should also include automatic openers for windows or vents that respond to changes in temperature or humidity levels. This ensures that your greenhouse stays well-ventilated even when you’re not present. By paying attention to these details, you can create an efficient and healthy environment for your plants to thrive in.
Ensuring Structural Integrity and Safety
When building a passive solar greenhouse kit, ensuring structural integrity and safety is paramount. A well-designed and sturdy structure will not only protect your investment but also provide a safe environment for you to work with plants. To guarantee the stability of your greenhouse, consider the wind resistance it can withstand.
A general rule of thumb is to ensure that your greenhouse’s anchor points are at least 12 inches deep into the ground. This will prevent the structure from being uprooted by strong gusts. Additionally, make sure the weight capacity of your greenhouse’s frame is adequate for the weight of snow, if you live in an area prone to heavy winter precipitation.
Emergency exits should also be considered during the design process. A minimum of two accessible exits, at opposite sides of the structure, will ensure that anyone inside can quickly and safely leave the greenhouse in case of an emergency.
Frequently Asked Questions
Can I use a passive solar greenhouse kit for growing tropical plants year-round?
Yes, with proper design and construction, you can create a microclimate that allows for year-round growth of tropical plants, even in colder climates. Just ensure the greenhouse is well-insulated, and you’ve selected optimal glazing materials to maximize natural light.
How do I prevent overheating during warmer months?
To avoid overheating, ensure your passive solar greenhouse kit has adequate ventilation systems in place. You can install louvers or vents that allow hot air to escape while maintaining the desired temperature for your plants.
What are some common mistakes beginners make when building a passive solar greenhouse kit?
Common mistakes include incorrect orientation, inadequate insulation, and poor glazing material selection. Be sure to research and understand the fundamental principles of passive solar design before starting your project.
Can I use recycled materials in my passive solar greenhouse kit?
Yes, using recycled materials can be an eco-friendly way to build your greenhouse while reducing waste. Consider repurposing old windows, reclaimed wood, or other sustainable materials for a more environmentally friendly construction process.
How often should I inspect and maintain my passive solar greenhouse kit to ensure its optimal performance?
Regular inspections (every 2-3 months) will help you identify potential issues with condensation, ventilation, and structural integrity. Addressing these problems promptly ensures your greenhouse remains efficient and safe for your plants.