Are you tired of your indoor plants outgrowing their pots or becoming pot-bound? Transplanting them into new containers can be a daunting task, but with the right guidance, it’s easier than you think. Not only does transplanting give your plants room to grow and thrive, but it also refreshes the soil and reduces the risk of root damage. But how do you successfully transplant indoor plants without causing stress or even killing them? Our step-by-step guide is here to walk you through the entire process, from preparation to post-transplant care. We’ll cover everything you need to know about preparing your plant for transplant, choosing the right pot and soil, and caring for it after the move. By following our simple techniques, you’ll be able to give your plants a fresh new home and watch them flourish in no time.
Choosing the Right Plant for Transplantation
When transplanting indoor plants, selecting the right one is crucial. This section will help you choose a plant that’s perfect for your space and skill level.
Selecting Healthy Roots
When selecting plants for transplantation, it’s essential to prioritize those with healthy, intact roots. This is because damaged or diseased roots can lead to a range of problems during and after the transplant process.
To inspect plant roots, gently remove the pot from its container and place the plant in a sink or a large tray filled with lukewarm water. Let it soak for about 30 minutes to loosen the soil. Then, carefully lift the plant out of the water and examine the roots. Look for any signs of damage, such as broken or torn roots, soft spots, or mushy areas.
Healthy roots should be firm, white, and well-developed, with a slight sheen to them. Avoid plants with tangled, circling, or exposed roots, as these can indicate stress or disease. Some common signs of root disease include soft, brown, or blackened roots, which can be an indication of fungal infections.
When in doubt, it’s always best to err on the side of caution and choose a different plant. By selecting plants with healthy roots, you’ll set your transplants up for success and reduce the risk of complications down the line.
Identifying Plant Species Suitable for Transplantation
When it comes to transplanting indoor plants, not all species are created equal. Some are more resilient and adaptable than others, making them ideal candidates for this process. Let’s take a closer look at three popular indoor plant species that thrive when transplanted: ferns, peace lilies, and snake plants.
Ferns, such as the Boston fern or maidenhair fern, have delicate fronds that require bright, indirect light to photosynthesize efficiently. When transplanting ferns, make sure to handle their roots with care, as they can be prone to damage. Peace lilies, on the other hand, are known for their elegant white blooms and ability to tolerate low-light conditions. However, they do prefer well-draining soil to prevent root rot. Snake plants, also known as mother-in-law’s tongue, are virtually indestructible and can thrive in a range of lighting conditions.
When transplanting any of these species, remember to water them thoroughly after potting and provide sufficient humidity to promote healthy growth. By choosing the right plant for the job and following proper transplantation techniques, you’ll be well on your way to enjoying lush, vibrant indoor plants all year round.
Preparing the Plant for Transplantation
Before transplanting your indoor plant, it’s crucial to prepare its roots and container for a smooth transition. This is where gentle pruning and repotting techniques come into play.
Watering and Fertilizing Before Transplantation
Before transplanting your indoor plant, it’s essential to give its roots a head start with proper watering and fertilization. Water your plant thoroughly 1-2 days before transplanting, allowing the soil to dry slightly between waterings. This will help prevent over-watering during the transplant process, which can cause root rot and other problems.
When it comes to fertilizing, choose a balanced fertilizer formula that contains equal amounts of nitrogen (N), phosphorus (P), and potassium (K). A 20-20-20 or 10-10-10 formula is ideal for most indoor plants. Avoid using high-nitrogen formulas, as they can promote leaf growth at the expense of root development.
To ensure healthy root development, fertilize your plant about a week before transplanting. This will give the roots time to absorb the nutrients and grow stronger, making them better equipped to handle the stress of transplantation.
Acclimating the Plant to Transplant Conditions
When transplanting an indoor plant to a new location, it’s essential to acclimate it to its new environment gradually. This process helps prevent shock and ensures the plant adapts smoothly to changes in light exposure, temperature ranges, or humidity levels.
Begin by moving the plant to a shaded area outdoors for 7-10 days before exposing it directly to full sun. Monitor your plant’s response closely during this period, observing any signs of stress such as wilting, yellowing leaves, or dropping flowers. If you notice any adverse reactions, return the plant to its original location and adjust the acclimation schedule.
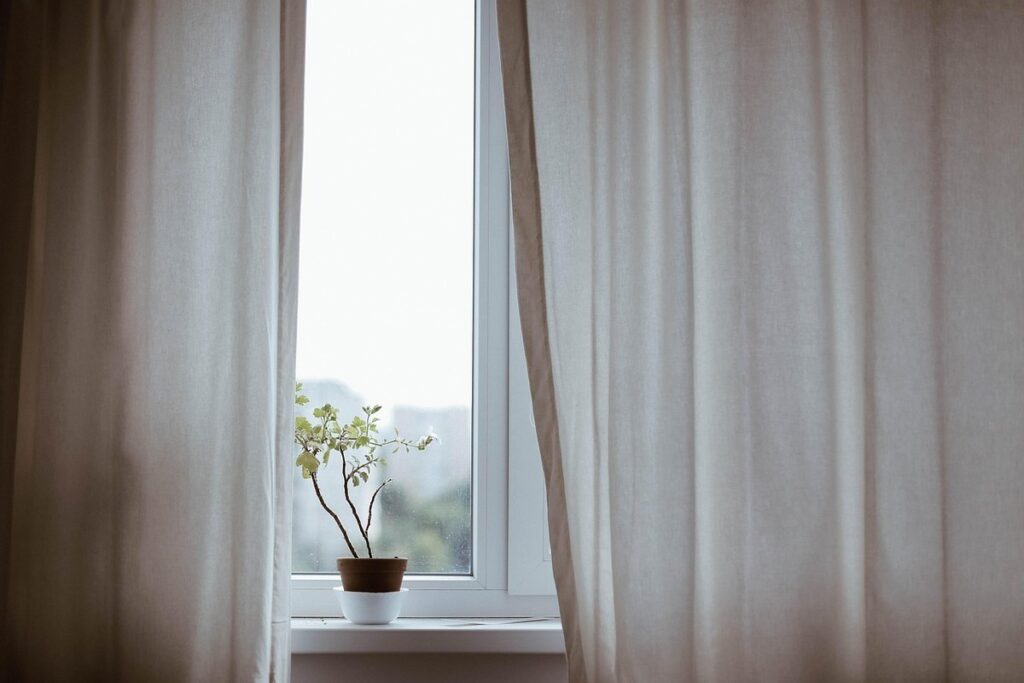
Alternatively, if transplanting indoors, reduce the intensity of the new lighting by using sheer curtains or moving the plant a few feet away from direct sunlight. Keep an eye on your plant’s response and make adjustments as needed. It’s also crucial to maintain consistent temperatures between 65-75°F (18-24°C), which is ideal for most houseplants. By monitoring your plant’s responses and adjusting the acclimation plan accordingly, you’ll help it thrive in its new environment.
Transplanting Techniques for Indoor Plants
When transplanting indoor plants, it’s essential to handle them gently and prepare a well-draining potting mix to support healthy root growth in their new home. Proper technique is key to minimizing shock and ensuring success.
Hand Transplantation Method
When transplanting small plants into a new container, a hand-transplantation method is often the most effective way to minimize root disturbance and ensure a smooth transition. To begin, gently grasp the plant’s pot with one hand, making sure not to squeeze or press on the sides, which can damage the roots.
Next, use your other hand to carefully slide a fork or chopstick under the plant, working it between the potting mix and the container. This will help loosen the soil without causing excessive disturbance. Once you’ve created enough space, gently lift the plant out of its pot, taking care not to handle the roots too much.
Inspect the roots for any signs of circling or tangling, which can be caused by over-watering or poor drainage. Use your fingers or a blunt tool to carefully tease apart any knots without causing damage. Finally, place the plant in its new container with fresh soil, making sure not to bury the crown (where the stems meet the roots) too deeply. By taking your time and handling the roots with care, you can ensure a successful transplant and promote healthy growth for your small plants.
Soil Transplantation Method
When transplanting large indoor plants or those with sensitive root systems, it’s essential to minimize root disturbance and stress. One alternative method that can help achieve this is using pre-moistened soil or specialized transplant mediums.
These products are specifically designed to make the transition from one pot to another as smooth as possible for your plant’s roots. By using a moistened medium, you’re reducing the shock caused by transferring the plant to dry soil. This is particularly beneficial for plants that are sensitive to root disturbance or have shallow root systems.
For example, African Violets and Begonias are known to be sensitive to root disturbance, so using pre-moistened soil can help reduce stress on their roots. When choosing a transplant medium, look for products specifically designed for indoor plants and follow the manufacturer’s instructions for use. To use, simply fill the new pot with the moistened medium, gently remove the plant from its old pot, and place it in the center of the new container. Gently firm the medium around the roots to secure the plant in place.
Post-Transplant Care and Maintenance
Now that your new indoor plant is settled, it’s essential to understand how to provide optimal care to ensure its continued health and beauty in its new home. Proper post-transplant care will make a huge difference.
Adjusting Light and Watering Habits
After transplanting your indoor plant, it’s essential to monitor its response to the new environment and adjust its light exposure and watering schedule accordingly. The first few weeks post-transplant are critical for the plant’s recovery, and making adjustments promptly will help prevent stress and promote healthy growth.
Start by observing your plant’s behavior, looking for signs of distress such as droopy leaves, yellowing or browning, or sudden changes in color. This can indicate that it needs more or less light, water, or both. Begin by adjusting the watering schedule: check the soil moisture by sticking your finger into the soil up to the first knuckle. If it’s dry, it’s time for a drink; if it’s still damp, wait another day or two before watering again.
Monitor your plant’s response to these changes and adjust as necessary. You may need to increase or decrease light exposure depending on the type of plant and its specific needs. Some plants prefer bright, direct light while others thrive in low-light conditions. Be patient and flexible, as it may take a few weeks for your plant to adjust fully to its new environment.
Monitoring for Transplant Shock and Common Issues
Transplant shock occurs when a newly transplanted indoor plant experiences stress due to its new environment. It’s essential to monitor your plants closely for signs of distress during the initial weeks after planting. Look out for yellowing or droopy leaves, reduced growth, and wilting as these can be indicative of transplant shock.
Other common issues that may arise post-transplantation include root bound conditions, over-watering, and under-watering. Root bound occurs when a plant’s roots have outgrown its container, causing it to become pot-bound. To address this, gently tease apart the roots with your fingers or use a blunt instrument like a chopstick.
Monitor your plants’ water needs closely, as indoor environments can be prone to over-watering due to inadequate light and air circulation. Water your plant sparingly until it has fully adjusted to its new environment, allowing the top inch of soil to dry out between waterings. Regularly inspect your plants for pests like spider mites, mealybugs, or scale which can cause significant damage if left unchecked.
Advanced Topics in Indoor Plant Transplantation
Now that you’ve got the basics of transplanting down, let’s dive into more advanced techniques to take your indoor plant skills to the next level. We’ll cover complex topics like propagating sensitive plants and root pruning for optimal growth.
Propagation Techniques Using Cuttings
Propagation using cuttings is a game-changer for indoor plant enthusiasts and commercial growers alike. By taking stem cuttings from mature plants, you can create exact replicas of popular species or even develop new, specialized cultivars. This technique is particularly useful for mass-producing coveted plants like Philodendron ‘Heartleaf’ or Pothos.
To get started, choose a healthy parent plant with sturdy stems and plenty of leaf nodes. Cut 4-6 inch sections from the stem, making sure each section has at least two nodes. Remove lower leaves to prevent waterlogged soil and promote rooting. Next, prepare a rooting medium by mixing equal parts peat moss and perlite. Dip the cut end into a rooting hormone powder or liquid to stimulate root growth.
Plant the cutting about 1-2 inches deep in the medium, firming the soil gently around it. Water sparingly until roots develop, typically within 3-6 weeks. With proper care, your new plant will thrive and be ready for transplanting into larger pots. By leveraging this technique, you can efficiently propagate popular indoor plants or experiment with unique hybrids – the possibilities are endless!
Repotting and Dividing Large Plants
Repotting and dividing large plants can be a daunting task, but with the right techniques and precautions, you can minimize stress on both yourself and the plant. When it comes to repotting, choose a container that is only 1-2 sizes larger than the original one to prevent the soil from becoming too wet and causing root rot.
For plants with overgrown root systems, division is often necessary. Start by gently removing the plant from its pot and washing away any old potting mix. Examine the roots and identify areas where you can divide the plant without harming it. Use a sharp, sterile tool to separate the sections, making sure each one has enough healthy roots for optimal growth.
To minimize stress during this process, keep the plant in a warm location with bright indirect light. Water sparingly until new growth appears, indicating that the plant is adapting well to its new environment. By taking your time and being mindful of the plant’s needs, you can successfully repot or divide even the largest plants without causing long-term damage.
Tips and Tricks for Successful Transplantation
Now that you’ve got your potted plants growing strong, let’s talk about how to successfully transplant them into larger containers or directly into garden beds.
Common Mistakes to Avoid During Transplantation
When transplanting indoor plants, it’s essential to avoid common mistakes that can compromise their success. One key takeaway from our previous discussion is to handle the roots with care, as root damage can lead to shock and even plant death. Be gentle when separating the plant from its pot, taking note of any tangled or circling roots.
Another critical mistake to avoid is overwatering during the transplant process. This can cause the soil to become waterlogged, leading to root rot and other issues. Instead, make sure the soil is moist but not saturated before transplanting. Water your plant sparingly after transplanting to allow it to adjust to its new environment.
Additionally, be mindful of the timing of your transplant. Avoid doing so during extreme temperatures or in areas with high humidity, as this can cause stress to the plant. Finally, consider repotting your indoor plants into a pot that’s only slightly larger than their current one. This will help prevent root bound conditions and ensure healthy growth.
Best Practices for Long-Term Plant Health
When it comes to ensuring the long-term health of your transplanted indoor plants, there are several key strategies to keep in mind. Repotting frequency is one critical factor: as a general rule, repot your plant every 1-2 years to provide fresh soil and a larger pot if necessary.
Another essential consideration is pest management. Check your plant regularly for signs of pests like mealybugs, spider mites, or scale, and take action promptly if you notice any issues. Use neem oil or insecticidal soap as a preventative measure or to treat infestations.
Proper pruning techniques can also help promote healthy growth and prevent overwatering. Remove dead or damaged leaves and stems, but be cautious not to over-prune, which can shock the plant. Instead, trim back leggy branches by about one-third, allowing light to reach inner leaves and encouraging bushy growth.
By following these best practices, you’ll be well on your way to maintaining thriving, healthy plants in their new indoor home. Remember, consistency is key: regular maintenance checks and adjustments will help ensure your transplanted plant remains vibrant and strong for years to come.
Frequently Asked Questions
How long should I wait before transplanting an indoor plant after noticing its roots are getting pot-bound?
It’s essential to monitor your plant’s root growth and plan the transplant accordingly. A good rule of thumb is to wait until the roots have filled the container and start growing out of the drainage holes, which can be anywhere from 6-18 months depending on the plant species and growth rate.
What are some common signs of transplant shock in indoor plants, and how can I prevent them?
Transplant shock can manifest as yellowing or browning leaves, droopy stems, or even plant death. To minimize the risk, make sure to acclimate your plant to its new environment gradually, provide sufficient light and water, and avoid over-handling the roots during transplant.
Can I transplant indoor plants in extreme weather conditions, such as during a heatwave or intense rainfall?
No, it’s best to transplant during mild temperatures (around 60-75°F) and low humidity. Extreme weather can cause stress to both the plant and the soil, making it more challenging for the plant to recover from the transplant.
How do I choose the right pot size for my indoor plant after transplanting?
Consider the mature size of your plant and its growth rate when selecting a new pot. A general rule is to choose a pot that is 1-2 sizes larger than the previous one, allowing for proper root growth without becoming too wet or waterlogged.
What’s the best way to care for my indoor plants during the first few weeks after transplanting?
During this period, focus on maintaining consistent temperatures, providing adequate light and water, and avoiding fertilizers. Monitor your plant’s response to its new environment closely and adjust your care routine accordingly to prevent any potential issues.