Growing your own avocado tree from a pit can be a fun and rewarding experience, especially if you’re an avid fan of this delicious and nutritious fruit. But, did you know that not all avocado pits are created equal? Selecting the right one is crucial to ensuring your tree grows healthy and productive. In this article, we’ll walk you through the steps to successfully grow a robust avocado tree from a pit, including choosing the best pit, planting techniques, and tips for maximizing your success rate and yield. We’ll also cover common mistakes to avoid, so you can enjoy a bountiful harvest of fresh avocados right in your own backyard. With these simple and effective methods, you’ll be well on your way to becoming an avocado enthusiast with a tree that thrives under your care.
Choosing the Right Avocado Pit
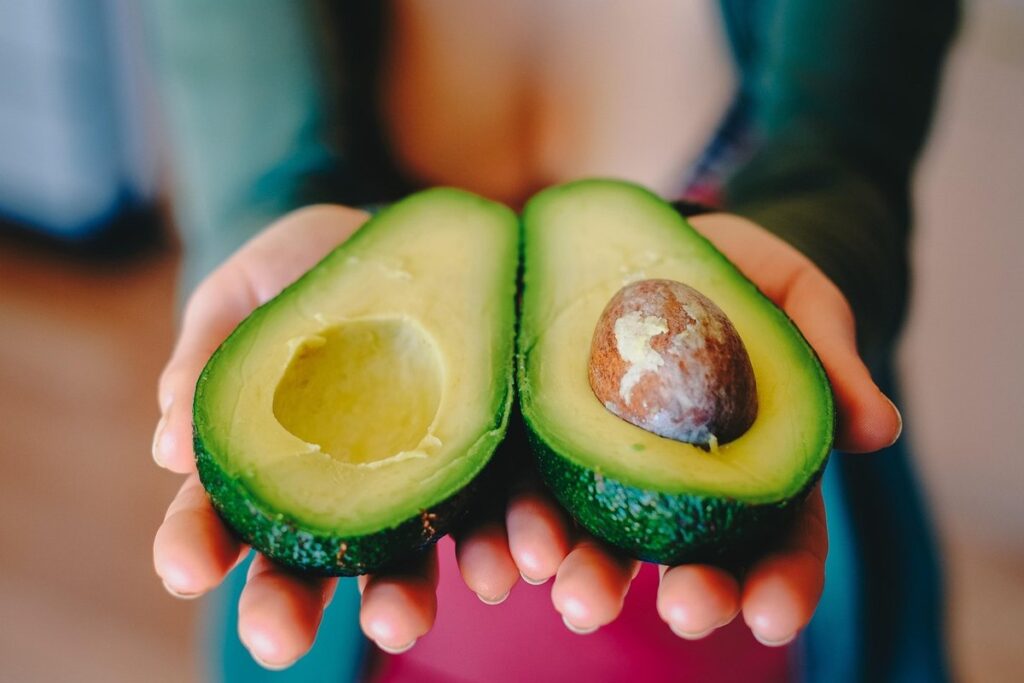
When selecting an avocado pit, it’s essential to choose one that is plump and has a slight give when squeezed. A good quality pit will increase your chances of successfully growing a healthy tree.
Selecting a Healthy Pit
When selecting an avocado pit to grow, it’s essential to choose one that is healthy and viable. A healthy pit will increase your chances of successfully growing a tree from seed. Look for pits that are around 1-2 inches long, as they tend to have the best germination rates.
Avoid pits with any visible cracks or soft spots, as these can be signs of damage or decay. Also, steer clear of pits that are too large or too small, as they may not develop properly. A pit with a smooth, even surface and a slight taper at one end is ideal.
The color of the pit also plays a role in determining its healthiness. A healthy pit will typically have a pale brown to light gray color, while an unhealthy one may appear dull or discolored. If you’re still unsure about the health of your pit, gently wash it with warm water and let it dry before planting.
By selecting a healthy avocado pit from the start, you’ll set yourself up for success when growing your tree from seed. This simple step can make all the difference in ensuring that your plant thrives and produces delicious fruit.
Preparing the Pit for Planting
Properly preparing the pit for planting is crucial to ensure its successful growth into a healthy avocado tree. Before you can start planting, it’s essential to clean and dry the pit thoroughly.
To do this, gently wash the pit with mild soap and warm water to remove any remaining pulp or residue from the outer layer. This will help prevent fungal diseases that may be present on the surface of the pit from infecting the new tree. Rinse the pit under running water to ensure all soap is removed, then pat it dry with a clean towel.
Next, use a paper towel or cloth to gently scrub any remaining pulp or residue from the small notch at the top of the pit. This will help prevent fungal growth and allow the pit to breathe properly during the drying process. Allow the pit to air-dry for 2-3 weeks in a cool, dry place, making sure it doesn’t get too warm or humid.
It’s also important to sterilize your tools with soap and water before handling the pit to prevent transferring any bacteria or fungi that may be present on them.
Planting the Avocado Pit
Now that you’ve selected a healthy avocado pit, it’s time to plant it and give your new tree its best chance at thriving. Follow these essential steps for successful planting.
Step-by-Step Instructions for Planting
When planting the avocado pit, it’s essential to get it right from the start. This will determine the success of your tree and its ability to thrive. To begin with, prepare a pot that is at least 6-8 inches deep. You’ll want to choose a high-quality potting mix specifically designed for seed starting or tropical plants.
Fill the pot about 2/3 full with the potting mix, leaving enough room for the avocado pit and any additional growth it will experience in the coming weeks. Next, gently place the pit into the soil, making sure not to damage its delicate roots. The pointed end of the pit should be facing upwards. Plant the pit at a depth that is about 1-2 inches below the surface.
As you add more potting mix around the avocado pit, firm it down gently with your fingers to prevent air pockets from forming. Leave enough space between multiple pits for proper growth and air circulation.
Tips for Maximizing Success Rate
When planting an avocado pit, it’s easy to make mistakes that can significantly lower your chances of success. To maximize your success rate, it’s essential to avoid common pitfalls and follow expert tips. For instance, one mistake many people make is not allowing the pit to dry out for a sufficient period after harvesting. This can lead to rot and reduce the chances of germination.
To increase your chances of success, start by selecting a healthy avocado fruit with a plump pit. Then, carefully remove the pit from the fruit and wash it gently. Allow the pit to dry out at room temperature for 3-7 days or until a slight film forms on its surface. Next, plant the dried pit in well-draining soil, about 1/4 inch deep, and water thoroughly.
Some other crucial tips include using a seed starting mix specifically designed for germinating seeds, maintaining high humidity around the planted pit, and providing adequate warmth (around 65-75°F). By following these expert tips and avoiding common mistakes, you can significantly boost your chances of successfully growing an avocado tree from its pit.
Caring for Your Avocado Seedling
Now that you’ve successfully germinated your avocado seed, it’s time to provide the right care and conditions for it to thrive. Here, we’ll cover essential tips on nurturing your young seedling.
Providing Optimal Growing Conditions
Avocado seedlings are sensitive to environmental conditions, and providing them with optimal growing conditions is crucial for their healthy development. Ideally, avocado seedlings prefer temperatures between 65°F to 75°F (18°C to 24°C), which is slightly cooler than most homes. Avoid placing your seedling near heating vents or radiators as this can cause it to dry out quickly.
Humidity levels also play a significant role in the growth of your avocado seedling. Aim for a humid environment, ideally between 50% to 60%, by placing the pot on a tray filled with water and pebbles or using a humidifier nearby. This will prevent moisture loss and promote healthy growth.
When it comes to light, avocado seedlings require bright but indirect sunlight. Placing them near an east- or west-facing window is perfect for this purpose. Avoid direct sunlight as it can cause scorching on the leaves. If you’re growing indoors, consider using grow lights to supplement the natural light. Monitor your seedling’s response to different lighting conditions and adjust accordingly.
Watering and Fertilization Techniques
When it comes to watering and fertilizing your avocado seedling, timing is everything. Overwatering can be detrimental to young plants, while underwatering may stunt their growth. As a general rule, water your seedling when the top 1-2 inches of soil feels dry to the touch. Check the moisture level by inserting your finger into the soil or using a moisture meter.
It’s also essential to choose the right fertilizer for your avocado plant. A balanced, water-soluble fertilizer (20-20-20 NPK) is an excellent starting point. Dilute it according to the manufacturer’s instructions and apply it once a month. As your seedling grows, you can switch to a higher nitrogen content fertilizer (15-30-15 NPK) to promote leaf growth.
Remember, fertilizers come in different forms, including liquid, granular, or slow-release options. For young seedlings, liquid fertilizers are usually more effective and easier to apply. Avoid over-fertilizing, as this can damage your plant’s roots. Start with small amounts and gradually increase the frequency of application based on your seedling’s response.
A good example is to use a balanced fertilizer for the first 3-4 months after germination, then switch to a higher nitrogen content fertilizer for the next 2-3 months. This will give your avocado plant a boost in growth while it establishes itself in its new environment.
Common Challenges and Solutions
As you embark on growing your avocado from pit, it’s essential to anticipate and tackle common challenges that may arise, such as inconsistent germination rates or root bound issues. Let’s explore these potential obstacles together.
Overcoming Root Rot and Other Diseases
One of the most common challenges you’ll face when growing an avocado from pit is disease. Avocado seedlings are susceptible to root rot and other diseases that can quickly spread and kill them. To prevent this, make sure your soil has good drainage and a balanced pH level between 6-7. Avoid overwatering, which can cause roots to rot.
Some common signs of root rot include soft, mushy stems, yellowing leaves, and a sour smell from the roots. If you notice any of these symptoms, remove the affected plant and start again with a new pit. To treat fungal infections like powdery mildew or leaf spot, mix 1 tablespoon of baking soda with 1 gallon of water to create a fungicide spray.
Keep an eye out for pests like spider mites, mealybugs, and aphids, which can weaken your plant and make it more susceptible to disease. Use neem oil or insecticidal soap to control infestations. Regularly inspect your plants for any signs of stress or damage, and take prompt action if you notice anything out of the ordinary.
By taking preventative measures and staying vigilant, you can keep your avocado seedlings healthy and thriving.
Addressing Nutrient Deficiencies
When growing avocado from pit, it’s not uncommon for seedlings to experience nutrient deficiencies. These deficiencies can manifest as stunted growth, yellowing leaves, or even root rot. To identify these issues, keep an eye out for telltale signs such as droopy leaves, a pale color, or an unusual odor.
If you suspect a nutrient deficiency, it’s essential to address the issue promptly. One common cause is inadequate fertilization. Avocado seedlings require a balanced fertilizer that includes nitrogen (N), phosphorus (P), and potassium (K). A 10-10-10 N-P-K ratio is a good starting point.
To rectify this, start by repotting your seedling in fresh soil with added fertilizer according to the manufacturer’s instructions. You can also side-dress with a high-phosphorus fertilizer during the fruiting stage to promote healthy growth and development. Keep in mind that over-fertilization can be detrimental, so monitor your plant closely for any adverse reactions. Additionally, ensure you’re providing your seedling with sufficient water and sunlight to prevent other underlying issues.
Transplanting Your Avocado Tree
Now that your avocado sapling has outgrown its pot, it’s time to give it more room to thrive by transplanting it into a larger container. Follow these essential steps for a smooth and successful transfer.
Identifying the Right Time to Transplant
Transplanting an avocado tree is a crucial step in its growth, and timing is everything. As your sapling grows, it will eventually outgrow its container, requiring transplanting to give it room to expand its roots and develop a stronger structure.
When to transplant depends on several factors, including the size of the tree and its growth rate. A general rule of thumb is to wait until the tree has reached 6-12 inches in height before transplanting. This allows for some initial growth and development within the container.
However, if your sapling is growing rapidly, it may need to be transplanted sooner, ideally every 2-3 months. Keep an eye on its root growth, too – if you notice roots emerging from the drainage holes or circling within the container, it’s time for a transplant.
Monitor your tree’s progress and adjust accordingly. With the right timing, your avocado sapling will thrive in its new environment, setting itself up for long-term success.
Techniques for Successful Transplantation
Transplanting an avocado tree is a delicate process that requires careful consideration to ensure its survival and continued growth. When transplanting, it’s essential to minimize root disturbance as much as possible. This can be achieved by gently removing the seedling from its container and using a fork to loosen any clumps of soil on the roots. Avoid pulling or tugging on the roots, as this can cause damage and stress to the tree.
Choose a well-draining potting mix specifically designed for avocado trees, and make sure it’s slightly acidic (pH 6.0-7.0). Plant the seedling at the same depth it was previously grown, firming the soil gently around the roots. Water thoroughly after transplanting, then reduce watering to avoid overwatering. In the first few weeks post-transplant, provide bright, indirect light and maintain a consistent temperature between 65-75°F (18-24°C). Fertilize sparingly with a balanced fertilizer once a month to promote healthy growth. With proper care and attention, your avocado tree should thrive in its new home.
Harvesting Your Avocado Fruit
Now that you’ve successfully grown your avocado tree from a pit, it’s time to reap the rewards of your labor: harvesting your ripe and delicious fruit. This section will guide you through the process of checking for ripeness and picking the perfect avocado.
Understanding Avocado Tree Maturity
When growing avocado trees from pit, it’s essential to understand that maturity is not just about the age of the tree. Avocado trees can take anywhere from 3-13 years to produce fruit after germination, depending on factors such as climate and soil conditions.
A warm and subtropical climate with mild winters and hot summers is ideal for avocado tree growth. Trees grown in these conditions tend to mature faster, typically between 5-7 years after planting. In contrast, cooler climates can delay maturity by several years.
Soil quality also plays a significant role in determining the maturity of your avocado tree. Well-draining soil with a pH between 6 and 7 is ideal for avocado trees. Nutrient-rich soil with adequate nutrients like nitrogen, phosphorus, and potassium will support healthy growth and fruit production.
To ensure optimal conditions for your avocado tree’s maturity, consider factors such as temperature fluctuations, humidity levels, and sunlight exposure when planting your tree. Regular pruning and fertilization can also help promote healthy growth and encourage fruiting.
Tips for Maximizing Yield and Quality
To maximize yield and quality of your avocado fruit, proper pruning techniques are essential. Prune your tree regularly to maintain a strong, central leader and promote even growth. Remove any dead, diseased, or damaged branches to prevent the spread of disease and encourage healthy development.
Regular pest management is also crucial. Inspect your tree regularly for signs of pests like aphids, whiteflies, and spider mites. Use organic methods whenever possible, such as introducing beneficial insects or using neem oil, to control infestations. Regular fertilization with a balanced fertilizer will promote healthy growth and fruit production.
Harvesting techniques can also impact yield and quality. Avocados are typically ready to harvest 3-5 years after planting, depending on factors like climate and tree variety. Gently twist the avocado from the tree to avoid damaging the stem or causing unnecessary stress. Regular harvesting will encourage continued production, as the tree will produce new fruit.
Keep in mind that over-harvesting can weaken the tree, so only remove what you need for immediate consumption. By implementing these techniques, you’ll be well on your way to maximizing yield and quality of your homegrown avocados.
Frequently Asked Questions
How soon can I expect to see growth after planting the avocado pit?
You can start expecting to see growth around 3-6 months after planting, but this timeframe may vary depending on factors such as temperature, humidity, and light exposure. Keep your seedling in a warm and bright location with temperatures between 65°F to 75°F (18°C to 24°C) for optimal growth.
What if I notice signs of root rot or other diseases on my avocado seedling?
No
Avocado seedlings are prone to root rot and diseases, but early detection is key. If you notice any signs of disease, remove the affected area with clean scissors or pruning shears, and treat the soil with a fungicide specifically designed for seeds.
How can I ensure my avocado tree receives the right amount of water and nutrients?
It’s essential to provide your avocado tree with consistent moisture and nutrients throughout its growth stages. Water your seedling when the top inch of soil feels dry to the touch, and fertilize with a balanced fertilizer (10-10-10) during the first growing season.
Can I grow multiple avocado trees from one pit, or should I plant each pit separately?
Yes
You can try growing multiple avocado trees from one pit, but this method is called “cloning” and may not yield consistent results. To increase your chances of success, it’s recommended to plant each pit separately in a well-draining potting mix.
How long does it take for an avocado tree to mature and produce fruit?
The time it takes for an avocado tree to mature can vary depending on factors such as climate, soil quality, and pruning practices. On average, it can take 3-5 years for an avocado tree to reach maturity and start producing fruit.