Harvesting your chive flowers at the right time can make all the difference in maintaining their quality, quantity, and flavor. But with so many factors to consider, it’s easy to get it wrong. Weather conditions, sunlight exposure, and even watering habits can affect the size, color, and taste of those delicate blooms. Knowing when to harvest chive flowers is crucial for maximizing your crop’s potential. In this article, we’ll explore the key considerations for optimal harvesting techniques and provide tips on how to extend the harvest season. You’ll learn how to identify the perfect moment to pick your chives, ensuring you get the most out of your plant without sacrificing quality or quantity.
Understanding Chive Flower Growth Cycles
To optimize flavor and health benefits, it’s essential to understand how chive flowers grow and bloom throughout their life cycle. Let’s take a closer look at these cycles.
Identifying the Different Stages of Chive Flower Development
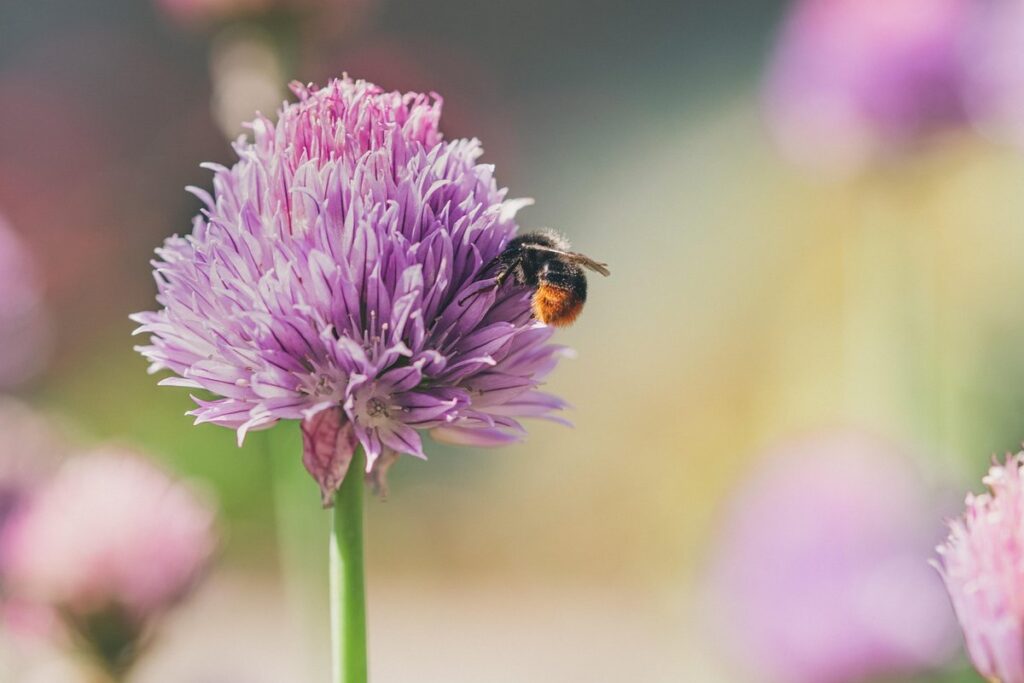
Chives are a hardy perennial herb that grow from their base, forming a clump of hollow, green leaves. As the plant matures, it produces small, delicate purple flowers on top of tall stems, which can reach up to 18 inches high. The flower development stages of chives can be broken down into several distinct phases.
Initially, you’ll notice a tight bud forming at the base of the stem, indicating that flowering is about to begin. As the buds mature, they’ll start to swell and eventually burst open, revealing tiny, delicate purple flowers. These flowers will grow in clusters along the length of the stem, producing a vibrant display of color.
When checking on your chives, look for these signs of flower development: a slight drooping of the leaves as the plant directs its energy towards flowering, and a noticeable increase in the height of the stems as they stretch upwards. By monitoring these changes, you can anticipate when to harvest your chive flowers, ensuring that you catch them at their peak flavor and nutritional value.
Determining Optimal Harvest Times Based on Climate and Region
The optimal harvest time for chive flowers is influenced by climate and region. In warm and temperate climates, such as those found in the Mediterranean or parts of the southern United States, chives tend to bloom earlier and more frequently than in cooler climates. For example, in regions with mild winters, like California or Australia, you may be able to harvest chive flowers year-round.
In contrast, in areas with colder winters, like much of North America or Europe, chive plants often go dormant during the winter months, only to resume blooming in the spring. In these cases, it’s essential to protect your chives from frost and freezing temperatures to ensure a healthy growth cycle.
Regional differences also impact the flavor and nutritional content of chive flowers. Chives grown in cooler climates tend to have a more delicate flavor and higher concentration of vitamins A and C than those grown in warmer climates. When harvesting, consider these regional variations to maximize the flavor and health benefits of your chive flowers. Be aware that excessive heat or cold can impact the quality of your harvest, so monitor local weather conditions carefully.
Factors Affecting Chive Flower Quality and Quantity
Several factors can impact the quality and quantity of chive flowers, including climate, soil conditions, watering habits, and pest management. Understanding these influences is crucial for optimal harvests.
Soil Conditions and Nutrient Availability
The quality and quantity of chive flowers are heavily influenced by soil conditions. Soil pH levels play a crucial role in nutrient availability for chives, with optimal growth occurring between 6.0 and 7.0 pH. If the soil is too alkaline or acidic, it can limit nutrient uptake, leading to reduced flower production.
Nutrient-deficient soils can also impact flower quality, as chives require adequate nitrogen, phosphorus, and potassium to thrive. Insufficient nutrients can result in weak stems, fewer flowers, or even stunted growth. To address this, consider adding organic matter like compost or well-rotted manure to improve soil fertility.
Adequate water supply is also essential for nutrient uptake. Soil that is consistently moist but not waterlogged will promote healthy root development and support optimal flower production. Monitor your chive bed’s moisture levels closely to ensure the right balance between watering and allowing the soil to dry slightly between waterings. By optimizing soil conditions, you’ll be able to enjoy a bountiful harvest of high-quality chive flowers with rich flavor and aroma.
Watering Habits and Moisture Levels
Chives are a hardy perennial herb that thrives in well-draining soil and moderate watering. However, when it comes to chive flower production, proper watering habits play a crucial role in determining their quality and quantity. If the soil is consistently too dry or too wet, it can disrupt the plant’s growth cycle and affect the flavor and aroma of the flowers.
To maintain optimal moisture levels, aim for about 1-2 inches of water per week, either through rainfall or irrigation. However, this may vary depending on your region’s climate and soil type. For example, if you live in a hot and dry area, you may need to water more frequently to prevent the soil from drying out completely.
On the other hand, if the soil is too wet, it can lead to root rot and other problems that can damage the plant. To avoid this, make sure the top 2-3 inches of soil feels slightly moist but not waterlogged before watering again. By striking the right balance with your watering habits, you’ll be rewarded with a bountiful harvest of flavorful chive flowers that are perfect for adding to salads or using as a garnish.
Signs to Look for When Chives are Ready to Be Harvested
To ensure you’re harvesting your chive flowers at their peak, look out for a subtle yellowing of the buds and a slight drooping of the stems. This is usually a sign that they are ready to be picked.
Visual Cues: Color, Size, and Shape
When determining if your chives are ready to be harvested, keep an eye out for visual cues that indicate their optimal ripeness. One of the most noticeable changes is a shift in color. Chive flowers typically start out as small, green buds but gradually transition to a vibrant purple hue. This color change is a clear indication that they’re at their peak flavor and nutritional potential.
Another way to gauge readiness is by checking the size of the flowers. As chives mature, their blooms will swell and become more prominent on the stem. Look for stems with multiple, well-developed florets – this signals that your chives are ready for harvesting.
Shape is also an important consideration. Chive flowers should be slightly open and not tightly closed or compact. If they appear shriveled or wilted, it may be a sign that they’ve been exposed to too much heat or dryness. Take note of these visual cues and plan your harvest accordingly to ensure the best flavor and health benefits from your chives.
Textural Changes and Fragrance
As you approach harvest readiness, the texture of chive stems and leaves may undergo subtle yet significant changes. The once-tender shoots will start to feel slightly firmer to the touch, while the leaves may develop a more pronounced curl or crispiness around the edges. This is a natural progression as the plant diverts energy towards producing flowers.
The fragrance of the chives may also become more intense and aromatic, often described as oniony or pungent. To appreciate this change, gently brush against the foliage or sniff the leaves near the base of the stems. If the aroma is particularly strong, it’s a good sign that the plant is close to harvest readiness.
To confirm, perform a gentle tug on one of the flower buds. If it comes off easily, without breaking off the stem, the chives are ready for harvest.
Harvesting Techniques for Maximum Flavor and Health Benefits
Now that you know when to pick your chive flowers, let’s dive into how to harvest them in a way that preserves their maximum flavor and health benefits. Proper harvesting techniques are key.
Cutting vs. Pinching: The Best Method for Harvesting Chives
When it comes to harvesting chive flowers, many gardeners are unsure whether to use the cutting or pinching method. Both techniques have their advantages and disadvantages when it comes to flavor and health benefits.
Cutting involves snipping off the entire flower stem at the base of the plant, usually just above a node. This method allows for more rapid regrowth, as new shoots emerge from the cut ends. However, cutting can sometimes lead to weak or spindly growth if not done correctly. On the other hand, pinching involves removing only the top set of leaves and flowers, leaving the stem intact.
Research suggests that pinching is generally the better method for preserving flavor and health benefits. By removing only the matured flowers, you allow the plant to focus its energy on producing more flavorful buds. Additionally, pinching helps prevent over-maturity, which can lead to a loss of potency and flavor.
Timing: When to Harvest Chives During the Day
Timing is everything when it comes to harvesting chive flowers. The timing of your harvest can significantly impact the flavor and health benefits you get from your homegrown chives. Harvesting at the right time ensures that you get the most out of your crop, while also preserving its nutritional value.
The best time to harvest chive flowers is in the morning after the dew has dried but before the heat of the day sets in. This timing allows for maximum flavor and aroma retention in the delicate buds. Avoid harvesting during intense sunlight or when the plants are under stress from drought or extreme temperatures, as this can cause the flowers to lose their potency.
In terms of specific times, consider harvesting chive flowers between 9-11 am, when the sun is gentle and the air is still cool. This timing also allows for a more even distribution of flavor compounds throughout the plant.
Tips for Extending the Harvest Season
To make the most of your chive flowers, try these simple tips to extend their harvest season and enjoy fresh flavors all year round. Experiment with new techniques to keep your blooms thriving.
Companion Planting Strategies
Companion planting is an excellent strategy for extending the harvest season of your chives. By pairing chives with other plants that improve soil health, repel pests, or attract beneficial insects, you can create a thriving ecosystem that supports the growth and productivity of your herbs.
Consider planting marigolds alongside your chives to deter nematodes and other pests that can damage the roots of your herb. Nasturtiums are another great companion for chives, as they repel aphids and whiteflies, which can spread diseases and reduce yields.
Borage is a beneficial companion for chives, as its tall stalks provide shade and shelter from extreme temperatures. This reduces stress on the plant and encourages healthy growth. Additionally, borage attracts pollinators like bees and butterflies, ensuring that your chives receive adequate pollination.
When selecting companion plants, remember to choose species with different growing habits, root depths, and moisture requirements to create a diverse and resilient ecosystem. By incorporating these strategies into your garden design, you’ll be able to extend the harvest season of your chive flowers and enjoy their fresh flavor and health benefits for longer.
Propagation Methods: Growing Chives from Cuttings and Seeds
Propagating chives from cuttings and seeds is an excellent way to extend their harvest season. To grow new chive plants from cuttings, simply snip off a healthy stem with a few sets of leaves, remove lower leaves, and place the cutting in a glass of water or a propagation tray filled with moistened potting mix. Roots should develop within 1-2 weeks, after which you can transfer the cutting to a container filled with well-draining soil.
When propagating from seeds, sow them directly into a seed starting mix about 1/4 inch deep and 1-2 inches apart. Keep the soil consistently moist but not waterlogged until germination occurs, usually within 7-10 days. After the seedlings have two sets of leaves, thin them out to about 6 inches apart.
To ensure newly propagated plants thrive, provide them with bright, indirect light and maintain a consistent temperature between 60°F to 70°F (15°C to 21°C). Water carefully, as chives are sensitive to overwatering. By following these steps, you’ll be enjoying fresh homegrown chives in no time, and their flowers can add an extra burst of flavor and color to your dishes when harvested at the right moment.
Common Mistakes to Avoid When Harvesting Chive Flowers
When harvesting chive flowers, it’s easy to overlook a few crucial details that can impact their flavor and nutritional value. Pay attention to these common mistakes to ensure optimal results.
Over-Harvesting: Allowing Plants Time to Regenerate
Over-harvesting chive flowers can be a common mistake, but it’s essential to remember that these delicate blooms need time to regenerate between harvests. When you continually pick the flowers without giving the plant a chance to recover, you’ll eventually deplete its energy reserves and harm its ability to produce new growth.
This is especially true for chives, which are perennials that naturally go through cycles of flowering and seed production. If you’re harvesting too frequently, you may inadvertently disrupt this natural process and reduce the plant’s overall productivity. To avoid this, try to harvest no more than one-third of the flowers on each stem at a time. This will allow the remaining blooms to continue developing and setting seeds, which will in turn help the plant regenerate for future harvests.
By allowing chives time to rest between harvests, you’ll not only promote healthy growth but also encourage a bountiful supply of flowers come next season.
Inadequate Preparation: How to Sterilize Tools and Prevent Cross-Pollination
Inadequate preparation can significantly impact the quality of harvested chive flowers. One crucial aspect to consider is sterilizing tools to prevent contamination and spoilage. Before harvesting, make sure to wash your hands thoroughly with soap and warm water. Next, clean your scissors or pruning shears with a mixture of one part white vinegar to nine parts water. This will help eliminate any bacteria that may be present on the blades.
Preventing cross-pollination is also vital when harvesting chive flowers. To avoid this issue, it’s essential to harvest individual flower heads before they open. If you’re harvesting multiple plants at once, consider working from a specific direction each time to minimize the risk of cross-pollination. Another option is to isolate the plants you’re harvesting by placing them in separate containers or bags to prevent any potential pollinators from transferring pollen.
By following these simple steps, you can ensure that your harvested chive flowers are free from contamination and retain their optimal flavor and nutritional value. Remember, proper preparation is key to maximizing the quality of your harvest.
Conclusion: Maximizing Flavor, Health Benefits, and Yields with Proper Harvesting Techniques
When you’ve carefully observed your chive flowers for the optimal harvesting time, it’s essential to consider the best techniques to maximize flavor, health benefits, and yields. To preserve the delicate flavor and aroma of chive flowers, harvest them in the morning after the dew has dried but before the heat of the day sets in. This timing allows you to collect the freshest and most fragrant blooms. Be sure to use scissors or pinch off individual flowers to avoid damaging the rest of the plant, ensuring a bountiful yield for future harvests. By harvesting your chive flowers at the right time and with care, you’ll be able to enjoy their unique flavor and numerous health benefits in your cooking and as a garnish.
Frequently Asked Questions
Can I harvest chives flowers in the morning or afternoon for optimal flavor?
Yes, harvesting chive flowers during the morning when they’re still moist with dew is ideal for capturing their best flavor. Avoid harvesting in direct sunlight to prevent damage and loss of essential oils.
What’s the best way to store harvested chive flowers to preserve their quality and quantity?
To maintain the freshness and quality of your harvested chives, store them in an airtight container filled with water or wrap them loosely in a damp paper towel. Keep them refrigerated at a consistent temperature below 40°F (4°C) to slow down spoilage.
How can I ensure my chive plants don’t get over-harvested and exhaust their energy?
To avoid over-harvesting, monitor your chives regularly for signs of stress or exhaustion. Take note of the plant’s growth rate and adjust your harvesting schedule accordingly. Aim to harvest only 1/3 to 1/2 of the flower buds at a time to allow for regrowth.
Can I propagate new chive plants using only the harvested flowers, or do I need to use the entire stem?
While it’s technically possible to propagate chives from individual flowers, the success rate is low. For optimal results, use cuttings from the stems with leaves and roots, as these will give you a higher chance of successful propagation.
What are some common mistakes beginners make when harvesting chive flowers for the first time?
New gardeners often struggle with identifying the right moment to harvest or over-harvesting their chives. Start by monitoring your plants closely and observing how they respond to different harvesting schedules. Regularly inspect your chives for signs of stress, pests, or diseases to ensure a healthy crop.