Are you tired of throwing away your used coffee grounds and wondering if there’s a more sustainable way to reuse them? You’re in luck because today we’re going to explore an efficient and eco-friendly method for composting coffee grounds using red wiggler worms. Not only is this approach beneficial for the environment, but it also produces nutrient-rich fertilizer that your garden or indoor plants will love.
By learning how to set up a thriving worm composting system, you’ll not only reduce waste but also create a valuable resource for your plants. In this article, we’ll delve into the benefits of worm composting and provide a step-by-step guide on how to get started. We’ll cover everything from preparing your worms’ habitat to maintaining a healthy population. Whether you’re a seasoned gardener or just starting out, this method is sure to revolutionize the way you think about coffee grounds and waste management.
Benefits of Using Red Wiggler Worms in Compost
Red wiggler worms bring a range of benefits to your composting process, including accelerated decomposition and improved nutrient cycling. Let’s explore these advantages further.
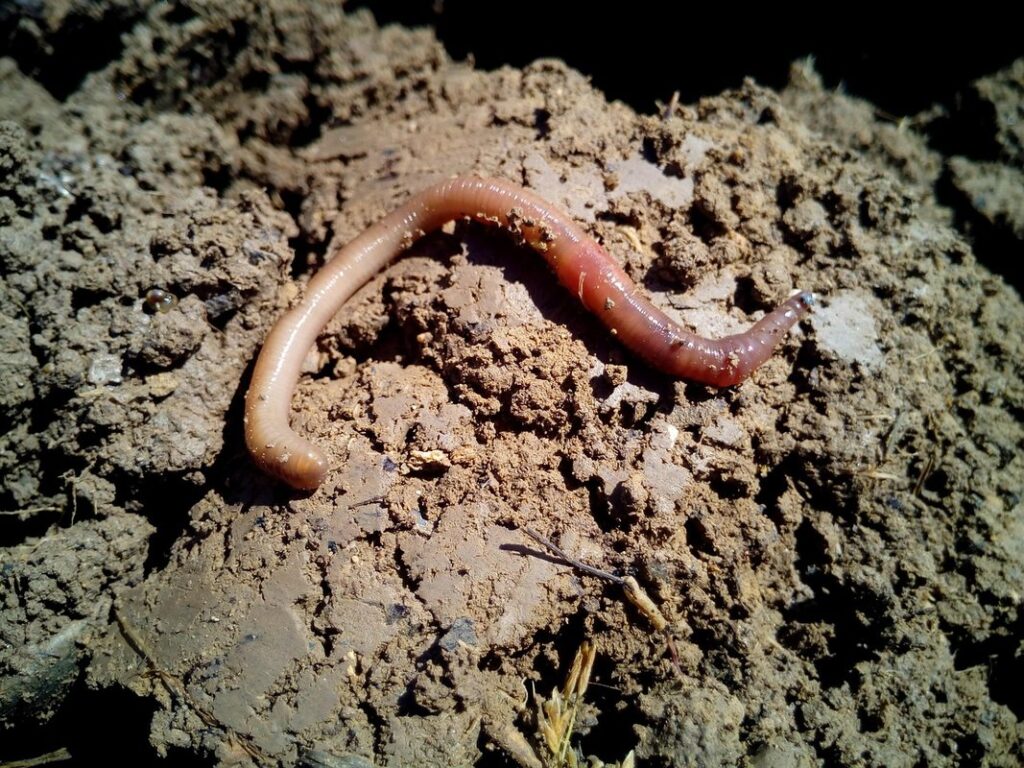
Introduction to Red Wiggler Worms
Red wiggler worms are an ideal choice for composting coffee grounds due to their unique characteristics and adaptability. These earthworms thrive in moist environments with a mix of “green” and “brown” materials, making them perfectly suited for breaking down coffee grounds, which can be rich in nitrogen but low in carbon.
One key advantage of using red wiggler worms is their ability to consume waste efficiently. In an ideal composting setup, worms will eat through the coffee grounds quickly, turning it into a nutrient-rich fertilizer. This process typically takes anywhere from 2-6 months, depending on factors like worm population density and moisture levels.
Red wigglers also help to aerate the compost pile, which is essential for maintaining optimal microbial activity and preventing anaerobic conditions that can lead to odors or pathogens. By using red wiggler worms in your coffee ground composting setup, you’ll not only create a rich fertilizer but also promote a healthy ecosystem within the compost pile itself.
Advantages Over Traditional Composting Methods
When it comes to composting coffee grounds, using Red Wiggler worms is a game-changer. Not only do they break down the waste at an incredible rate, but they also outperform traditional composting methods in several key areas.
For one, worm composting decomposes organic matter up to 5 times faster than traditional methods. This is because worms are incredibly efficient at breaking down complex nutrients into a usable form for plants. In fact, studies have shown that Red Wiggler worms can process up to 2 pounds of coffee grounds per day in an ideal environment.
Another key advantage of worm composting is its ability to retain nutrients better than traditional methods. This means that the final product is richer in essential micronutrients and will provide more benefits for your plants. By using worms to break down coffee grounds, you’re creating a high-quality fertilizer that will give your garden a boost without the need for synthetic chemicals.
Ultimately, worm composting offers a more efficient and effective way to turn coffee waste into a valuable resource.
Preparing the Environment for Vermicomposting
To get started with vermicomposting, you’ll need to create a suitable environment for your worms, including choosing the right location and setting up their bedding. This section will guide you through those essential steps.
Choosing the Right Container
When it comes to choosing the right container for vermicomposting coffee grounds with worms, there are several key factors to consider. The size of the container will depend on the amount of coffee grounds you plan to compost and the space available in your home or garden. A good rule of thumb is to start small, with a container that holds about 1-2 gallons of material. This will allow you to manage the worms and their food supply easily.
The material of the container is also important. You’ll want something that’s easy to clean and won’t harbor bacteria or odors. Plastic containers are often used for vermicomposting, but you can also use wooden or bamboo bins with good drainage. Make sure your chosen container has adequate ventilation to prevent moisture buildup and promote healthy worm activity.
In addition to size and material, drainage is a critical consideration when selecting a container for vermicomposting coffee grounds. You’ll want to make sure that excess water can easily drain out of the bin to prevent waterlogging and root rot. A simple tray or saucer under the bin will do the trick. With these factors in mind, you can choose a container that’s perfect for your vermicomposting needs.
Bedding Materials and Their Importance
When it comes to vermicomposting coffee grounds, bedding materials play a crucial role in creating a healthy environment for our worm friends. Bedding is essentially the material that covers the bottom of the compost bin and helps maintain optimal moisture levels, temperature, and aeration.
There are several types of bedding materials you can use, but some of the most common include shredded newspaper, coconut coir, peat moss, and even cardboard. Each type has its benefits: for instance, shredded newspaper is inexpensive and provides good aeration, while coconut coir retains moisture well and helps with odour control.
When choosing your bedding material, it’s essential to avoid using materials that are too dense or may attract pests. Common mistakes include overusing dry bedding, which can lead to dry compost piles and stressed worms, or not changing the bedding often enough, allowing pathogens to develop. A good rule of thumb is to maintain a 10-20% bedding-to-coffee grounds ratio and refresh the bedding every few months to keep your worm composting environment thriving.
Setting Up the Worm Composting System
To start worm composting, you’ll need a few basic materials and a spot for your bin – let’s walk through what to set up first!
Introducing Red Wiggler Worms to the Environment
Introducing Red Wiggler Worms to the Environment is a critical step in setting up a thriving worm composting system. Before adding worms to your coffee ground-rich vermicomposting environment, ensure you’ve prepared their new home. This involves creating a suitable habitat with adequate moisture, temperature control, and oxygen levels.
Begin by adding 1-2 pounds of Red Wiggler worms (Eisenia fetida) to the worm bin for every 5 gallons of coffee grounds. To avoid shocking the worms, introduce them gradually over the course of several days or weeks, depending on the size of your system. Add a few handfuls of mature compost or worm castings to the bin as a food source and to acclimate the worms to their new environment.
Maintain an optimal temperature range between 55°F and 77°F (13°C and 25°C) for worm activity. Monitor the moisture levels, ensuring they remain consistently damp but not waterlogged. This will help prevent anaerobic conditions that can lead to unpleasant odors or even worm die-off.
By introducing your worms correctly, you’ll set them up for success in breaking down your coffee grounds and creating a nutrient-rich compost perfect for your garden.
Feeding Strategies for Optimal Nutrient Production
When it comes to feeding red wiggler worms for optimal nutrient production, a balanced mix of coffee grounds and other organic materials is essential. To start, aim for a mixture that’s 70-80% coffee grounds and 20-30% other carbon-rich materials like shredded newspaper, cardboard, or coconut coir. This ratio provides the worms with the nitrogen they need to break down the coffee grounds.
You can also add small amounts of high-nitrogen materials like fresh vegetable scraps or fruit peels to supplement the worm diet. Aim for about 10-15% of the total material mix being high in nitrogen. For example, if you’re using 1 cup of coffee grounds, add about 2-3 tablespoons of vegetable scraps.
Remember, consistency is key when it comes to feeding your worms. Worms thrive on a steady supply of food, so aim to feed them regularly – ideally every week or two. This will help maintain the ideal moisture levels and prevent over-drying of the worm bedding. By following these guidelines, you’ll be able to create an optimal environment for nutrient-rich compost production.
Maintaining a Healthy Vermicomposting System
To keep your vermicomposting system thriving, it’s essential to balance moisture, temperature, and food waste input levels to maintain optimal conditions for your worms. Regular monitoring will help you spot potential issues early on.
Monitoring Temperature and pH Levels
Monitoring temperature and pH levels is crucial to maintaining a healthy vermicompost system. Worms thrive in temperatures between 55°F and 77°F (13°C and 25°C), making it essential to keep the environment within this range. If the temperature drops below 50°F (10°C) or rises above 80°F (27°C), it can be detrimental to worm health and productivity.
pH levels should also be monitored, aiming for a slightly acidic to neutral range of 6.0-7.5. A pH imbalance can impact microbial activity, nutrient availability, and even affect the worms’ overall well-being. Regular monitoring involves using pH test kits or pH meters to ensure optimal conditions. Adjustments can be made by adding lime to raise the pH or peat moss to lower it.
It’s also crucial to note that coffee grounds have a higher acidity level than other compost materials, which may require additional adjustments to achieve balance within your vermicompost system. Keep in mind that monitoring temperature and pH levels regularly will help prevent common issues and ensure optimal conditions for your worms.
Identifying Common Issues and Troubleshooting
As you continue to vermicompost coffee grounds with worms, you may encounter some common issues that can affect the health and productivity of your system. Odor buildup is one such problem, caused by an imbalance of carbon-rich materials (such as coffee grounds) and nitrogen-rich materials in the worm bin. To prevent this issue, ensure that you maintain a 2:1 or 3:1 ratio of carbon to nitrogen sources.
Another common problem is worm escape, often due to inadequate bedding depth or poor ventilation. To avoid this, make sure your worm bin has at least 8-10 inches of bedding material (such as shredded newspaper or coconut coir) and ensure good airflow by adding a layer of fine mesh on top. Regularly checking the moisture levels in your system can also help prevent pests and maintain optimal conditions for your worms.
Keep an eye out for other signs of distress, such as mold growth or a significant decrease in worm activity. Addressing these issues promptly will help you maintain a thriving vermicomposting system that’s rich in nutrients for your garden.
Harvesting and Processing Vermicompost
Now that you have a thriving worm compost bin, it’s time to harvest your nutrient-rich vermicompost, a process we’ll walk you through in this section. We’ll cover the best techniques for extracting and preparing your finished compost.
When to Harvest for Maximum Nutrient Retention
When it comes to harvesting vermicompost, timing is everything. You want to catch the compost at its peak nutrient retention, which means waiting until the worm population has broken down the coffee grounds into a rich, dark humus. This usually occurs after 2-3 months of active composting, depending on factors like temperature, moisture, and the size of your vermicomposting bin.
To determine if your vermicompost is ready for harvest, look for signs like a reduction in worm activity, a decrease in CO2 production, and a significant increase in the compost’s bulk density. These indicators suggest that the worms have done their job, and it’s time to scoop out the finished product.
Harvest too early, and you’ll end up with a nutrient-poor mixture; wait too long, and the compost may become anaerobic, leading to unpleasant odors and reduced nutrient value. By monitoring your vermicomposting bin regularly and waiting for these subtle signs, you can ensure that your final harvest is packed with nutrients for your garden or indoor plants.
Preparing Vermicompost for Use in Gardens and Indoor Plants
When you’re ready to use your vermicompost in your garden or indoor plants, it’s essential to mix and apply it correctly. To do this, start by removing the worms from the compost bin and placing the vermicompost in a separate container. Mix 1-2 inches of vermicompost into the top 6-8 inches of soil, depending on the type of plant or garden bed.
For indoor plants, mix 1/4 to 1/2 cup of vermicompost into the potting mix. For outdoor gardens, incorporate it into the soil as you would fertilizer, following the recommended application rates for your specific plant species. For example, if you’re growing vegetables like tomatoes or lettuce, aim for a rate of 10-20% vermicompost to soil.
It’s also crucial to balance pH levels when incorporating vermicompost. Vermicompost tends to have an acidic pH, ranging from 5.5 to 6.5. If your soil has a high pH, it may be necessary to add more vermicompost to bring the pH down. Conversely, if your soil is too acidic, add some lime to counterbalance it.
When mixing vermicompost into different types of soil, consider the following:
* Clay soils: Mix 1/4 cup of vermicompost per square foot and till well.
* Sandy soils: Add more vermicompost (up to 2 cups) and mix thoroughly to improve water retention.
* Peat-based potting mixes: Use sparingly due to potential over-acidification.
By following these guidelines, you can effectively incorporate your nutrient-rich vermicompost into various soil types and provide a boost to your plants’ growth.
Integrating Worm Composting into Your Sustainable Lifestyle
Now that you’re hooked on composting coffee grounds with worms, let’s talk about how to seamlessly integrate worm composting into your daily sustainable habits. You’ll learn easy ways to make it a part of your routine.
Scaling Up or Down Depending on Needs
One of the greatest benefits of worm composting is its ability to adapt to various levels of household or garden activity. Whether you’re a busy city dweller with limited space or a large family with an abundance of coffee grounds, there’s a way to make worm composting work for you.
For smaller households, consider starting with a compact worm composter that can fit on a balcony or in a small kitchen corner. These units are designed for minimal waste and can process small amounts of coffee grounds quickly. For example, the Worm Factory 360 is a great option for apartments or condos, holding up to 1.3 cu. ft. of worms.
On the other hand, larger households or those with extensive gardens may require a more substantial setup. In this case, a larger worm composter can be used to process greater quantities of coffee grounds and produce an abundance of nutrient-rich compost for your garden. Some popular options include the Worm Factory 4-Tray and the Nature Mill, which offer ample space for worms to break down waste.
Ultimately, the key to successful worm composting is choosing a setup that suits your specific needs and adjusting as necessary to maintain optimal conditions for your worms.
Exploring Other Benefits and Applications
One of the most exciting aspects of vermicomposting is its multifaceted benefits beyond just nutrient-rich compost. As you explore incorporating worms into your coffee grounds composting routine, consider the potential for odor reduction in septic systems as a notable advantage.
Research has shown that vermicompost can significantly reduce the smell and odors associated with traditional composting methods. This is because the worms’ digestive process breaks down organic matter more efficiently, producing a byproduct that’s not only rich in nutrients but also has a minimal impact on odor levels.
Beyond septic systems, vermicompost has been used to mitigate odor issues in landfills and industrial waste management facilities. Its effectiveness lies in its unique ability to stabilize volatile organic compounds (VOCs), which are often responsible for unpleasant smells.
When utilizing worms to compost coffee grounds, you’re not only creating a nutrient-rich soil amendment but also potentially reducing odors associated with traditional composting methods. This makes vermicomposting an attractive option for those living in densely populated areas or with limited space.
Frequently Asked Questions and Next Steps
Now that you’ve learned how to compost coffee grounds with worms, we’re here to answer your burning questions and guide you through what’s next in your worm-composting journey.
Addressing Common Concerns and Misconceptions
One of the most common concerns when it comes to worm composting is the potential for health issues. Let’s set the record straight: worm composting is completely safe and healthy. Red wiggler worms, which are the ideal species for composting coffee grounds, don’t carry any diseases or pathogens that can harm humans.
In fact, studies have shown that red wigglers can even help break down heavy metals and other contaminants in soil, making it safer for use in gardens and crops. When done correctly, worm composting is a highly controlled environment where the worms thrive on breaking down organic matter – not people.
Another misconception is that worm composting produces unpleasant odors or messes. This couldn’t be further from the truth! With regular maintenance and proper aeration, your worm bin will remain odor-free and tidy. Remember to add the right balance of carbon-rich materials like shredded newspaper and coffee grounds, and you’ll be golden.
By addressing these common concerns head-on, we can confidently say that worm composting is a sustainable and safe way to recycle coffee grounds – and create nutrient-rich fertilizer for your plants in the process!
Encouraging Further Research and Exploration
If you’re hooked on vermicomposting coffee grounds with worms and want to dive deeper into this sustainable approach, there are plenty of resources available to help you expand your knowledge. Start by exploring the works of expert composters and worm farmers like Mary Appelhof’s “Worms Eat My Garbage” or Joel Zaylea’s “The Worm Book”. These books offer comprehensive guides on setting up a vermicomposting system, managing worm populations, and harvesting nutrient-rich compost.
You can also find online forums, social media groups, and blogs dedicated to vermicomposting. Websites like Vermicomposting.net and The Worm Factory provide valuable information on worm species, equipment, and best practices for indoor and outdoor composting. Additionally, consider attending workshops or online courses that focus on vermicomposting, such as those offered by the Bokashi Company or the University of California’s Master Composter Program. By continuing to learn and explore this topic, you’ll become a vermicomposting expert in no time!
Frequently Asked Questions
What are the ideal conditions for storing red wiggler worms during winter or periods of cold weather?
Red wiggler worms can be sensitive to extreme temperatures, so it’s essential to provide them with a warm and stable environment during winter. You can store them in a insulated container with a consistent temperature between 55-65°F (13-18°C). Ensure the bedding is moist but not waterlogged, and provide a food source to maintain their nutritional needs.
Can I use coffee grounds from espresso machines or Turkish coffee as well as regular brewed coffee?
Yes. Red wiggler worms can break down all types of coffee grounds, including those from espresso machines or Turkish coffee. However, it’s essential to note that darker roasts and oils may affect the worm population’s health, so introduce them in moderation.
How often should I monitor the pH levels in my vermicomposting system?
Monitoring pH levels is crucial for maintaining a healthy environment for red wiggler worms. Check the pH every 1-2 weeks, especially when introducing new materials or adjusting feed ratios. A balanced pH between 6.5 and 7.5 ensures optimal worm activity.
Can I use vermicompost as fertilizer directly on my plants, or do I need to mature it further?
You can use vermicompost as a direct fertilizer for your plants. However, allowing it to mature for a few weeks will break down the nutrients more evenly and make them more accessible to plant roots.
How do I maintain a healthy worm population during periods of high temperatures or drought?
Maintaining moisture is key when dealing with extreme temperatures or droughts. Ensure the bedding remains moist but not waterlogged, providing your worms with a consistent food source will also help them withstand challenging conditions.