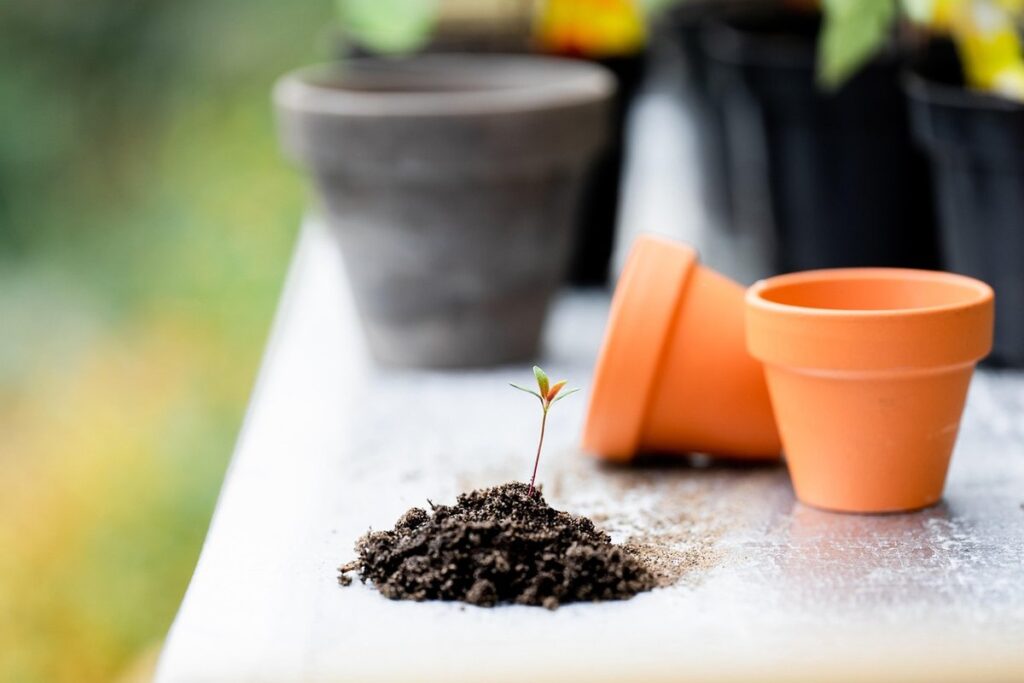
Are you tired of dealing with soggy, heavy clay soil that’s more like a swamp than a garden bed? If so, you’re not alone. Clay soil can be challenging to work with, but there are ways to improve its drainage, root growth, and fertility. In this article, we’ll show you how to amend clay soil for gardening success. We’ll cover the best amendments to choose, including organic matter like compost and well-rotted manure, and share techniques for incorporating them into your soil without making it too dense or waterlogged. By the end of this guide, you’ll have a solid understanding of how to transform your clay soil into a thriving garden paradise with better drainage, healthier roots, and increased fertility. So let’s get started on this journey to creating a more productive and enjoyable gardening experience!
Understanding Clay Soil: Characteristics and Challenges
Clay soil can be a challenging gardening environment, characterized by its dense and heavy texture that repels water and air. In this next part, we’ll explore what makes clay soil tick.
What is Clay Soil?
Clay soil has some distinct properties that set it apart from other types of soil. One of its most notable characteristics is its high water-holding capacity. This means that clay soil can retain a significant amount of moisture, which can be both an advantage and a disadvantage. On the one hand, this ability to hold water makes it more resistant to drought and helps plants to access the water they need even when other soils might be dry.
On the other hand, clay soil’s high water-holding capacity also means that it can become waterlogged and soggy if not properly drained. This excess moisture can cause roots to rot, leading to a host of problems for your garden. Additionally, clay soil has a tendency to compact under pressure, which can further exacerbate drainage issues.
To effectively amend clay soil, you need to understand its unique properties and take steps to address these potential drawbacks. In the next section, we’ll discuss some practical strategies for improving clay soil’s structure and drainage, as well as other essential tips for creating a thriving garden in this challenging environment.
Identifying the Challenges of Working with Clay Soil
Gardening in clay soil can be challenging due to its unique characteristics. One of the most significant issues is poor drainage. Water tends to pool on the surface and doesn’t penetrate deeply into the soil, making it difficult for roots to absorb oxygen and nutrients. As a result, plants may become waterlogged, leading to root rot and other problems.
Another common issue is that clay soil can be dense and compacted, causing plants to become root-bound. This occurs when the soil’s particles are too tightly packed, preventing roots from growing freely. To make matters worse, heavy clay particles can also make it difficult to till or work with the soil, making it hard to prepare for planting.
If you’re gardening in clay soil, it’s essential to recognize these challenges and take steps to address them. By understanding what makes clay soil so tricky, you’ll be better equipped to choose the right amendments and techniques to create a thriving garden despite its limitations.
Assessing Your Garden’s Clay Soil Conditions
When assessing your garden’s clay soil conditions, it’s essential to determine its water-holding capacity and identify any potential drainage issues that may impact plant growth. This will help you understand what amendments are needed.
Testing Your Soil pH Level
Testing your soil pH level is an essential step in understanding its acidity or alkalinity, which will help you make informed decisions about amendments. You see, clay soil tends to be more acidic than other types of soil, with a naturally occurring pH range of 6.0-7.0. However, if your soil’s pH is too far off from the ideal range of 6.5 for most plants, it can hinder root growth and nutrient uptake.
To test your soil pH level, you’ll need to obtain a soil testing kit or send a sample to a lab for analysis. This will give you an accurate reading of your soil’s acidity or alkalinity. If you’re using a DIY kit, simply follow the instructions to collect a small sample from multiple areas of your garden and mix them together in the provided container. The pH test strips or meter will then indicate whether your soil is acidic, neutral, or alkaline.
Keep in mind that most plants prefer a slightly acidic to neutral soil pH, so if you find that your clay soil falls outside this range, it’s time to make some adjustments.
Examining Soil Structure and Texture
Clay soil’s structure and texture play a crucial role in determining its overall health. When it comes to clay soil, understanding its composition is key to improving drainage, aeration, and root growth. Clay particles are extremely small, which allows them to pack tightly together, resulting in reduced pore space. This can lead to waterlogging, air pockets being cut off from roots, and roots struggling to grow due to lack of oxygen.
To gauge the structure and texture of your clay soil, perform a simple test: dig a hole about 12 inches deep and fill it with water. If the water takes an unusually long time to drain or remains stagnant, it’s likely that the pore space is severely reduced due to excessive clay content. On the other hand, if the water drains quickly, your soil might have more sand or silt content.
Another way to assess texture is by using a manual auger or digging stick. If you find it difficult to insert the tool into the ground due to resistance, it’s a sign that your clay soil is overly dense and needs improvement. In such cases, adding organic matter like compost can help break down clay particles, allowing water and air to penetrate more easily.
Preparing the Ground for Amendments
Before you start adding amendments, it’s crucial to prepare your clay soil by loosening and aerating it to ensure optimal absorption and growth. Let’s get started!
Removing Debris and Rocks
Before you can even think about amending your clay soil, it’s essential to clear out any debris and rocks that might be hiding beneath the surface. You’d be surprised at what can accumulate in your garden bed over time – from dead plant material and twigs to broken pottery and metal scraps. Not only do these obstacles make it difficult for amendments to penetrate the soil evenly, but they also create pockets of oxygen that can lead to inconsistent moisture levels.
To remove debris and rocks effectively, start by breaking up any large clumps with a garden fork or spade. Next, use a rake to sweep away dead leaves and other loose material. Then, carefully hand-pick out any remaining rocks, roots, or obstructions. Don’t forget to check beneath the surface – clay soil can be particularly dense in these areas. Once your bed is clear, you’ll be amazed at how much easier it is to see what’s going on beneath the surface and identify problem areas that need attention. This step may seem tedious, but trust us: it sets the stage for a smoother, more successful amendment process.
Creating a Smooth Surface
Creating a smooth surface is crucial when preparing the ground for amendments. This ensures that the amendments mix evenly with the soil, allowing them to penetrate deeper and have a more significant impact on soil structure. To achieve optimal contact between amendments and soil, you’ll want to level the ground thoroughly.
Use a rake or a garden tiller to break up any clods or uneven areas. If your yard has slopes, consider installing retaining walls to create flat surfaces for planting. Remove weeds and debris, as these can obstruct even distribution of amendments.
Another technique is to use a laser level to achieve precision in leveling. This tool helps you establish a consistent grade across the entire area. Make sure to check your soil’s depth before applying any amendments, ensuring that there are no pockets where water may collect.
Finally, it’s essential to compact the soil lightly after leveling and removing debris. This step allows the amendments to bond with the clay particles more effectively, ultimately contributing to improved drainage and increased aeration in the soil.
Choosing the Right Amendments
When it comes to amending clay soil, selecting the right type of amendment is crucial for optimal results. Let’s explore the key factors to consider when making your selection.
Organic Matter: Compost, Manure, or Peat Moss?
When it comes to improving clay soil’s structure and fertility, incorporating organic matter is essential. Compost, manure, and peat moss are popular choices, but each has its own advantages and disadvantages.
Composting kitchen scraps and yard waste creates a rich, humus-based amendment that improves soil’s water retention and aeration. However, this process can take months to years, depending on the carbon-to-nitrogen ratio and temperature conditions. Alternatively, using composted manure from herbivores like cows or horses provides an instant boost of nutrients and microorganisms. It’s essential to note that chicken manure should be avoided due to its high nitrogen content.
Peat moss, a byproduct of bog ecosystems, is acidic and can help counterbalance clay soil’s alkalinity. However, it may not provide significant long-term improvements in soil structure. If you choose to use peat moss, mix it with other organic matter or well-rotted compost to avoid over-acidifying the soil.
When selecting an organic matter amendment for your clay soil, consider what specific issues you’re trying to address: nutrient deficiencies, waterlogging, or poor drainage? This will help guide your decision between these three options.
Mineral-Based Amendments: Limestone, Gypsum, or Dolomite?
When it comes to amending clay soil, mineral-based amendments like limestone, gypsum, and dolomite can be game-changers. These minerals not only alter the pH level of your soil but also add essential nutrients and modify its physical properties.
Limestone is a popular choice for clay soils with low calcium levels. It raises the pH, making it more alkaline, which helps to break down clay particles and improve drainage. However, be cautious when using limestone as excessive use can lead to an over-alkalization of your soil.
Gypsum, on the other hand, is ideal for clay soils that are too dense or waterlogged. It adds sulfur to your soil, which helps to break up clay clumps and improve soil structure. Gypsum also has a liming effect, but its impact is more subtle compared to limestone.
Dolomite is another mineral-based amendment that’s gaining popularity among gardeners. It’s a combination of calcium and magnesium carbonate and can help to neutralize acidic soils while providing essential nutrients for plant growth.
When choosing between these three amendments, consider the pH level of your soil and its specific needs. Always follow the recommended application rates and monitor your soil’s response to avoid any potential imbalances.
Applying the Right Amounts and Techniques
Now that you’ve identified your clay soil type, let’s dive into applying the right amounts and techniques for effective amendments. We’ll cover crucial considerations to avoid over-amending.
Measuring Out Amendments Correctly
When measuring out amendments for clay soil, it’s easy to get carried away and over-amend, which can lead to costly mistakes. To avoid this, it’s essential to follow a few simple steps. First, consult the package instructions or the manufacturer’s guidelines for the specific amendment you’re using. Keep in mind that different products have varying recommended application rates.
Next, consider the soil test results you’ve obtained, as these will provide insight into your clay soil’s pH and nutrient levels. Based on this information, adjust the amount of amendment accordingly. For example, if your soil test indicates a high pH level, you may want to use more acid-based amendments like sulfur or aluminum sulfate.
To ensure accuracy, invest in a digital scale that measures in grams or ounces. This will prevent mistakes due to uneven scooping or packing. When measuring dry amendments, pour them into a separate container first and then transfer the correct amount to the mixing area. Lastly, always read the label carefully and follow any safety precautions when handling chemicals.
This attention to detail is crucial for avoiding over- or under-amending your clay soil.
Working the Amendments into the Soil
Once you’ve selected and prepared your amendments, it’s time to work them into the soil. There are several methods for incorporating amendments into clay soil, each with its own advantages and considerations.
Tilling is a common method that involves turning over the top 6-8 inches of soil to mix in the amendments thoroughly. This can be done by hand or using a rototiller. Be careful not to compact the soil as you till, as this can negate the benefits of the amendment. It’s also essential to till when the soil is moist but not waterlogged, making it easier to break up clods and incorporate amendments.
Mixing amendments into clay soil can be more challenging than other types of soil due to its dense nature. However, using a mulch layer can help loosen the soil and allow amendments to penetrate deeper. Spread 2-3 inches of organic mulch (such as compost or manure) over the amended area and let it sit for several weeks before tilling or planting. This approach not only helps incorporate amendments but also improves overall soil structure and fertility.
Remember to follow the manufacturer’s instructions for applying any chemical-based amendments, and take necessary precautions when handling them.
Monitoring Progress and Making Adjustments
Now that you’ve made significant improvements to your clay soil, it’s essential to monitor its progress and make adjustments as needed to ensure optimal growth for your plants. Regular checks will help you troubleshoot any issues that may arise.
Testing Your Soil Regularly
Testing your soil regularly is crucial to assess how well your amendments are working and make adjustments as needed. Without regular monitoring, you may end up applying too much or too little amendment, which can have negative effects on your garden’s health.
To test your soil, collect a sample from different areas of your garden, combining them to create a representative mix. Then, use a soil testing kit or send it to a lab for analysis. This will give you an idea of your soil’s pH level, nutrient content, and structure. Keep in mind that clay soil tends to be more alkaline, with a higher pH level.
For example, if your initial test shows high levels of phosphorus but low nitrogen, you may need to adjust the ratio of organic matter you add to your soil. Perhaps you’ve been over-amending, causing an imbalance in nutrient availability. Regular testing helps you fine-tune your amendment strategy and make informed decisions about how to proceed.
By incorporating regular soil testing into your gardening routine, you’ll be able to track progress, identify areas for improvement, and make the necessary adjustments to create a thriving garden despite clay soil’s challenges.
Adapting to Changing Weather Conditions
As you work to amend your clay soil, it’s essential to remember that seasonal changes can significantly impact its conditions. Temperature and moisture fluctuations can cause the soil to become compacted, lose its structure, or even develop nutrient deficiencies. To adapt your amended clay soil to these changing weather patterns, monitor your garden closely during different seasons.
In spring, watch for increased rainfall and warmer temperatures. This can lead to rapid growth, but also potential waterlogging issues. To prevent this, incorporate organic matter like compost or well-rotted manure into the soil to improve drainage and aeration.
Summer’s heat can cause moisture evaporation, causing clay soil to dry out quickly. Mulching is an excellent strategy to retain moisture and reduce soil temperature. Apply a 2-3 inch layer of organic mulch around your plants to keep the soil consistently moist.
In autumn, rainfall decreases, and temperatures drop. Clay soil tends to become more compacted during this period. To combat this, apply a cover crop or add more compost to the soil, ensuring it remains loose and fertile.
By recognizing these seasonal changes and adapting your amended clay soil accordingly, you’ll be well on your way to creating a thriving garden that flourishes despite the weather’s unpredictability.
Frequently Asked Questions
How often should I test my soil pH level after amending clay soil?
Testing your soil pH regularly is crucial to ensure the amendments are working as intended. We recommend testing your soil every 6-12 months, depending on how quickly you notice changes in drainage and plant growth. This will also help you make adjustments if necessary.
Can I use a combination of organic matter and mineral-based amendments for clay soil?
Yes, using both organic matter (like compost) and mineral-based amendments (such as gypsum or dolomite) can be an effective way to improve clay soil’s structure and fertility. Just remember to apply them in moderation, following the recommended amounts and techniques outlined in our article.
How do I incorporate amendments into clay soil without creating a waterlogged environment?
To avoid compacting the soil, use a gentle turning motion when incorporating amendments. Start by loosening the top 6-8 inches of soil with a garden fork before adding organic matter or mineral-based amendments. This will help prevent water from collecting and promote better drainage.
Will using too many amendments harm my clay soil?
No, using too many amendments won’t necessarily harm your clay soil. However, applying excessive amounts can lead to nutrient imbalances and potentially damage plant roots. Be mindful of the recommended application rates and follow our guidelines for a balanced approach to amending clay soil.
Can I use natural or homemade alternatives instead of commercial fertilizers?
Yes, you can create your own compost tea or use well-rotted manure as a natural alternative to commercial fertilizers. These methods are often more environmentally friendly and can provide similar benefits to commercial products. Just be sure to follow proper safety guidelines when using these alternatives.