Are you tired of coming home with a batch of butternut squash that’s not quite ready for cooking? Knowing how to check if your butternut squash is ripe can make all the difference in saving time and effort. A perfect butternut squash is tender, sweet, and bursting with flavor – but it requires some skill to identify when it’s just right. In this article, we’ll delve into the signs of ripeness for butternut squash, covering everything from color and texture to storage tips and cooking techniques. Whether you’re a seasoned chef or a beginner in the kitchen, our comprehensive guide will walk you through how to check for ripeness, store, and cook perfect butternut squash every time, ensuring that your dishes turn out delicious and on point.
Understanding Butternut Squash Ripeness
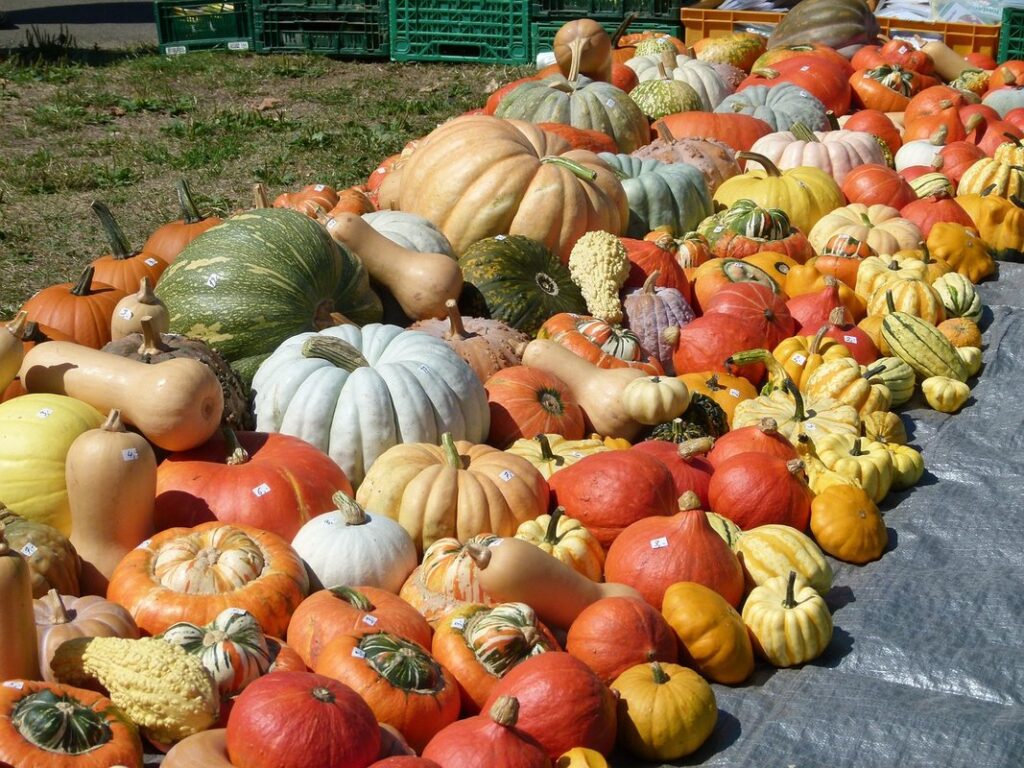
Butternut squash ripeness can be a bit tricky to determine, especially for first-time growers. Let’s dive into the signs of a ripe butternut squash and how to check for them correctly.
Visual Cues: What to Look For
When inspecting butternut squash for ripeness, there are several visual cues to look out for. One of the most noticeable signs is a change in color. Typically, ripe butternut squash will have turned from a deep green to a more muted yellow or beige hue. This transformation can occur all over the squash or be confined to certain areas.
Another telltale sign of ripeness is skin texture. As the squash matures, its skin becomes smoother and less hard than when it’s unripe. Ripe butternut squash often features fine, shallow lines or wrinkles that add to its overall aesthetic appeal. Be cautious not to mistake these natural markings for signs of damage.
When examining a butternut squash, gently run your hand over the surface to gauge its skin texture. Check for any soft spots or unusual indentations, which can indicate bruising or decay. A ripe butternut squash will feel firm yet yielding to pressure, rather than hard and unyielding like an unripe one.
Checking for Soft Spots
When checking for soft spots on butternut squash, it’s essential to be gentle and inspect the skin carefully. Over-ripeness can cause the skin to soften, making it more prone to bruising and decay. To check for soft spots, run your fingers over the surface of the squash in a gentle, even motion. Pay particular attention to areas around the stem, as this is often where over-ripeness first becomes apparent.
If you notice any soft or mushy patches on the skin, it’s likely that the butternut squash has gone beyond its optimal ripeness. Gently press your finger into these areas – if the indentation remains for a few seconds before springing back, the squash is probably over-ripe. Be aware that some butternut squashes may naturally have slight indentations or soft spots due to their variety or growth conditions, so it’s crucial to use your best judgment when assessing ripeness.
It’s also worth noting that the skin of a ripe butternut squash will be smooth and free of blemishes.
Choosing the Right Butternut Squash at the Grocery Store
When shopping for butternut squash, it can be confusing to pick out a ripe one, but choosing the right one at the store is key. Here’s how to spot the perfect squash.
Selecting the Correct Variety
When selecting a butternut squash from the grocery store, you’ll likely notice that there are several varieties to choose from. The most common types of butternut squash include ‘Waltham’, ‘Sunrise’, and ‘Cinderella’. Each variety has its unique characteristics, and understanding these differences can help you determine if a squash is ripe.
Some butternut squash varieties, like the ‘Waltham’ and ‘Sunrise’ types, tend to be more oval in shape and have a slightly sweeter flavor. These varieties typically ripen more slowly than others, taking about 120-150 days from planting to harvest. In contrast, the ‘Cinderella’ variety is smaller and more symmetrical, with a thinner skin that’s often less resistant to decay.
When shopping for butternut squash, look for one that’s firm and free of soft spots. Avoid squashes with large cracks or bruises, as these can compromise their quality and edibility.
Avoiding Pre-Ripened or Over-Mature Squash
When selecting butternut squash at the grocery store, it’s essential to avoid buying pre-ripened or over-mature squash. These types of squash may have lost their optimal flavor and texture, which can be disappointing when cooking with them.
To identify if a butternut squash is too mature, look for soft spots, wrinkles, or excessive browning on the skin. Avoid squashes that are severely shriveled or show significant signs of mold. These characteristics indicate that the squash has passed its peak ripeness and will not provide the best results in your recipes.
Pre-ripened butternut squash is often picked before it’s fully ripe, which can lead to a less sweet and nutty flavor. In some cases, store-bought pre-ripened squash may have been treated with ethylene gas to artificially ripen them. When possible, choose squashes that are labeled as “harvested when ripe” or “picked at peak maturity.” This ensures you’re getting a butternut squash that’s optimally flavored and textured for your cooking needs.
Storing Butternut Squash for Optimal Ripeness
Now that you’ve identified a ripe butternut squash, it’s essential to store it properly to maintain its optimal ripeness and extend its shelf life effectively.
Cooling Down the Squash
Cooling down the squash after harvesting or purchasing is crucial to slow down the ripening process. When butternut squash is exposed to warm temperatures and light, it starts to produce more ethylene gas, which accelerates the ripening process. This can lead to a faster breakdown of nutrients, making the squash less sweet and tender.
To prevent this from happening, place your butternut squash in a cool, dark area as soon as possible after harvesting or purchasing. A garage, basement, or pantry with a consistent temperature between 50°F and 60°F (10°C and 15°C) is ideal. Avoid storing it near heat sources like radiators or ovens.
If you’re purchasing from a store, check the packaging for any handling instructions that may affect its ripening process. Some stores might have already chilled their squash to slow down ripening. Be mindful of these factors when deciding where and how to store your butternut squash to maintain its optimal ripeness.
Proper Storage Conditions
To ensure that your butternut squash remains at its optimal ripeness for as long as possible, it’s essential to store them properly. Store the squash in a cool, dry place with good ventilation. The ideal temperature range is between 50°F and 60°F (10°C to 15°C). Avoid storing them near direct sunlight or heat sources, as this can cause the skin to become soft and wrinkled.
In terms of humidity, it’s essential to keep the squash away from areas with high moisture levels. A relative humidity of 60-70% is ideal for storage. You can store the squash in a paper bag or a breathable cloth bag to maintain some moisture while preventing over-humidification.
For longer-term storage, you can consider refrigerating your butternut squash at a consistent temperature below 40°F (4°C). However, keep in mind that this may cause some loss of flavor and texture. It’s also essential to check on the squash regularly for signs of spoilage, such as soft spots or mold. By following these storage guidelines, you can enjoy your butternut squash at its peak ripeness for several weeks.
Preparing Butternut Squash for Cooking
Before you start cooking, let’s get your butternut squash ready by learning how to properly clean, peel, and chop it, which is easier than you think.
Curing the Squash Before Use
Curing butternut squash before using it in recipes can make a significant difference in its flavor and texture. This process involves allowing the squash to dry out slightly, which helps to break down some of the starches and makes the flesh easier to cook with.
To cure a butternut squash, start by cutting off both ends to create a flat surface for each end. Then, place the squash on a wire rack or tray, cut side up, in a warm, dry place with good air circulation. Let it sit for 1-2 days, or until the skin is slightly tacky to the touch and some of the moisture has been drawn out.
It’s essential to note that not all recipes require curing, especially those that involve cooking the squash for an extended period, such as roasting or baking. However, if you’re looking to puree or mash your butternut squash, curing can help to make it easier to work with and result in a smoother texture.
If you don’t have time to cure your butternut squash, you can also try microwaving it for 2-3 minutes on each side to help soften the skin and bring out some of the moisture. This will give you more flexibility when using it in recipes.
Techniques for Removing Seeds and Skin
Removing the seeds and skin from butternut squash can be a bit of a challenge, especially for beginners. However, it’s an essential step to ensure that your dish turns out tender and flavorful. Here are some techniques you can use to remove the seeds and skin from your butternut squash:
One common method is to use a spoon or scoop to remove the seeds and pulp from the center of the squash. This can be a bit messy, but it’s effective for small to medium-sized squash. For larger squash, you may need to use a specialized tool like a corer or a melon baller.
Another technique is to peel the skin off with a vegetable peeler or a sharp knife. However, this method requires some practice and can be tricky if the squash is hard or unripe. It’s also worth noting that some butternut squash varieties have a particularly thick skin that may be difficult to remove.
To make the process easier, try roasting your squash at 400°F (200°C) for about 30-40 minutes before attempting to peel and seed it. The heat will help loosen the skin and make it easier to remove.
Cooking and Using Ripe Butternut Squash
Now that you’ve determined your butternut squash is ripe, it’s time to learn how to cook and use it in a variety of delicious dishes. We’ll explore ways to prepare and utilize this versatile vegetable.
Roasting and Baking Methods
Once you’ve identified that your butternut squash is ripe, it’s time to get cooking! There are several ways to prepare a ripe butternut squash, and we’ll cover two of the most popular methods: roasting and baking.
Roasting brings out the natural sweetness in butternut squash, making it perfect for side dishes or as a topping for salads. To roast your squash, preheat your oven to 425°F (220°C). Cut the squash in half lengthwise and scoop out the seeds. Place the squash on a baking sheet, cut-side up, and drizzle with olive oil. Roast for 30-40 minutes, or until the flesh is tender and caramelized.
Baking is another great way to cook butternut squash, especially if you prefer a softer texture. To bake your squash, preheat your oven to 375°F (190°C). Cut the squash in half lengthwise and scoop out the seeds. Place the squash on a baking sheet, cut-side up, and cover with foil or parchment paper. Bake for 45-60 minutes, or until the flesh is tender.
Both roasting and baking methods require about the same amount of time to cook through. The main difference lies in the texture and flavor that each method produces.
Adding to Soups and Stews
When you’ve finally determined that your butternut squash is ripe and ready to use, it’s time to get creative with your cooking. One of the best ways to incorporate this nutritious vegetable into your meals is by adding it to soups and stews. This technique not only adds natural sweetness and depth of flavor but also boosts the nutritional value of these dishes.
To add butternut squash to your soups, try roasting it in the oven first to bring out its natural sweetness. Then, puree it into a smooth, creamy consistency or leave it chunky – whichever texture suits your recipe best. This will create a delicious and comforting base for any soup. For example, you can add roasted butternut squash to a classic minestrone or use it as the main ingredient in a creamy butternut squash soup.
In stews, butternut squash pairs particularly well with aromatic spices like cumin, coriander, and cinnamon. Simply peel and dice the squash, then sauté it in a little oil until tender before adding your stew ingredients. This will create a rich, flavorful broth that’s perfect for a chilly winter evening.
Troubleshooting Common Issues with Butternut Squash Ripeness
Don’t worry if you’ve picked up a butternut squash and aren’t sure what to do next – we’ll walk you through common ripeness mistakes and solutions.
Over-Ripened or Moldy Squash
If you’ve been storing butternut squash for an extended period, it’s not uncommon to notice that some may have gone past their optimal ripeness and started showing signs of decay. Over-ripened or moldy squash is no longer suitable for cooking and should be discarded immediately.
When inspecting your stored squash, look out for soft spots, wrinkles, or a dull, waxy appearance on the skin. These are clear indicators that the squash has gone past its prime and may have developed internal mold. If you notice any of these signs, it’s best to err on the side of caution and discard the affected squash.
If you’ve stored your squash in a humid environment, be aware that moisture can cause mold growth. Regularly inspect your storage area for humidity levels above 50%, as this can contribute to spoilage. If you do notice mold or over-ripening, don’t attempt to salvage it – fresh squash is always the safer option.
In terms of prevention, choose a well-ventilated storage space with low humidity and keep an eye on your squash’s condition every few days. This will help you catch any developing issues early on and ensure that only perfectly ripened squash ends up in your kitchen.
Under-Ripened Squash
Identifying under-ripened butternut squash can be frustrating, but there are steps you can take to salvage it. If you suspect that the squash is not yet ripe, it’s essential to store it properly to encourage ripening. Place the squash on a wire rack or paper towels to allow air circulation and prevent moisture buildup. Keep it away from direct sunlight and heat sources, as this can cause the skin to become soft and mushy.
Store the under-ripened squash in a cool, dry place with consistent temperatures between 50°F to 60°F (10°C to 15°C). Check on the squash every few days to monitor its progress. As it ripens, the color will deepen from a pale yellow or cream to a rich orange or deep brown.
When cooking under-ripened butternut squash, be aware that it may not break down as easily in recipes. To compensate for this, increase the liquid content and adjust cooking times accordingly. A general rule of thumb is to add 10-15 minutes to the cooking time for every inch of thickness. This will help ensure tender flesh without overcooking.
Frequently Asked Questions
Can I store butternut squash at room temperature to ripen it?
Yes, storing butternut squash at room temperature can help ripen it faster, especially if you’re trying to speed up the process. However, be cautious not to leave it too long, as this can lead to over-ripening or even mold growth. Monitor its color and texture closely, and transfer it to a cooler spot once it’s ripe.
How do I know if I’ve chosen the right variety of butternut squash for my cooking needs?
Choosing the correct variety is crucial for achieving optimal ripeness and flavor. Look for varieties that are specifically bred for their sweet, nutty taste and tender flesh. Some popular varieties include ‘Waltham Butternut’ and ‘Honey Nut’. Research the characteristics of different varieties to find one that suits your cooking style.
What’s the best way to store butternut squash to maintain its ripeness?
Store butternut squash in a cool, dry place with good air circulation. A temperature range between 50-60°F (10-15°C) is ideal for maintaining optimal ripeness. Avoid storing it near direct sunlight or heat sources, as this can cause it to over-ripen quickly.
Can I use a butternut squash that’s already been refrigerated when purchasing from the store?
Yes, but be aware that refrigeration can slow down the ripening process. If you notice the squash is not yet ripe, you may need to wait longer for it to reach optimal flavor and texture. Monitor its color and texture closely and follow storage instructions as usual.
What’s the best way to cure a butternut squash before cooking?
To cure a butternut squash, simply let it sit in a dry, cool place for 1-2 weeks after harvest or purchase. This allows any impurities or excess moisture to evaporate, resulting in a cleaner and more flavorful squash. After curing, follow standard storage instructions to maintain its ripeness.