Are you looking for a fun and easy way to promote biodiversity in your community? Making seed bombs is a great place to start. These small balls of clay, soil, and seeds are designed to be dispersed in areas where plants might thrive, but often lack the necessary nutrients or protection from competition.
By creating seed bombs at home, you’re not only contributing to reforestation efforts, but also providing a simple solution for urban gardening and green spaces. In this article, we’ll walk through the basic steps of making seed bombs, including selecting the right seeds, mixing the ingredients, and shaping the final product. With just a few materials and some practice, you can start creating your own seed bombs to scatter in parks, gardens, or even in your backyard. Let’s get started on this eco-friendly adventure!
What are Seed Bombs and Why Are They Important?
Seed bombs are a fun and easy way to spread wildflowers, herbs, and other plants, while also promoting sustainable gardening practices and reducing waste. Let’s explore what seed bombs are all about!
The History of Seed Bombs
Seed bombs have been around for centuries, with their roots dating back to ancient civilizations that used natural materials to propagate plants. However, it wasn’t until the 1990s that seed bombs began to gain popularity as a tool for reforestation efforts.
In the 1990s, Italian designer and artist Riccardo Schweizer created the first modern seed bomb by mixing clay with seeds and nutrients. He envisioned seed bombs as a way to help restore forests in post-apocalyptic landscapes. Since then, the concept has spread globally, with various groups and individuals adapting the idea to suit their local needs.
Today, seed bombs are being used in reforestation efforts worldwide, from Africa’s savannas to Europe’s urban jungles. They offer an innovative solution for restoring degraded lands, as they require minimal maintenance and can be easily scattered by hand or drone. The simplicity of seed bombs has also made them a popular tool for community-led conservation projects, allowing local residents to get involved in the restoration process.
Benefits of Using Seed Bombs for Sustainable Gardening
Using seed bombs for sustainable gardening offers numerous benefits that can significantly impact our environment. One of the most significant advantages is promoting biodiversity. By scattering seed bombs in a variety of locations, you’re introducing diverse plant species to an area, which in turn attracts pollinators and other beneficial wildlife. This creates a thriving ecosystem where different plants coexist and contribute to the health of the local environment.
Seed bombs also play a crucial role in reducing waste by repurposing natural materials like clay and compost. These biodegradable components ensure that the seed bombs decompose naturally, leaving behind no artificial or synthetic residues. Additionally, seed bombs help support local ecosystems by allowing native plant species to grow. This not only preserves the area’s unique characteristics but also enables it to adapt to changing environmental conditions.
When creating your own seed bombs, consider using locally sourced materials and incorporating a mix of native wildflower seeds. This will ensure that you’re promoting biodiversity in your community while supporting the local ecosystem.
Materials Needed to Make Seed Bombs
To make seed bombs, you’ll need a few simple materials that can be found at most gardening stores or even in your own home. Let’s take a look at what you’ll need to get started.
Types of Seeds Suitable for Seed Bombs
When selecting seeds for seed bombs, it’s essential to choose varieties that thrive in the conditions they’ll be exposed to. Seeds with small size and hardiness are ideal, as they can withstand the rigors of being carried by wind or water.
Some examples of suitable seeds include wildflowers like calendula, cosmos, and marigold. These plants are not only aesthetically pleasing but also provide a source of food for pollinators. Other options include herbaceous perennials like dandelion, plantain, and chicory, which can spread quickly and establish themselves in a new environment.
When selecting seeds, consider their germination rate, dormancy period, and growth habits. For instance, seeds with a shorter germination period (around 1-2 weeks) are more suitable for seed bombs than those requiring longer periods (4-6 weeks). Hardiness is also crucial; choose varieties that can withstand varying temperatures, humidity levels, and sunlight exposure.
Some popular seed bomb-friendly species include:
• Wildflowers like chamomile, lavender, and black-eyed Susan
• Herbaceous perennials like clover, violets, and thyme
• Grasses like buffalo grass and blue grama
Remember to choose seeds that are specific to your region’s climate and growing conditions for the best results.
Soil and Compost Ingredients for Seed Bombs
When it comes to creating seed bombs that will germinate and grow into healthy plants, the ingredients you choose for the soil and compost mixture are crucial. Here are some essential components to look for:
* Clay: Also known as bentonite clay or montmorillonite, this type of clay helps retain moisture in the seed bomb, keeping it hydrated during its journey. Look for a high-quality, natural clay that is free from additives.
* Earthworm castings: These nutrient-rich castings are created by earthworms as they break down organic matter. They add essential micronutrients and beneficial microorganisms to the soil, promoting healthy plant growth.
* Organic matter: Include materials like peat moss, coconut coir, or shredded leaves in your compost mixture. These ingredients help retain moisture, suppress weeds, and provide nutrients for the growing plants.
When combining these ingredients, remember that a balanced mix is key. Aim for a ratio of 20-30% clay, 10-20% earthworm castings, and 60-70% organic matter. This blend will create an optimal environment for your seed bomb to thrive in.
Step-by-Step Instructions for Making Seed Bombs
Now that you have your materials and know why seed bombs are so effective, let’s move on to creating them by following these simple step-by-step instructions.
Mixing the Seed Bomb Mixture
To create an effective seed bomb mixture, you’ll want to combine seeds, soil, and compost in a suitable ratio. A general guideline is to use 1 part seeds, 2-3 parts soil, and 1 part compost. You can adjust this ratio depending on the specific needs of your project.
When selecting your ingredients, choose high-quality seed varieties that are suitable for your climate and desired outcome. For example, if you’re creating seed bombs for a forest garden, select native tree or shrub species that will thrive in the local environment.
In terms of soil, look for a mixture that is rich in nutrients but also has good water-holding capacity. Compost can be made from kitchen scraps, leaf mold, or other organic matter. Simply blend these ingredients together until you have a uniform consistency, similar to play dough. Be sure to mix thoroughly, as uneven distribution of seeds and soil can lead to inconsistent germination rates.
This mixture should hold its shape when pressed between your fingers but still be easily molded into small balls.
Shaping and Drying the Seed Bombs
Once you’ve mixed the ingredients for your seed bombs, it’s time to shape and dry them. This process is crucial in preventing moisture buildup, which can lead to mold growth and ruin the seeds.
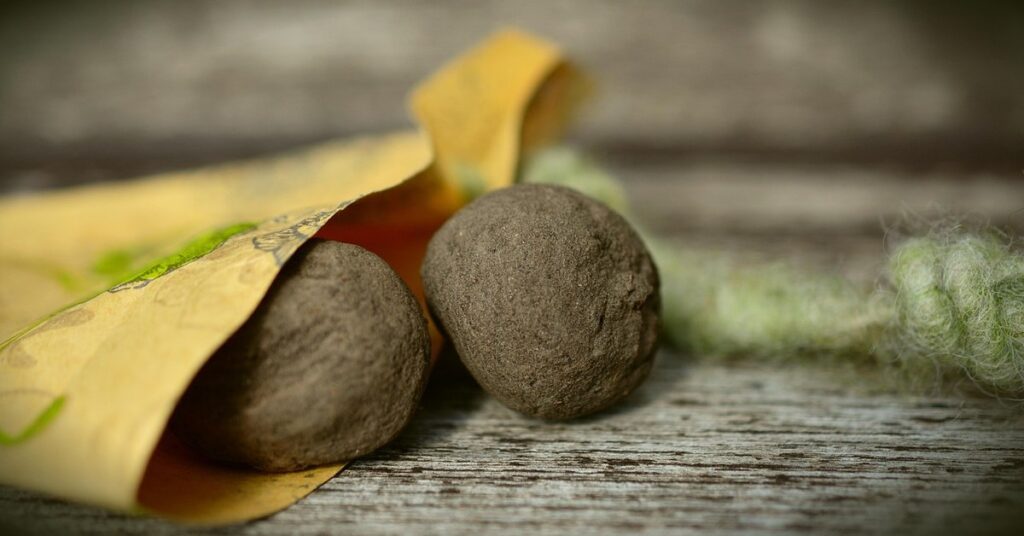
To shape the seed bombs, simply use your hands or a small tool like a wooden skewer to compress the mixture into small balls, about 1-2 inches in diameter. You want them to be compact but not too dense, as this will allow for good air circulation and prevent moisture from getting trapped.
Next, place the shaped seed bombs on a wire rack or paper towels in a dry, well-ventilated area. Allow them to dry completely, either at room temperature or by placing them near a gentle heat source like a radiator or sunbeam. This may take anywhere from 2-5 days, depending on the humidity and temperature of your environment.
Remember, it’s essential not to speed up the drying process with direct sunlight or artificial heat, as this can cause the seed bombs to dry out unevenly and become brittle.
Tips for Using and Planting Seed Bombs
Now that you’ve created your seed bombs, it’s time to use them effectively. Here are some key tips on how to plant and use seed bombs in your garden for maximum results.
Ideal Locations for Seed Bomb Dispersal
When dispersing seed bombs, it’s essential to choose locations that provide optimal conditions for germination and growth. Look for areas with partial shade to full sun, depending on the plant species you’re using. For example, if you’re scattering wildflower seed bombs, a spot with at least 4-6 hours of direct sunlight is ideal.
Consider the soil quality as well. Seed bombs can thrive in various types of soil, but some plants prefer rich, loamy soil, while others can tolerate poorer conditions. Make sure to disperse seed bombs in areas where water is readily available, such as near a stream or a spot with consistent rainfall.
Avoid scattering seed bombs in areas with standing water or where water tends to collect, as this can cause the seeds to rot before germinating. Also, steer clear of locations with dense vegetation or heavy foot traffic, which may hinder seedling growth or make maintenance challenging. By selecting suitable locations, you’ll increase the chances of successful seed bomb dispersal and contribute to a thriving ecosystem.
Aftercare and Maintenance of Seed Bomb Plants
As you wait for your seed bombs to take root and flourish, it’s essential to provide them with proper aftercare. This will ensure they grow into healthy, thriving plants that not only beautify their surroundings but also contribute positively to the ecosystem.
Start by watering your seed bomb plants regularly, but make sure not to overwater. A gentle soak once or twice a week should suffice, depending on the climate and soil conditions. You can also use rainwater collected from your roof or gutters for this purpose – it’s a great way to reuse and recycle water.
As the plants grow, prune them regularly to encourage bushy growth and prevent them from becoming leggy. Remove any dead or diseased branches, and trim back overgrown stems to maintain shape and promote new growth.
Keep an eye out for pests like aphids, whiteflies, and slugs, which can quickly damage seed bomb plants. Use natural pest control methods whenever possible, such as introducing beneficial insects that prey on these pests or using neem oil-based sprays.
Creative Ways to Use Seed Bombs in Your Community
Now that you’ve learned how to make seed bombs, let’s explore some fun and creative ways to use them to beautify your community and bring people together. From parks to backyards, seed bombs can thrive in many unexpected places!
Seed Bomb Art Projects and Workshops
Seed bombs are not only an effective way to distribute wildflower seeds and promote urban gardening but also a versatile medium for creative expression. They can be incorporated into various art projects and community workshops, making them a fantastic tool for engaging people of all ages with the world of sustainable gardening.
Consider partnering with local artists or schools to create seed bomb-based murals or mosaics that not only beautify public spaces but also raise awareness about the importance of pollinators. Alternatively, you could organize a workshop where participants can design and create their own seed bombs using natural materials like clay, soil, and wildflower seeds.
To take it a step further, you could integrate seed bomb-making into environmental education programs or community events focused on sustainability and gardening. This approach not only fosters creativity but also promotes hands-on learning and community involvement in creating more eco-friendly spaces.
Collaboration with Local Organizations for Seed Bomb Distribution
Collaborating with local organizations is an excellent way to amplify the impact of your seed bomb distribution efforts. These partnerships can not only expand your reach but also foster a sense of community engagement and responsibility towards environmental conservation.
When exploring potential partners, consider approaching local nurseries, botanical gardens, or parks departments. These organizations often have existing programs for reforestation and habitat restoration, making them ideal collaborators. For instance, you could work with a local nursery to distribute seed bombs at their garden sales or workshops, teaching customers about the benefits of native plant species.
To initiate a partnership, start by researching local organizations that align with your values and goals. Reach out via email or phone, introducing yourself and proposing a collaboration. Be prepared to discuss your vision for the project, including how you plan to distribute seed bombs and promote reforestation efforts. By working together, you can create a ripple effect of positive change in your community.
Frequently Asked Questions (FAQs) about Seed Bombs
We’ve received many questions about seed bombs, and we’re happy to address some of your most pressing queries in this section. From what types of seeds work best to how long they take to germinate, we’ve got answers!
Common Misconceptions about Seed Bombs
One of the most common misconceptions about seed bombs is that they are not effective in dispersing seeds and germinating plants. Some people believe that seed bombs are a novelty item with limited practical application. However, this couldn’t be further from the truth.
The reality is that seed bombs can be an incredibly powerful tool for rewilding and restoring ecosystems. When made correctly, using high-quality materials such as clay and compost, and planted in suitable conditions, seed bombs can have a surprisingly high germination rate. In fact, studies have shown that seed bombs can have germination rates of up to 80% or more.
Another common concern is the environmental impact of seed bombs. Some people worry that introducing non-native species through seed bombs could harm local ecosystems and displace native flora. However, this can be mitigated by choosing seeds that are native to your region and suitable for the climate you’re in. You should also ensure that you’re not planting seed bombs in areas where they may cause problems, such as near waterways or on private property.
It’s also worth noting that seed bombs are not a replacement for traditional gardening methods, but rather a complementary tool that can be used to augment and enhance your existing garden. By using seed bombs strategically, you can create a more biodiverse and resilient ecosystem that requires less maintenance and care.
Ultimately, the effectiveness of seed bombs depends on how they’re made and where they’re planted. With a little creativity and know-how, you can use seed bombs to create beautiful, thriving gardens that benefit both people and the environment.
Frequently Asked Questions
Can I use any type of seed for making seed bombs, or are there specific requirements?
Yes, not all seeds are suitable for seed bombs. Look for seeds that are small enough to be carried by wind or water and have a low germination period, usually 1-3 months. Wildflower and herb seeds are popular choices for seed bombs. Make sure to research the specific needs of each seed species before making your seed bombs.
How long do seed bomb plants typically take to grow, and when can I expect to see results?
The growth rate of seed bomb plants depends on various factors such as climate, soil quality, and amount of sunlight they receive. Generally, it takes 1-3 months for seeds to germinate, and 6-12 months for them to reach maturity. Be patient and observe the growth, as some species may take longer than others.
Can I use recycled materials from my home or garden to make seed bombs?
Yes, using recycled materials is a great way to reduce waste and promote sustainability. You can repurpose old clay pots, compost bins, or other containers to mix your seed bomb ingredients. Just ensure that the materials you’re using are clean, dry, and free of pesticides.
How many seed bombs should I make for a small area, and what’s the best dispersal method?
The number of seed bombs needed depends on the size of the area and the desired density of plants. A general rule is to start with 10-20 seed bombs per square meter. For dispersal, you can use your hands, throw them gently, or create a seed bomb launcher using a plastic bottle. Avoid using machinery or disturbing the soil excessively.
What if I notice pests or diseases affecting my seed bomb plants? How do I prevent further damage?
If you encounter pests or diseases on your seed bomb plants, act quickly to minimize the damage. Use natural pest control methods such as introducing beneficial insects, spraying neem oil, or using diatomaceous earth. Keep an eye out for signs of disease and remove affected plants to prevent the spread.