Pruning your type 3 clematis can seem intimidating, but with the right guidance, you’ll be enjoying vibrant blooms in no time. These stunning climbing flowers are a staple in many gardens, but their unique growth habit requires special care to encourage optimal flowering and healthy growth. As a type 3 clematis owner, it’s essential to understand how to prune them correctly, as improper pruning can lead to reduced blooming or even plant decline.
In this comprehensive guide, we’ll walk you through the characteristics of type 3 clematis, including their unique growth patterns and flowering habits. You’ll learn when and how to prune your clematis, including the tools and techniques necessary for successful pruning. By following our expert advice, you’ll be able to coax your type 3 clematis into its best shape yet, ensuring a bounty of beautiful blooms for years to come.
Understanding Type 3 Clematis
To prune type 3 clematis effectively, you need to understand its unique growth habits and how it differs from other types of clematis. This is where getting familiar with its characteristics comes in handy.
Characteristics of Type 3 Clematis
Type 3 clematis are known for their unique characteristics that set them apart from other types of clematis. One of the main features of type 3 clematis is their flowering habit, which typically involves producing large, showy flowers in mid-to-late summer. These blooms can be up to 10 inches in diameter and often have a layered or bell-shaped appearance.
In terms of growth patterns, type 3 clematis tend to grow more vigorously than other types, with some varieties reaching heights of over 12 feet. They also have a tendency to sprawl outward, making them ideal for training up trellises or arbors. This sprawling habit can be beneficial in that it allows the plant to spread out and cover large areas, but it can also make them more prone to disease and pest issues if not properly maintained.
When growing type 3 clematis, it’s essential to provide them with a sturdy support system to help control their growth and encourage healthy flowering. Regular pruning is also crucial to maintaining the plant’s shape and promoting new growth. By understanding the unique characteristics of type 3 clematis, you can better care for these beautiful plants and enjoy their stunning blooms year after year.
Types of Pruning Required for Type 3 Clematis
When it comes to pruning Type 3 Clematis, understanding why and when to prune is crucial for optimal flower production and plant health. As these plants are known for their abundant flowering and vigorous growth habit, regular pruning is necessary to control their size, promote healthy growth, and encourage new blooms.
Pruning a Type 3 Clematis helps maintain its shape by removing weak or damaged stems, which in turn promotes the development of stronger, more robust shoots. This process also allows for better air circulation within the plant, reducing the risk of disease and pest issues. By pruning back around one-third to half of the new growth each year, you’re not only encouraging bushy growth but also directing energy towards producing an abundance of blooms.
In fact, regular pruning can increase flower production by up to 50% in Type 3 Clematis. This is because the plant’s energy is directed towards producing more flowers rather than focusing on excessive leaf growth. By pruning your Type 3 Clematis annually, you’ll be rewarded with a healthier, more productive plant that continues to thrive year after year.
To effectively prune a Type 3 Clematis, focus on removing any dead or damaged stems, cutting back around one-third to half of the new growth, and thinning out weak or spindly shoots.
Pre-Pruning Considerations
Before you grab your pruning shears, it’s essential to consider a few key factors that will impact the health and appearance of your type 3 clematis. Let’s discuss these pre-pruning considerations first.
Choosing the Right Time to Prune
When it comes to pruning type 3 clematis, timing is everything. You’ll want to choose a time that works with your climate and the plant’s natural growth patterns. In general, type 3 clematis requires regular maintenance throughout the growing season.
In most regions, spring and early summer are ideal times for pruning type 3 clematis. This allows you to cut back spent flowers and encourage new blooms, while also removing any dead or damaged stems. However, in warmer climates where the plant is less dormant during winter, it’s best to prune immediately after blooming in late spring.
Consider your local climate and adjust pruning accordingly: in areas with harsh winters, it’s best to wait until new growth appears in early spring before pruning. On the other hand, if you live in a region with mild winters, you can prune throughout the year as needed. Whatever time you choose, make sure to inspect your plant for signs of disease or pests, and take action promptly to prevent further damage.
Keep in mind that regular maintenance is key to keeping your type 3 clematis healthy and thriving. Prune every 4-6 weeks during the growing season to promote new growth and prevent overgrowth.
Gathering Essential Tools and Equipment
When it comes to pruning type 3 clematis, having the right tools and equipment can make all the difference. First and foremost, you’ll need a good pair of gloves to protect your hands from thorns and sap. Look for durable, waterproof gloves that fit snugly around your wrists.
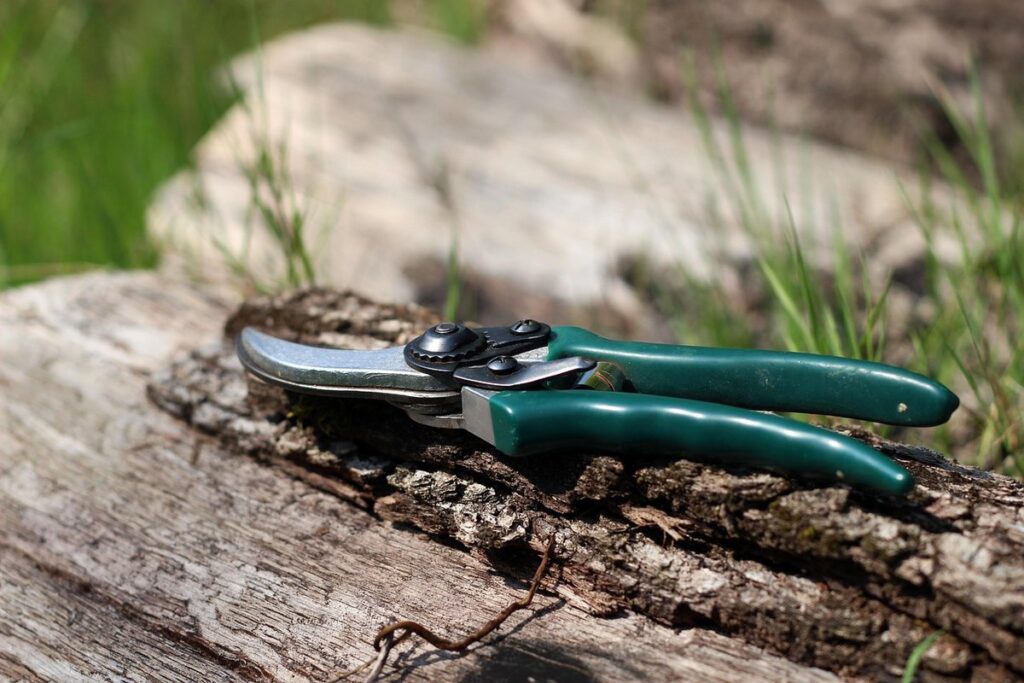
Next up are the secateurs. These small, handheld pruning shears are perfect for cutting individual stems and making precise cuts. Choose a high-quality pair with sharp blades that will make quick work of even the toughest wood. Don’t forget to keep them clean and well-maintained to prevent rust and damage to your plants.
For thicker stems and heavier growth, loppers are a must-have. These long-handled pruning tools provide extra leverage and control, making it easier to cut through larger branches without straining yourself. Look for a pair with sturdy handles and sharp blades that can handle even the toughest clematis growth.
By investing in these essential tools and equipment, you’ll be well-equipped to tackle your type 3 clematis pruning tasks with confidence and precision. Remember to store them safely after each use to prevent damage or loss.
The Pruning Process
Pruning type 3 clematis is a crucial step in maintaining their vibrant blooms and overall health, but it can be intimidating if you’re not sure where to start. In this section, we’ll walk you through the process step by step.
Removing Dead or Damaged Growth
Removing dead or damaged growth from type 3 clematis is an essential step in maintaining their overall health and promoting vigorous new growth. To identify affected areas, look for stems that are brittle, discolored, or have cracks in the bark. Inspect the vines carefully, as dead or damaged sections can be hidden among healthy growth.
To remove the dead or damaged sections, start by cutting them back to about 3-4 inches from the nearest set of healthy buds using sharp, sterile pruning shears. Cut at a slight angle, making sure not to crush any remaining tissue. Remove any weak or spindly growths that may be competing with healthier stems for resources.
Make your cuts just above a node (where a leaf meets the stem), as this will help direct the plant’s energy towards producing new growth from the remaining buds. Be ruthless – removing dead or damaged growth will prevent the spread of disease and encourage the plant to focus its energy on producing healthy, flowering stems.
Cutting Back Flowering Stems
When cutting back flowering stems on type 3 clematis, it’s essential to identify which stems to cut. After blooming, inspect the plant and look for a set of new leaves emerging from the base of each stem. These new leaves will be slightly larger and more vibrant than the older leaves, indicating where the stem should be cut.
Cut just above a bud eye, leaving about an inch of stem intact. This will encourage the new growth to emerge from that point, promoting healthy and vigorous growth. Make clean cuts using sharp, sterile pruning tools, cutting at a 45-degree angle. This helps prevent water from collecting on the cut end and reduces the risk of disease.
Cutting back flowering stems in this manner will also help control the plant’s shape and encourage more blooms next year. Be sure to cut no more than one-third of the stems at any one time, as this can cause stress to the plant. By following these steps, you’ll be able to maintain a healthy and blooming type 3 clematis for years to come.
Shaping and Renewal Pruning
Shaping and renewal pruning is a crucial step in maintaining healthy type 3 clematis. This process involves cutting back the entire plant to about one-third of its original size, which can be overwhelming for beginners. However, with the right techniques, you’ll promote new growth, encourage blooming, and maintain your plant’s overall structure.
To begin, identify the oldest woody stems and cut them back to around 12-18 inches from the ground using loppers or pruning saws. Make sure to remove any weak or damaged stems at this time as well. Next, examine the remaining stems for any dead or diseased sections – remove these too, making clean cuts just above a growth node.
As you prune, consider the plant’s orientation and shape. Aim to maintain an open center with a balanced structure. Remove any crossing branches that may be rubbing against each other, as this can cause damage and promote disease. By carefully shaping your type 3 clematis through renewal pruning, you’ll revitalize its growth and encourage new blooms in the following season.
Keep in mind that it’s essential to prune at the right time for your specific region – typically late winter or early spring when new growth begins.
Post-Pruning Care
After pruning, it’s essential to provide your type 3 clematis with proper care to ensure a healthy and thriving bloom. Here are some crucial steps to take in the next few weeks.
Aftercare Tips for Type 3 Clematis
After pruning your Type 3 clematis, it’s essential to provide the right care to ensure a healthy and thriving plant. One of the most critical aspects is fertilization. Feed your clematis with a balanced, slow-release fertilizer in early spring, following the manufacturer’s instructions. You can also use a high-phosphorus fertilizer to promote blooming.
Watering is another crucial aspect. Keep the soil consistently moist but not waterlogged during the first growing season after pruning. Once established, reduce watering to once or twice a week, depending on weather conditions. Mulching around the base of the plant helps retain moisture and suppress weeds.
To protect your clematis from pests, inspect the plant regularly for signs of aphids, whiteflies, or spider mites. Use neem oil or insecticidal soap to control infestations. Prune any affected areas and disinfect your pruning tools with bleach solution between cuts to prevent spreading disease.
Keep an eye out for diseases like powdery mildew or black spot, which can be treated with fungicides. With proper care and attention, your Type 3 clematis will reward you with a vibrant display of flowers year after year.
Common Problems to Watch Out For
After pruning your type 3 clematis, it’s essential to watch out for potential problems that can arise. One common issue is dieback, where the stem or branch cuts back to a node below the cut end. This can be caused by making improper cuts or not removing enough of the old growth. To prevent dieback, make sure to prune at least one-third to one-half of the plant’s stems and remove any weak or diseased wood.
Another issue that may occur is reduced flowering. This can happen if you prune too much of the current season’s growth or if the plant isn’t given enough time to recover before being exposed to extreme weather conditions. To avoid this, be mindful of when you’re pruning your type 3 clematis and try to do it in late winter or early spring, so the new growth has time to develop before flowering begins.
Additionally, be aware of any signs of pests or diseases that may have been introduced during pruning, such as aphids or fungal infections. Regularly inspect your plant for any unusual changes and take action promptly if you notice anything out of the ordinary.
Advanced Pruning Techniques
If you’re ready to take your clematis care to the next level, we’ll dive into advanced pruning techniques specifically tailored for type 3 clematis. These expert tips will enhance bloom performance and overall plant health.
Layering and Grafting for Type 3 Clematis
When it comes to type 3 Clematis, which have large flowers and are often used as showstoppers in gardens, layering and grafting can be game-changers. These advanced techniques allow you to propagate new plants from existing ones, creating a virtually endless supply of your favorite varieties.
Layering involves bending the stem of the parent plant down to the ground and securing it with a stone or U-shaped wire. Over time, roots will develop along the buried portion of the stem, allowing you to cut it away from the parent plant and transplant the new rooted section. This technique is ideal for type 3 Clematis that have particularly vigorous growth habits.
Grafting involves joining a piece of stem (called a scion) from one plant onto the root system of another plant (the rootstock). For type 3 Clematis, grafting allows you to combine the desirable flower traits of your favorite variety with the hardiness and disease resistance of a different rootstock. By mastering layering and grafting techniques, you can enjoy an almost endless supply of your favorite Clematis varieties without needing to purchase new plants every year.
Encouraging Repeat Blooming
To encourage repeat blooming on Type 3 clematis, it’s essential to prune them correctly. When done right, pruning can stimulate new growth and promote an abundance of flowers throughout the growing season. Start by cutting back stems to about two buds from the base after they’ve finished flowering in late spring or early summer.
This technique is called ‘cut-back pruning,’ and it works by removing old wood that’s stopped producing blooms. This allows the plant to focus its energy on developing new growth, which will then produce more flowers later in the season. To maximize repeat blooming, make sure not to remove any of the current year’s growth during winter pruning.
In addition to proper pruning techniques, providing Type 3 clematis with optimal growing conditions can also encourage repeat blooming. This includes offering them a location that receives at least six hours of direct sunlight per day and has well-draining soil rich in organic matter. By combining effective pruning strategies with good cultural practices, you can enjoy an abundance of beautiful blooms from your Type 3 clematis throughout the growing season.
By following these steps and tips, you’ll be able to coax more flowers out of your Type 3 clematis than ever before.
Conclusion
As we wrap up our guide on pruning type 3 clematis, let’s review what you’ve learned and take a final look at how to keep your vines thriving year after year.
Recap of Key Pruning Principles
Pruning type 3 clematis requires a thoughtful approach to encourage healthy growth and abundant blooms. To recap, it’s essential to identify the different types of stems on your plant: flowering stems (with last year’s flowers), new growth (this year’s buds), and dead stems (which should be removed). The key principle is to remove dead and weak stems in late winter or early spring, making way for new growth. This process allows the plant to focus energy on producing new flower-bearing stems.
When pruning your type 3 clematis, it’s crucial to retain one or two old flowering stems per section, as these will provide structure and support for the rest of the plant. Cut back these stems to around 6-12 inches from the ground, depending on their condition and vigor. This technique encourages the production of new growth and helps maintain a balanced shape.
By following these guidelines, you’ll be well on your way to pruning type 3 clematis like a pro! Remember to prune annually in late winter or early spring to keep your plant looking its best.
Final Tips and Advice
As you’ve completed pruning your Type 3 clematis, it’s essential to remember a few final tips to ensure their optimal growth and blooming performance. First and foremost, don’t forget that these plants require regular maintenance throughout the growing season.
Be sure to deadhead regularly, removing spent flowers as soon as they fade to encourage repeat blooming. This simple step can significantly impact your plant’s overall appearance and flowering output. Additionally, keep an eye out for any signs of disease or pests, addressing them promptly to prevent further damage.
It’s also crucial to provide your clematis with the right conditions for growth. While they prefer well-draining soil and full sun to partial shade, make sure not to overwater, as this can lead to root rot and other issues. By following these simple guidelines and continuing to prune regularly, you’ll be rewarded with a thriving and beautiful Type 3 clematis display year after year.
Finally, remember that patience is key when it comes to pruning your clematis. It may take some time for the plant to recover and adjust to its new shape, but with consistent care and attention, you’ll be enjoying a stunning blooming performance in no time.
Frequently Asked Questions
What are some essential tools I should have for pruning my type 3 clematis?
You’ll need a good pair of sharp, clean pruning shears or loppers, as well as gloves to protect your hands from thorns. A long-handled cultivator or pruning saw can also be helpful for larger stems. Make sure all tools are sterile to prevent the spread of disease.
Can I prune my type 3 clematis in the spring instead of late winter?
While it’s technically possible to prune in the spring, doing so may lead to reduced blooming in the current year. Late winter pruning is preferred as it allows for new growth and blooms in the same season.
How often should I water my type 3 clematis after pruning, and what are some signs of over-watering?
After pruning, your clematis will require regular watering, especially during hot weather. However, be cautious not to overwater, as this can lead to root rot and other issues. Check for signs like yellowing leaves, droopy stems, or a soft, mushy texture on the roots.
Can I propagate my type 3 clematis through layering or grafting?
Yes, both layering and grafting are viable methods for propagating your type 3 clematis. Layering involves bending a long stem to the ground and securing it with a rock or wire, while grafting requires joining a stem from one plant onto the root system of another.
What’s the best way to support my type 3 clematis as it grows?
Type 3 clematis can grow quite large, so providing sturdy support is essential. Use a trellis, arbor, or other structure that allows for easy pruning and training of the stems. Make sure any supports are securely anchored in the ground to prevent damage from wind or weight.